Friday, 25 April 2025

Echo Park ~ Blossoms and Bees 🐝 #2

 Hi everyone, it’s Anna back with you today. I’m sharing my second layout using Echo Park Blossoms and Bees, which you can find in the shop here

For this layout I’ve used the 3x4 journaling cards to create a grid style layout, which is one of my go to scrapbook page designs. 


For my background, I used the b side of blossoms and bees. I then selected six of the journaling cards and arranged them in a 3x3 grid. 


I mounted photos on to four of the journaling cards and left the remaining two - one to add some journaling to and one to keep as it was. 


I then added a few element stickers, including ‘welcome spring’ as my title, some florals, and words. 


Thanks so much for looking! 

See you again next month with a brand new collection. 

Anna 

@acraftylifewithanna

Wednesday, 23 April 2025

April crop

 We are cropping again this Saturday, the 26th April! This month's kit has been designed by Lynn, and is full of bright colours with a pretty diamond pattern... 


We will be at Otley Village Hall like we always are, from 10am until 4pm, with punches, dies, tea, coffee and homemade cakes.  

However, I'm afraid the shop won't be open this time.  Orders can be placed online (choose shop pickup when you checkout) and will be brought to the crop - they will need to be placed by 9am on Friday 25th April.

Monday, 21 April 2025

Good Vibes - Simple Stories - Simple Vintage Flower Shoppe Collection

 Hi everyone,

It’s Rebecca here today, and I’m excited to share my final layout using the Simple Vintage Flower Shoppe collection by Simple Stories. This collection has been such a joy to work with—especially now, as the sun is shining brighter and flowers are beginning to bloom again! You can find the full collection available in the shop here.


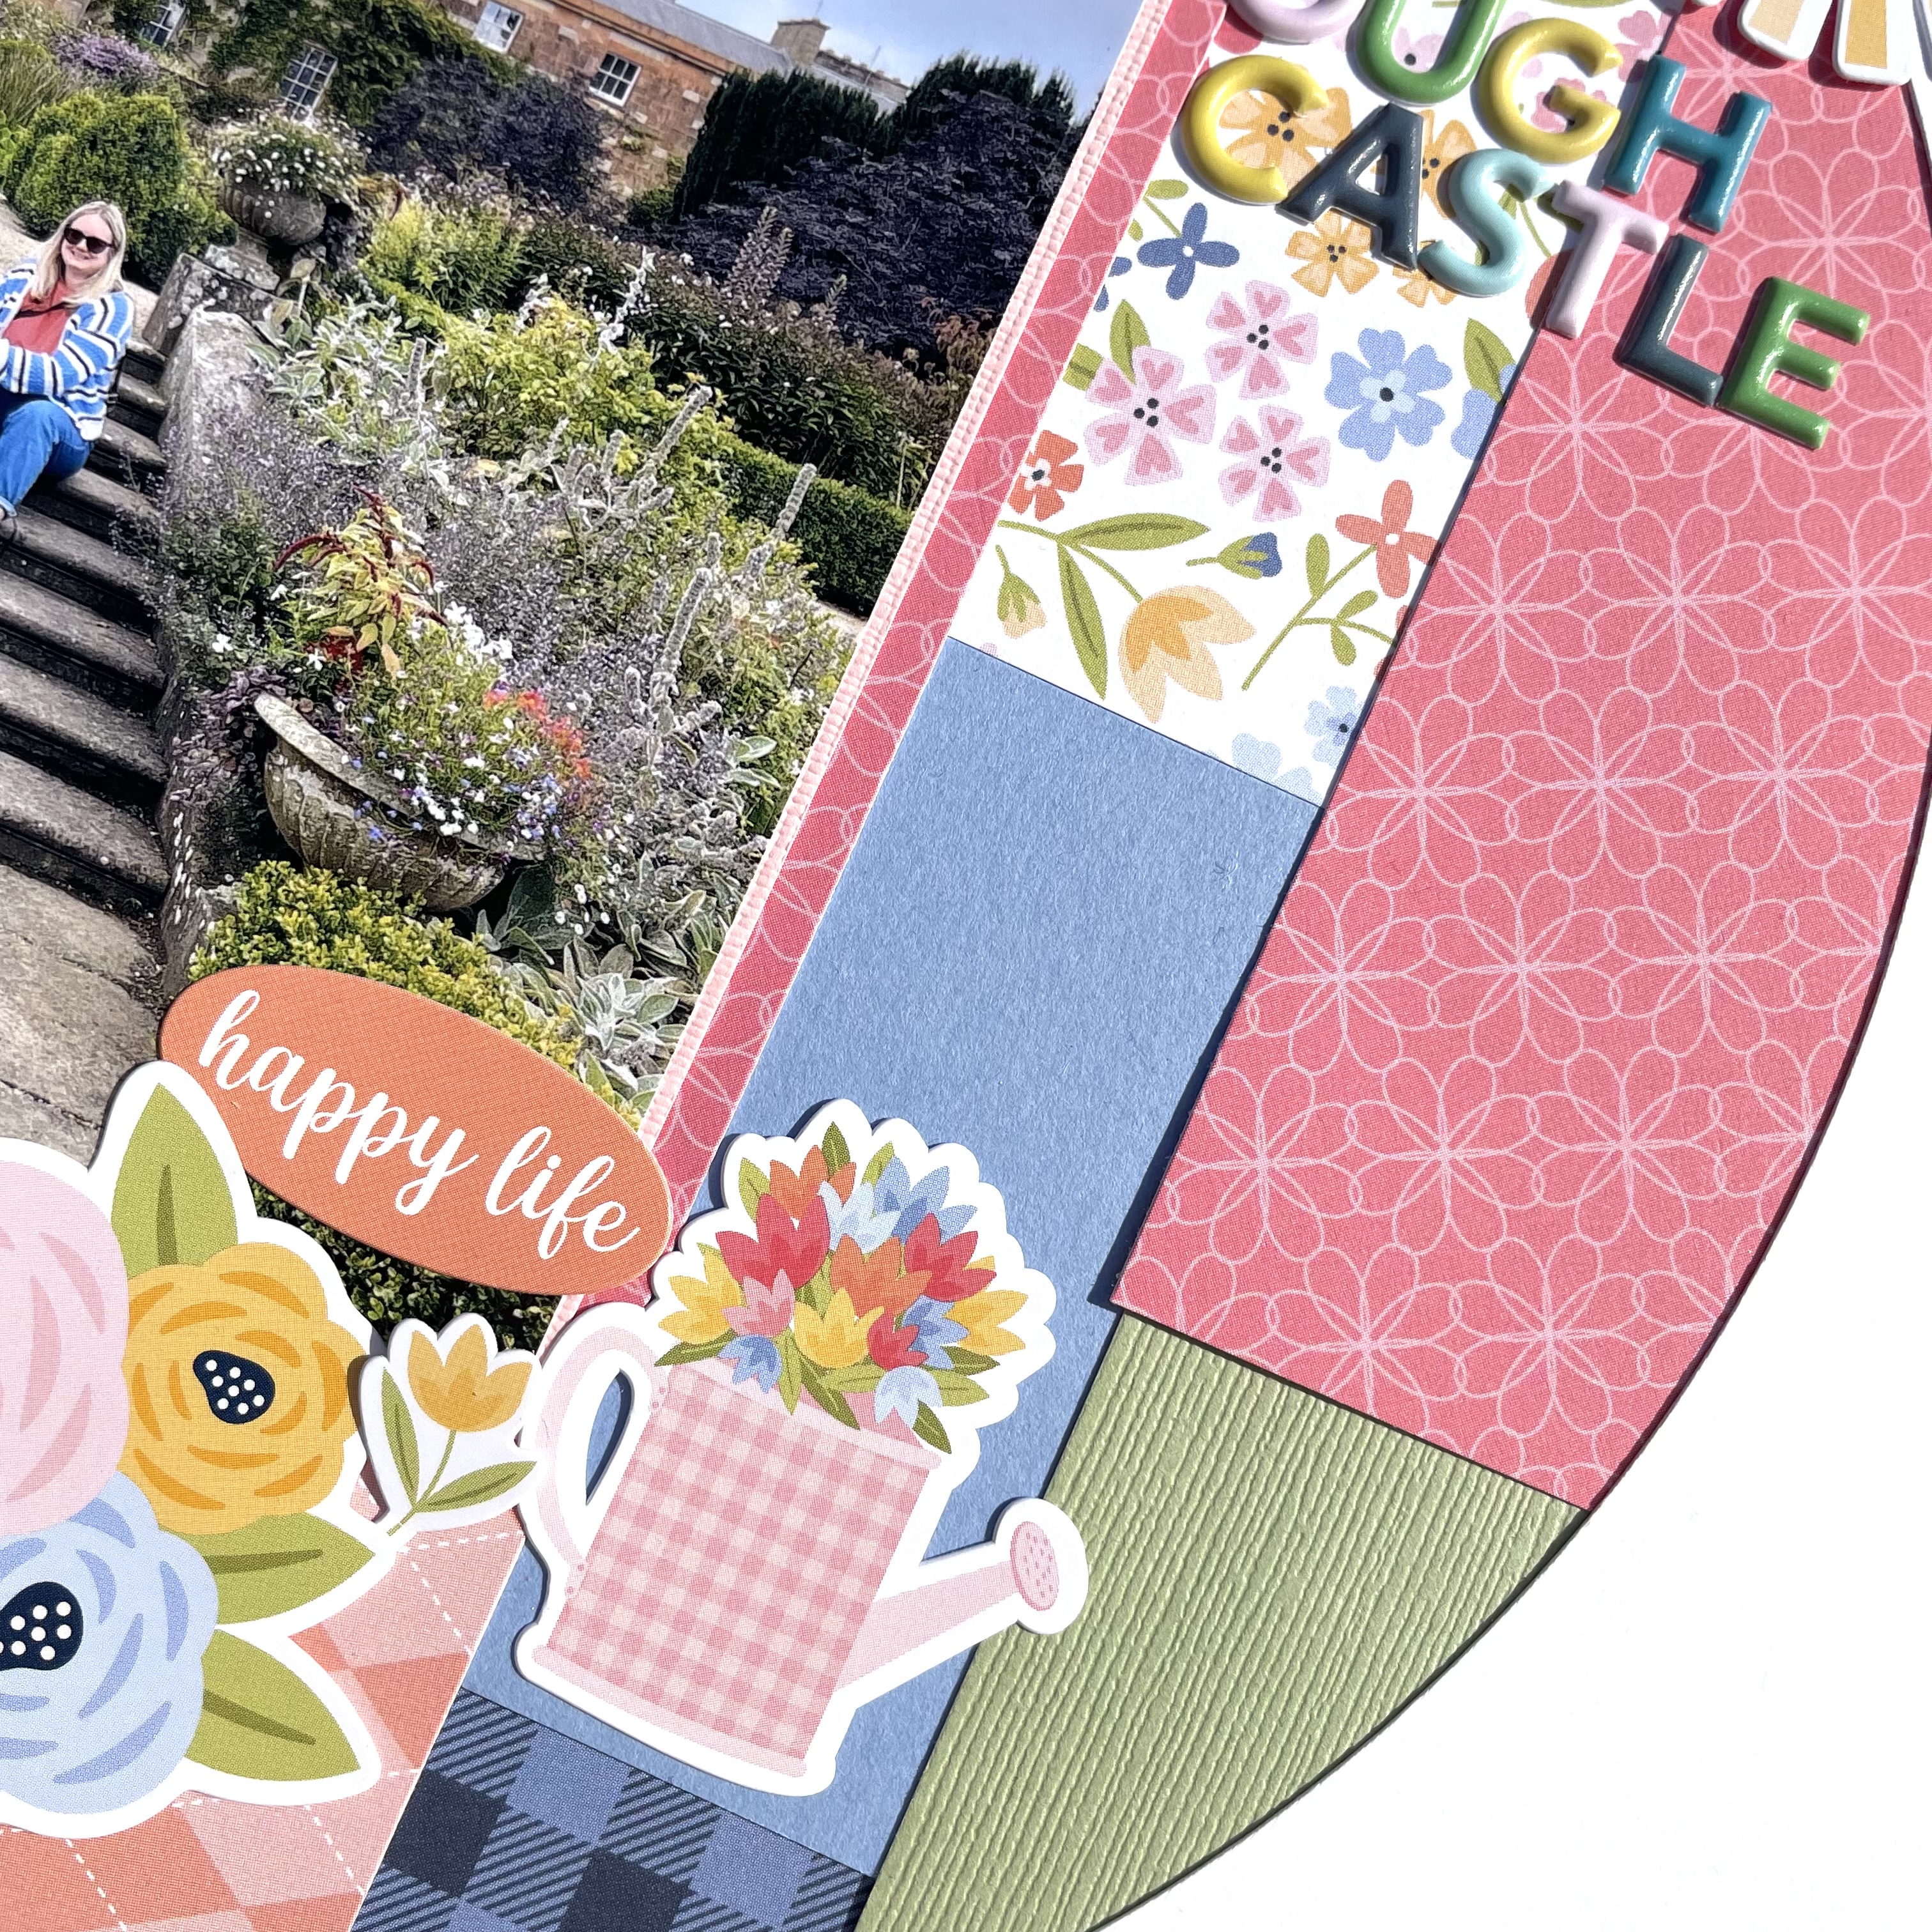
For today’s layout, I started by cutting three squares from two different patterned papers. I chose designs that complemented the colours in my photo, then trimmed the photo itself to match the same shape and size. I arranged all four squares in a diamond pattern in the centre of a sheet of Premium White Cardstock. Because of the direction we’re facing in the photo, I positioned it to the left—this way, our bodies are angled inward, drawing the eye toward the heart of the page.


One of my favourite Simple Stories products has always been the Foam Stickers—I love the mix of fonts and styles. For this layout, I picked a title sticker and placed it on the right-hand square to create a sense of balance across the design.


Having already used many of the large florals from the Floral Bits & Pieces pack, I flipped through what I had left and pulled a few smaller blooms. To stretch the collection even further, I turned to the 'Beautiful' patterned paper and fussy-cut some additional floral clusters. This is such a great way to get more from your stash!

I built two main floral clusters using a mix of those fussy-cut florals and smaller ephemera, adding foam pads for dimension. I also added a bold piece from the Bits & Pieces to the top cluster and a large Cardstock Sticker to anchor the bottom cluster.


To create a sense of movement across the page, I fussy-cut butterflies from the 'Dreamer' patterned paper and arranged them in a gentle cascade. I always attach butterflies by gluing just the body, leaving the wings free for a lovely 3D effect—almost as if they’ve just fluttered down and landed on the page.

Although I loved how the layout was coming together, the outer edges felt a little too bare. Instead of framing the whole page, I opted for thin, torn strips of patterned paper along two edges. It adds a bit of visual interest without overwhelming the centre. A couple of smaller Foam Stickers were the perfect finishing touch.


Thanks so much for joining me today. I've truly enjoyed working with this beautiful collection, and I hope my layouts have inspired you to dive into your own creative projects!

Take care,
Rebecca xx

@preciouspagespapercraft


Friday, 18 April 2025

April Papermaze Kit - Part 1

Welcome to the April Papermaze kit, This month's kit has a selection of photo papers, making it suitable for a selection of masculine, heritage and floral designs. The first two layouts are based on photo papers as the main feature of the page. As well as the six patterned papers, the kit has a collection of  embellishments. There are two sheets of Bazzill cardstock included, and you can also buy four more in the co-ordination pack.


Before looking at how I made the layouts, here are the details of what you will find in the kit.


Patterned Papers:
Mintay Papers - 
Photographer collection - #02 & #05
Stamperia - Alterego collection - Postcard & Turquoise Wallpaper
Stamperia - Create Happiness collection - Dewdrops - Wood
P13 - Love Stories collection - #06


2, 49 & Market frames, 6 pieces 49 & Market acetate ephemera, 1 strip Prima crystals, 1 sheet P13 alpha stickers, selection of Cocoa Vanilla foam stickers, 12" lace, 6" Tim Holtz filmstrip ribbon and 6x Tim Holtz brads


Bazzill Basics Cardstock - Twig & Whirlpool (included in kit). Coastal, Avalanche, Jade & Cinnamon Stick (in extra Bazzill pack)


Photography Project - This photo was taken by my daughter, as part of an A Level photography experiment. With the help of two friends who were willing to dress up and pose for her to do a film camera, black and white Victorian project, in the local park.


I started with the Mintay Papers -  Photographer collection - #02 paper, and with a craft knife I cut out the lens from the camera, fussy cutting around the flowers and smaller cameras. I printed the photo A4 size and arranged it to show through the lens.


I fussy cut flowers from
#05 paper, and layered these up with foam pads in the bottom right corner.


I placed a piece of white card under one of the 49 & Market frames, for my journalling. This was placed near the bottom of the layout near the flowers.


I created my title and date around the lens with the
P13 alpha stickers from the kit.


Seeds and Bulbs - A collection of spring flowers, photographed in my garden this year.


I wanted to make the paper - P13 - Love Stories collection - #06 into a showcase for the photos of my flowers. I started by cutting each of the drawers away from the chest. I used a craft knife to cut each drawer away, leaving the frame in one piece. I inked all the edges with Distress Ink - Walnut Stain.


I stuck the frame onto the sheet of Cinnamon Stick Bazzill.


I used a selection of Tim Holtz Sizzix dies to create an envelope, filmstrips, label holders, a rosette and tickets. These incude Alphanumeric Tiny Type Upper, Collector and Specimen. I also used the Sizzix Decorative Strip - Sizzlit mini filmstrip and mini tickets. I cut these shapes from some scrap Bazzill cardstock in Kraft and White, using more ink to distress the edges.


I printed my photos as small index prints so they would fit in the negative frames. Then I mounted others onto some white card.


I created each drawer, adding the shapes and words, labels etc. I used a few brads from the kit and others from my stash. Many items were stuck to the back of the drawers so they would be seen peeking out. Then all the drawers were replaced into the cabinet, using 3D foam pads to raise them up from the background.


Other items I included were, lolly sticks, wooden leave fronds, skeleton leaves, twine, key charms, and some stickers from a previous kit. I also used the Tim Holtz filmstrip ribbon from the kit.


That's all for today, I'll be back with more from this kit soon.
Thanks for looking
Lynn x

Wednesday, 16 April 2025

Mintay Paper Blossom Serenity

Hello Karen here! Today I have another project to share with you, featuring the beautiful Blossom Serenity collection from Mintay Paper. I've created two birthday cards using papers from the collection and the coordinating paper die-cut pack. I really enjoy making cards with scrapbooking papers and embelishments - it's like designing a tiny, photo-free scrapbook page!


As well as papers and die cuts, I also used some pink cardstock, white glitter cardstock and some ribbon and sequins from my stash,

I die cut, using a manual die cutting machine, some glittery doilies from the glitter cardstock to add some sparkle to the cards and also layered more glitter cardstock beneath the paper and cardstock layers.


The die cuts in this collection are so pretty and for these cards I chose to use the girly die cuts as well as some birds and butterflies.


Some sheer ribbon was attached horizontally to the cards and a die cut pink cardstock sentiment was added.


Finally I added some pink sequins for even more sparkle.

Thank you for dropping by today and I hope I've inspired you to create some cards with your scrapbooking supplies.

Until next time, Take Care. Karen x x


Friday, 11 April 2025

Echo Park ~ Blossoms and Bees 🌼 #1


Hi everyone, it’s Anna back with you today and this month I’m working with one of the latest releases by Echo Park - Blossoms and Bees. 
You can find the collection in the shop here


I started with a sheet of white bazzil cardstock and I cut a circle out of the middle. I also had a thin white boarder of cardstock leftover from a cutfile, so I put it to use and used my distress ink in the shade of shabby shutters to make it stand out on my layout. 


To create the background of the circle, I cut out lots of sizes of patterned paper and coordinating cardstock. I adhered them to the circle that was cut out and layered all of the pieces together. 


I fussy cut several of the florals from sweet blossoms, cut them in half and then arranged them in the corners of the boarders.  


I backed my 6x4 photo on to coordinating cardstock and placed it over to the left hand side of the circle. I then began to embellish the layout by layering around it. 


I cut out a sentiment from the 3x4 journaling cards snd placed under my photo and I also used several element stickers around the layout. I added a title using PinkFresh Alphas. 


Thanks so much for looking! See you later in the month for an another layout using this collection. 

Anna

@acraftylifewithanna

Wednesday, 9 April 2025

Blue Skies - Simple Stories - Simple Vintage Flower Shoppe Collection

Hi Friends! 


It’s Rebecca here on the blog today. I absolutely loved working with the Simple Vintage Flower Shoppe collection last month, so much so that I decided to continue creating with it this month! It’s the perfect collection for this time of year, and I’m having so much fun with it. It’s a stunning spring collection from Simple Stories, and you can find it in the shop here.


For today’s layout, I started by cutting several circles from patterned papers using a set of metal nesting dies. I arranged four circles horizontally across the centre of a sheet of Premium White Cardstock, leaving a gap in the middle for my photo. Since I had cut the circles from the patterned papers, I wanted my photo to be circular as well. To help it stand out, I backed it with a larger circle of patterned paper and raised it up using foam.


Once the circles and photo were in place, I picked two words from the Foam Stickers for the title. I placed one above and one below the photo for added interest.


Next, I added a few florals from the Floral Bits & Pieces, creating three small, subtle clusters on the page.


To extend the layout vertically, I fussy cut several butterflies in different colours and sizes from the 'Dreamer' patterned paper and arranged them cascading down the page through the photo.


Feeling that the layout was a little top-heavy, I decided to tear the bottom section of the white cardstock, and back the area with patterned paper to bring some colour to the bottom of the layout.

I finished the layout with a couple of Cardstock Stickers, raised up on foam pads. I love the simplicity of this design and how beautifully the butterflies flow down the centre of the page.

Thank you so much for reading! I hope you like my layout and that it inspires you to start creating.


Take care,


Rebecca xx
@preciouspagespapercraft


Monday, 7 April 2025

Mintay Paper Blossom Serenity - Spring Tulips

Hi everyone, Karen here. As I write this the UK is enjoying some lovely spring weather and my garden is starting to come alive with tulips just starting to bloom. Today's layout features a photo of some gorgeous tulips, created using the beautiful Blossom Serenity collection from Mintay Papers.

I started my layout by layering a slightly smaller piece of white cardstock onto a 12x12 black cardstock background, which created a nice thin border. 

Then, I grabbed my mini brayer and added some pink acrylic paint to the centre of the white sheet as well as some splatters. It's a shame that most of it gets hidden later, but the little bits that do show really add something to the design. 

Next, I layered pieces of papers #1, #2, #4, and #9 onto the layout. Using my sewing machine and white thread, I added a straight stitched border around all the edges for texture.

My 4x6 photo was matted with black cardstock and placed on top of the patterned papers.

I then got my Silhouette out and die-cut the title from some black cardstock, which I  stuck beneath the photo. I really like how the mix of fonts , and the black title really pops against the lighter colours in the patterned papers.

I also die-cut a couple of tulips and added these to the right of the photo.

On the sheet of paper sticker words I found some appropriate word strips and added these above and below the photo.

Butterflies from the Paper Die Cuts Pack were used to embellish the layout.

Finally I added the date at the bottom of the layout and dotted some black sequins here and there.

I hope you like this layout and that you check of the Blossom Serenity collection in the shop.

Take Care, Karen x x