Friday 29 April 2022

Journaling For Beginners - How to Feel Free & Scrap with No Rules

 Hiya,

I wanted to share some journaling with you today.

I have a video with a pully out page and I chat and share tips for journaling beginners but also talk about scrapping with no rules.

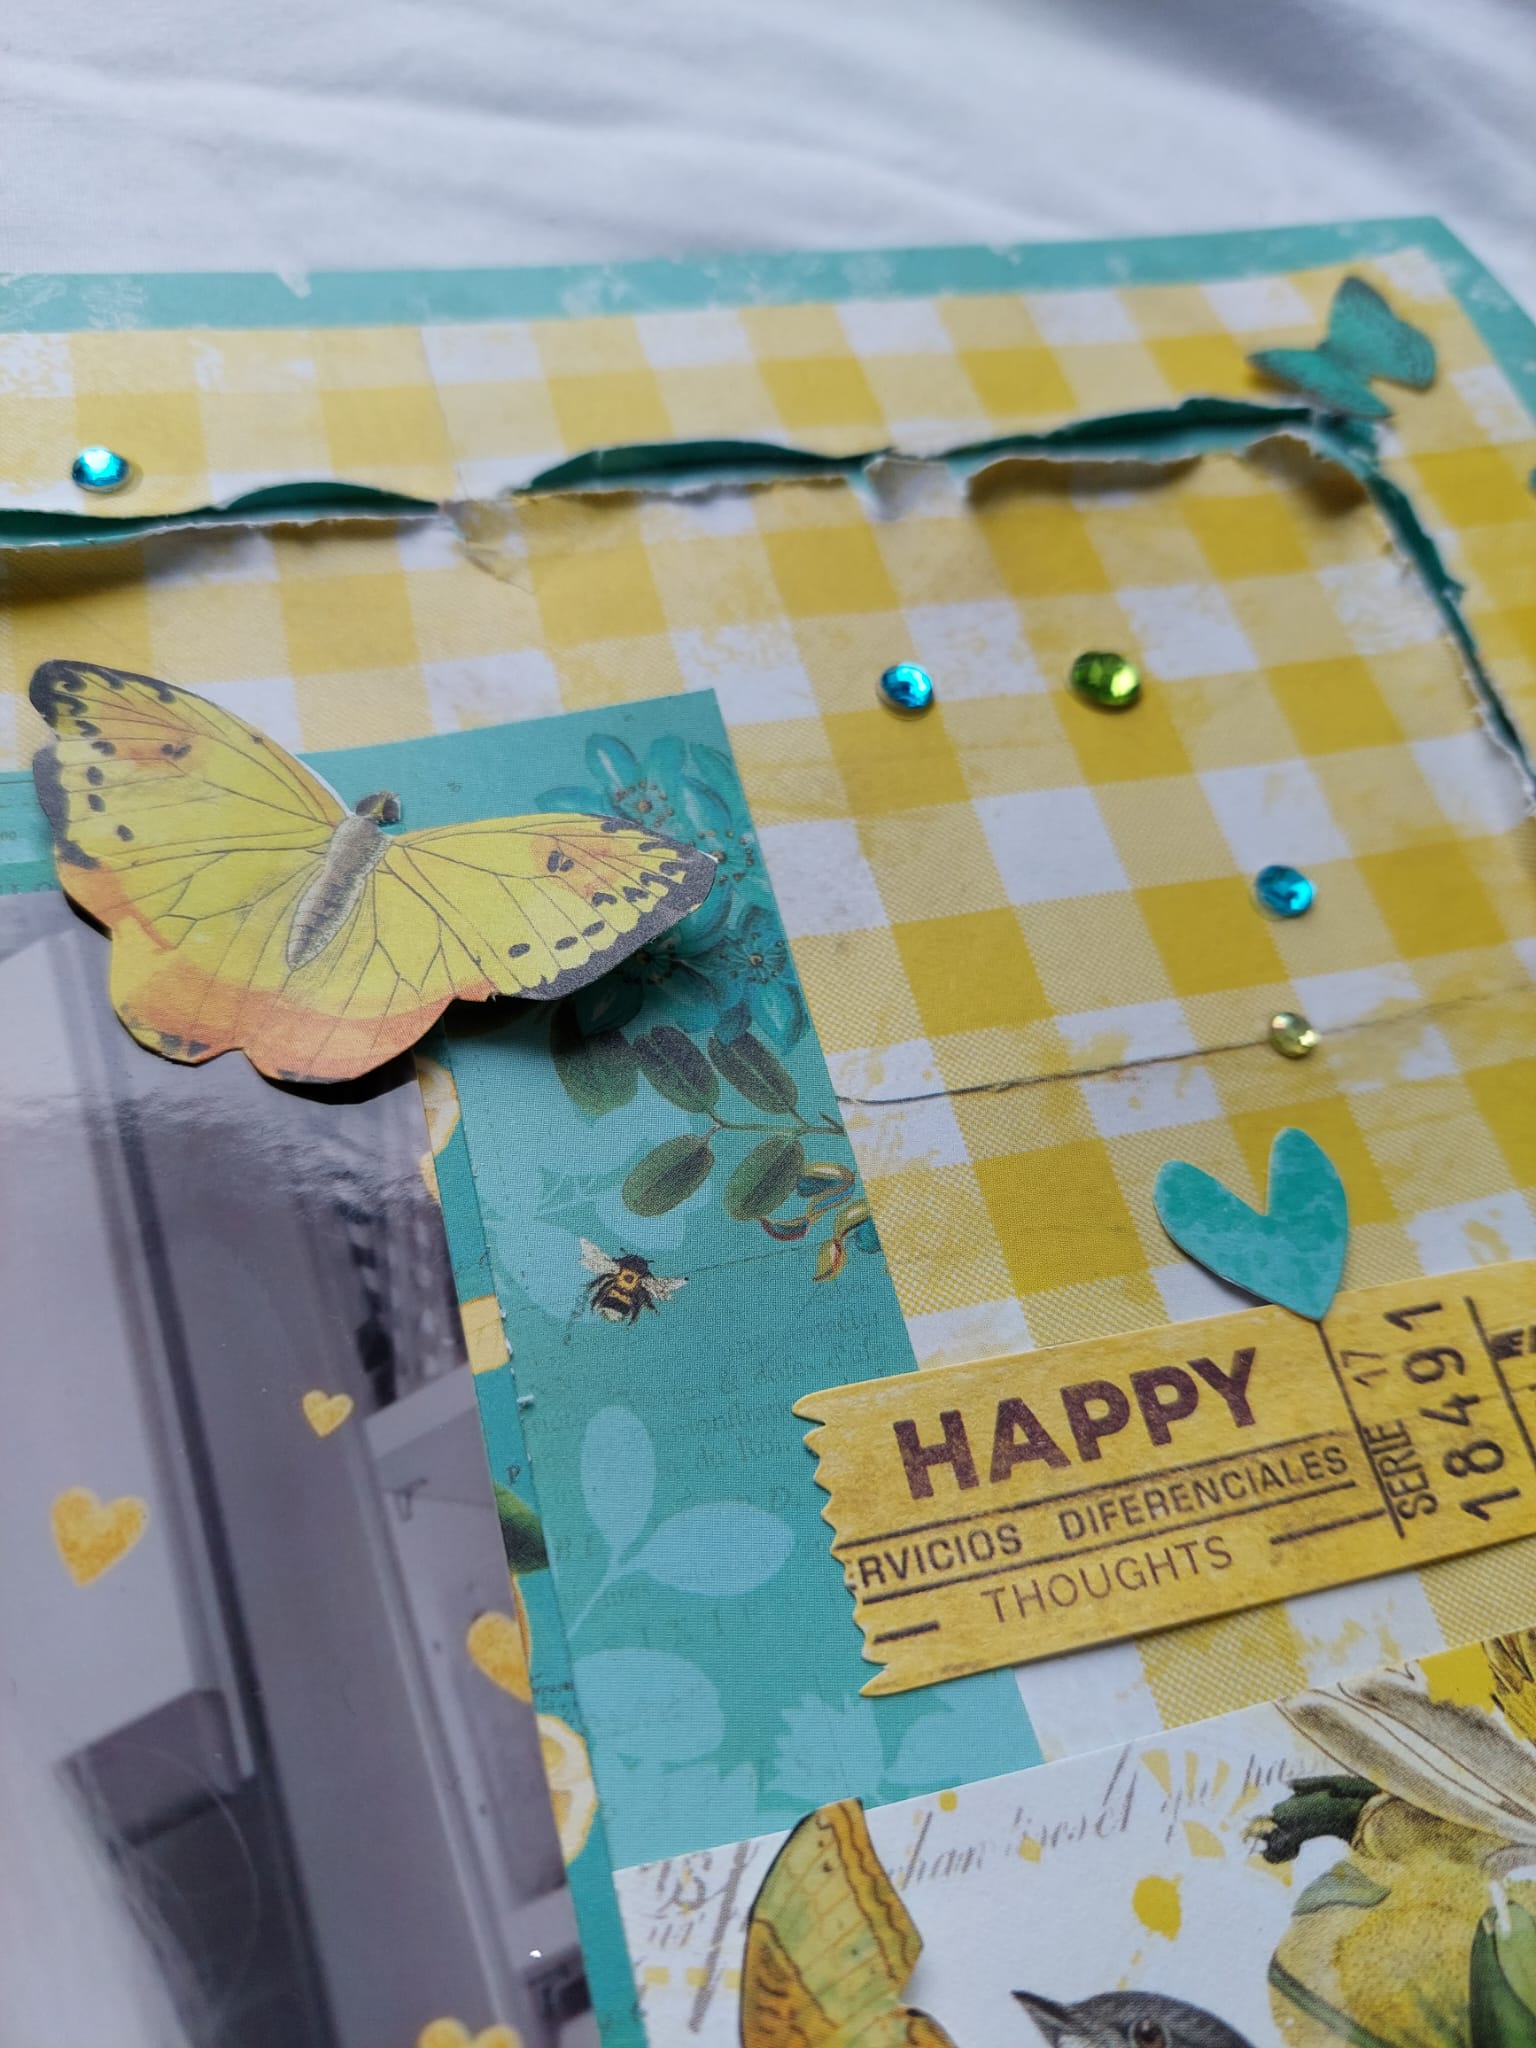
I'm using the amazing paper collection from Doodlebug Designs called 'Lots of Love' here.


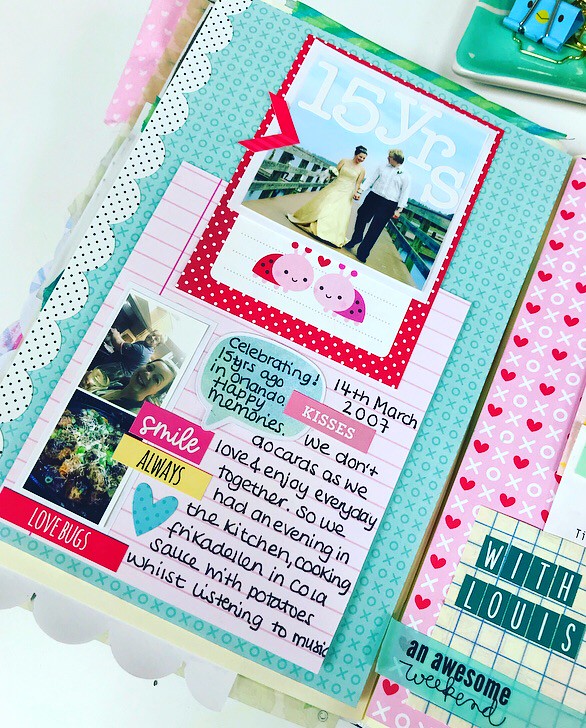
For example, this piece here, ''25 things I love about you'. It fit so well on my page but I wanted it for regular journaling. I could have stuck a different title over the wording but I decided to keep it. I like it. It doesn't matter that I haven't added 25 things, because it's my journal and my rules. Doesn't matter if anyone else things it's odd right?!


Take the 'memories' card next to it. 

That had some flowers in the right corner, I wasn't fussed with those either, so I stuck a photo over them and now that card is so perfect for my page : )


I also don't let myself stress over things. 

See that cute white scalloped edge with the dots?

It's only there as I stuck the paper down so badly. It's wonky under there and I needed something to hide it. LOL.

And now it looks so cute!!


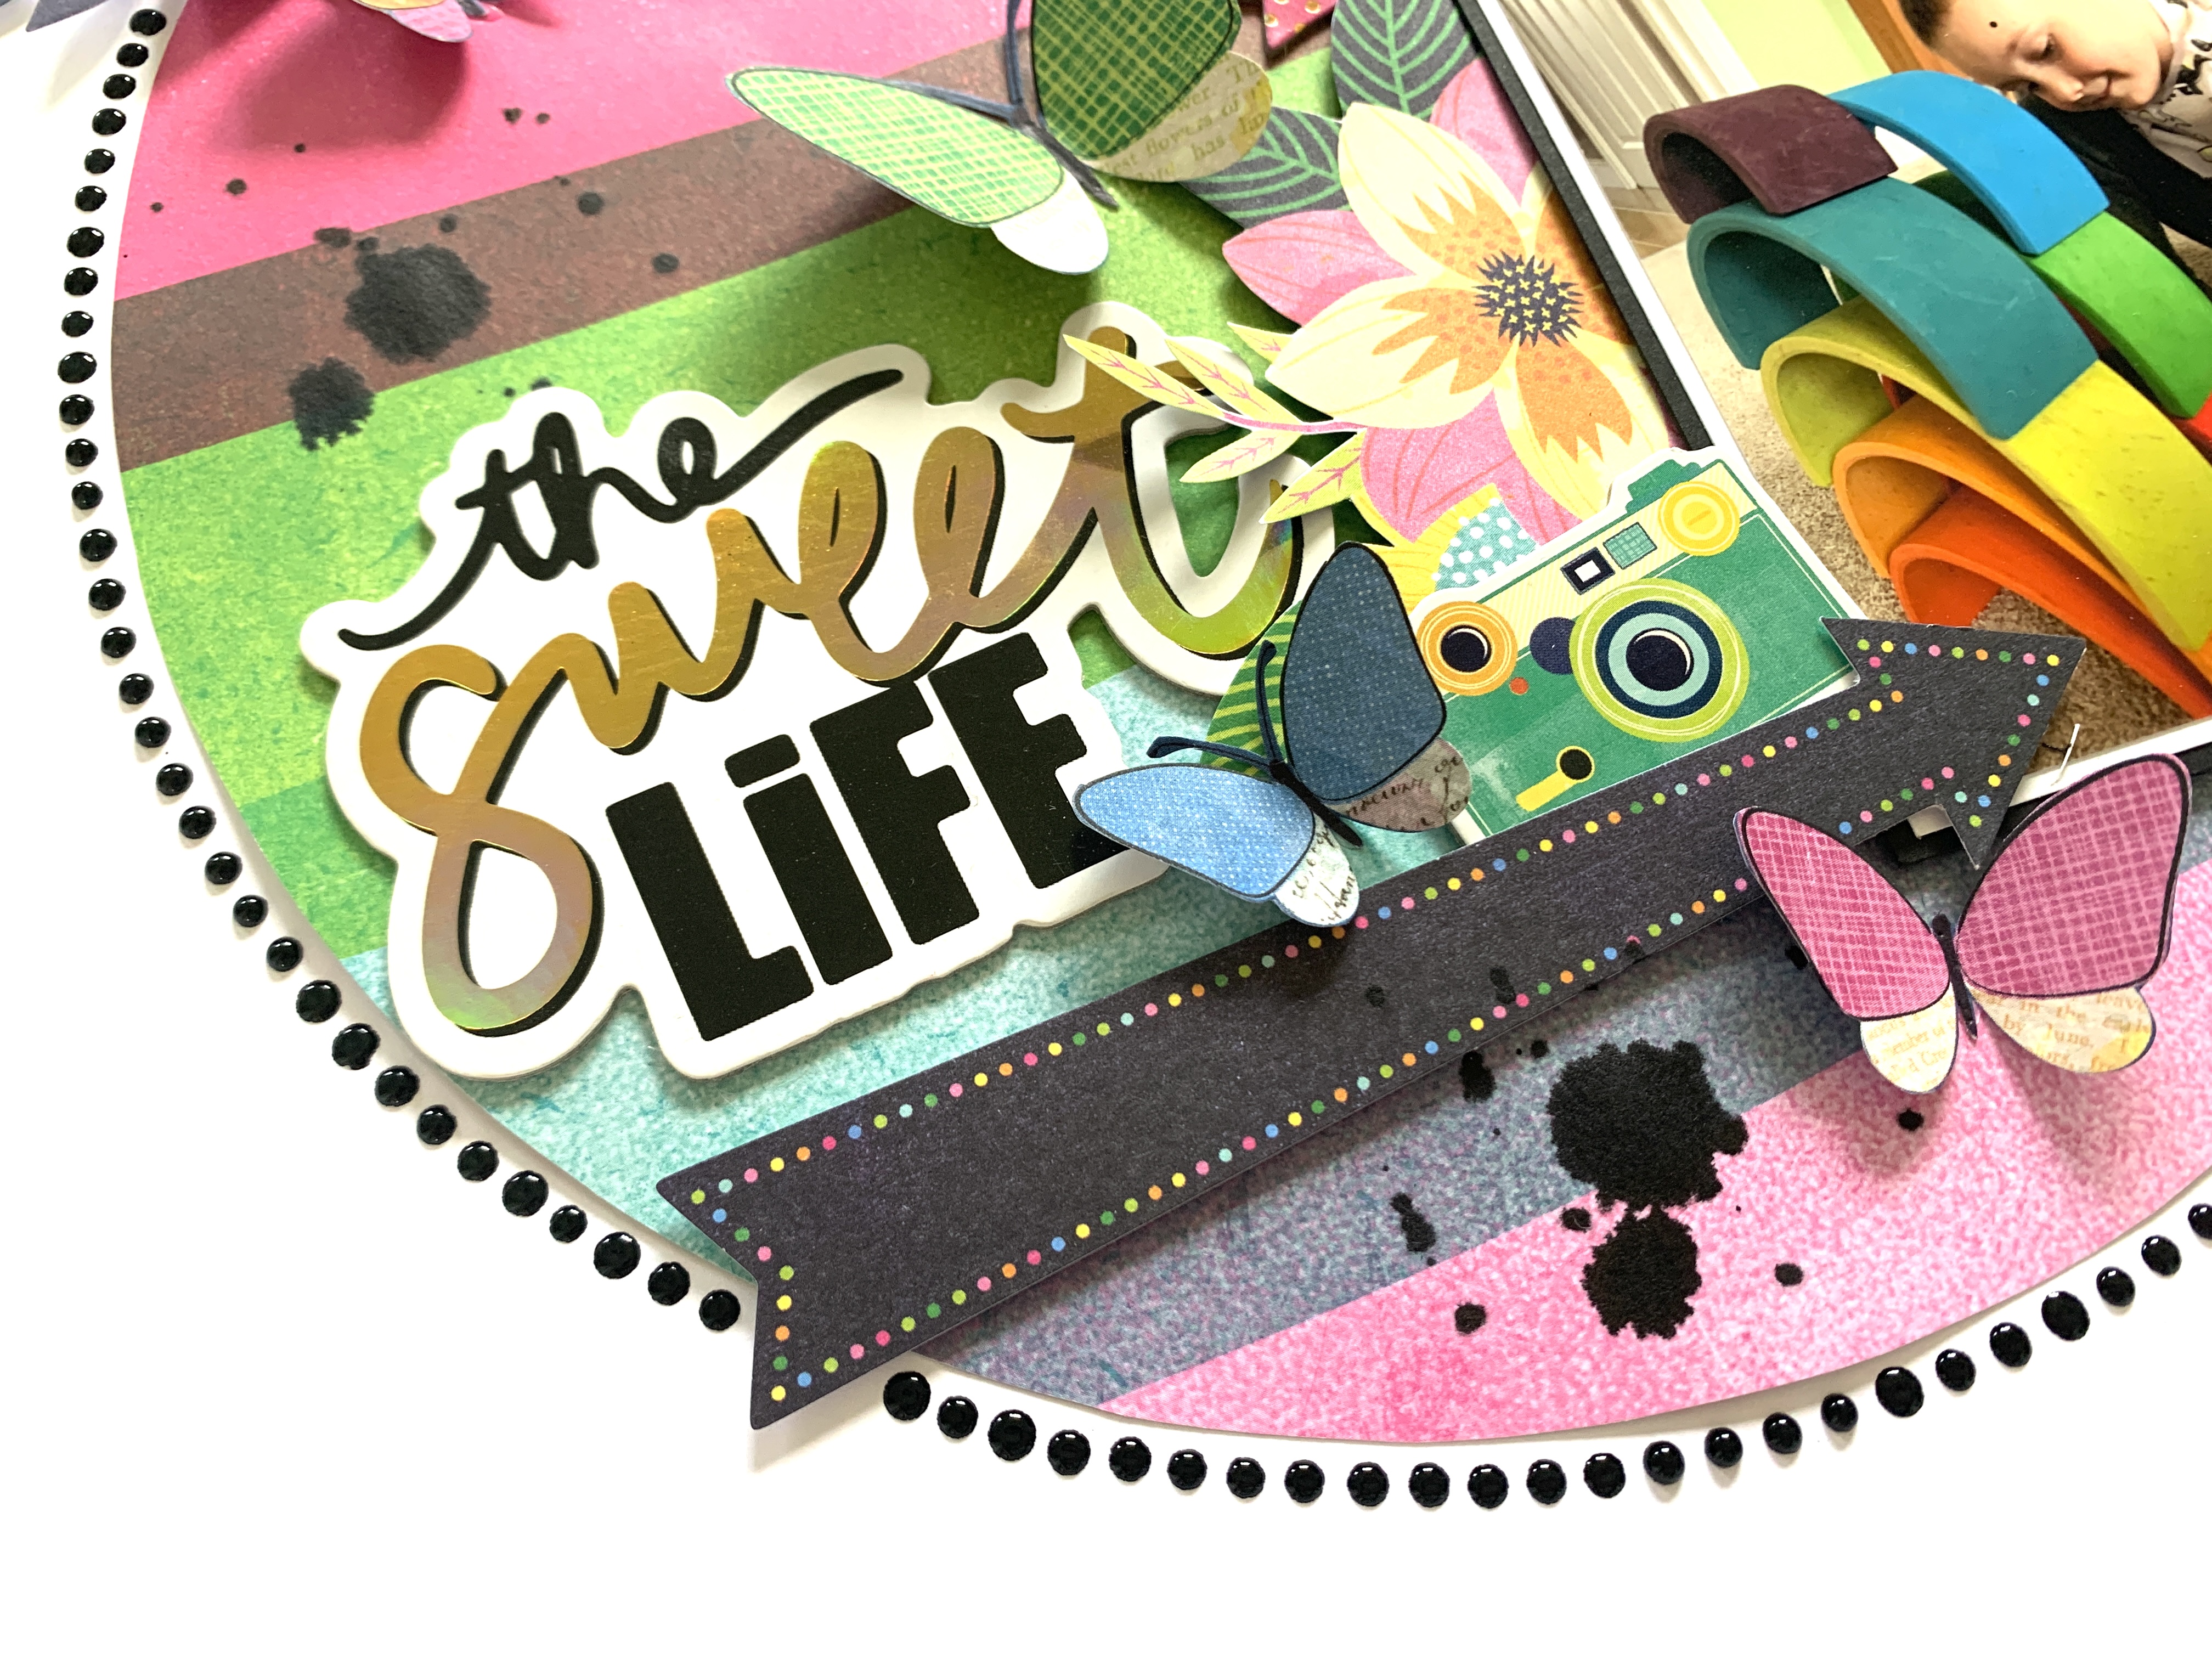
I love working with contrasting colours and seeing different colours pop up on a page like here.

The stickers on the big 12x12 sheets that coordinate with the papers really help me to do that.

It's a quick and easy way to add extra colour.


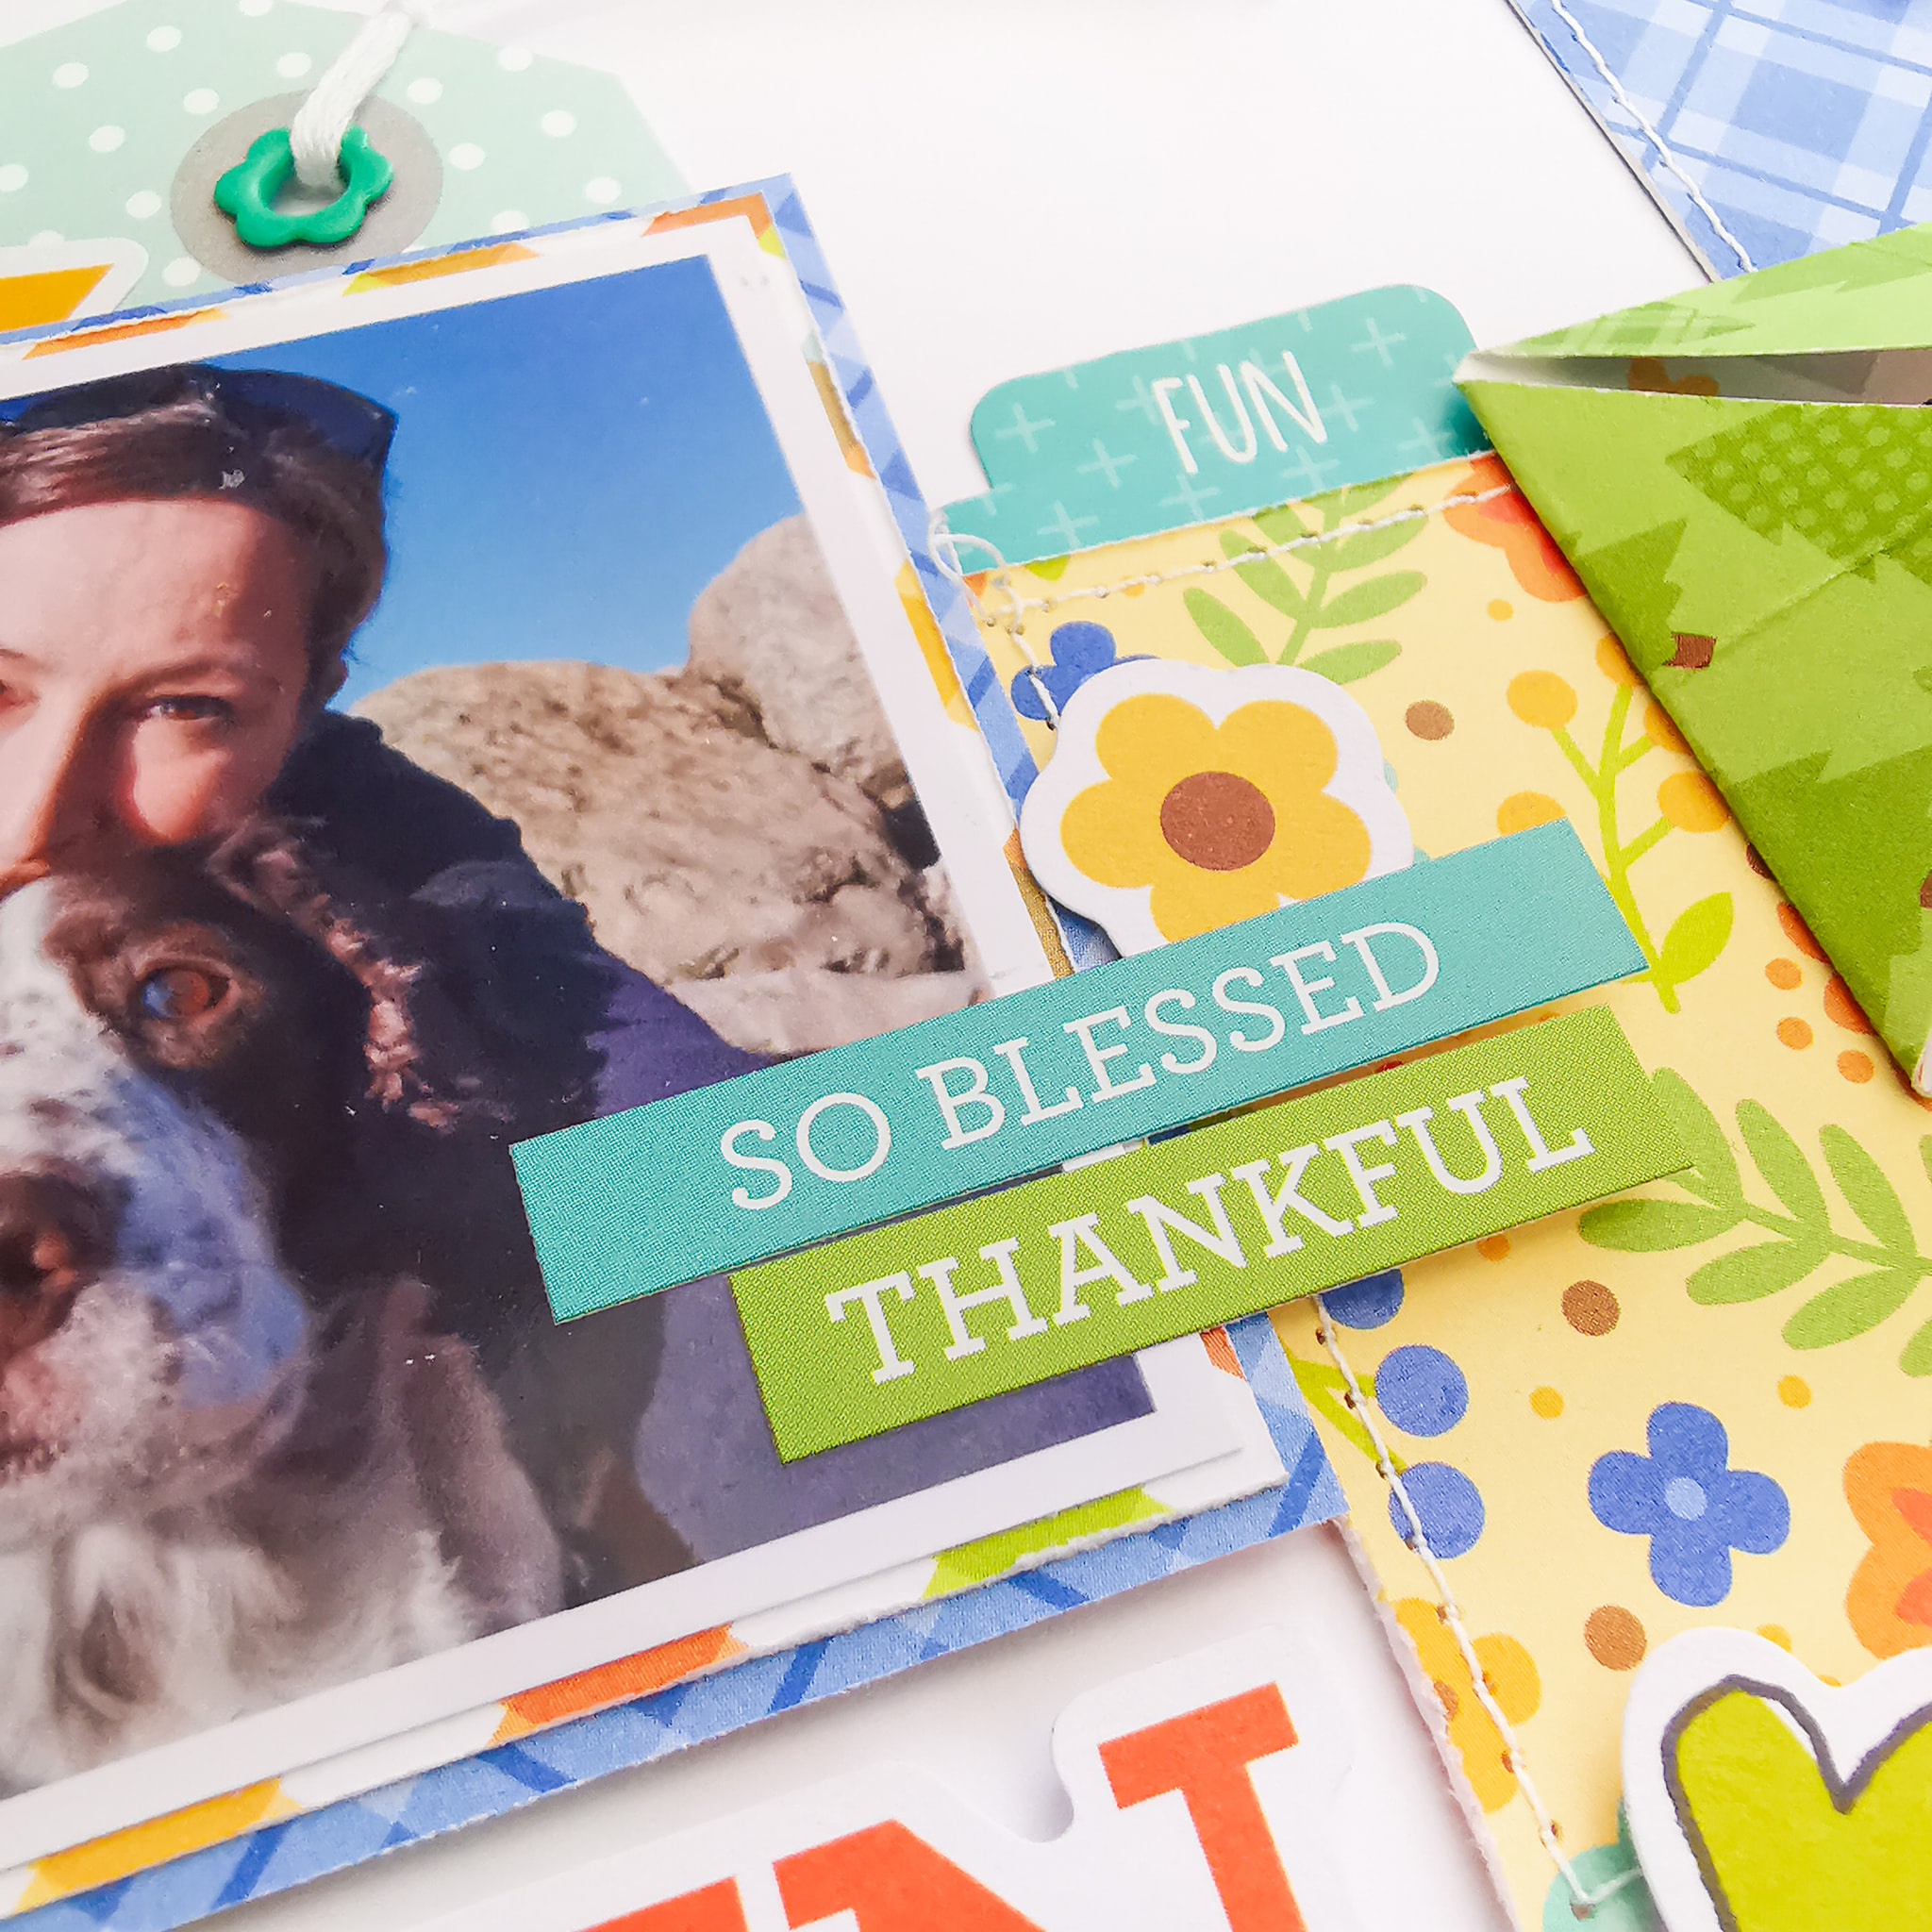
You can see more of the stickers here.

I love that green chevron pointing to my son.

The stickers add so much fun.


I love using 12x12 papers on my journal pages as you have so much to play with. 

I was able to stick the pink heart paper in here and fold a couple of times to create this folded pull out page. Such a fun way to add extra photos and stories. 


I hope you like this fun page.

It's a week of my life in my weekly journal.

I love documenting my life in the fun way that I feel so free to do.

Combining scrapbooking & journaling.

No rules!!

If you'd like to see the video, it's here.


Thanks so much.

Lisa xx


Thursday 28 April 2022

April Crop

 We are round to that time of the month again - it's time for our monthly crop!  We are at Otley Village Hall from 10am this Saturday, 30th April until 4pm.  This month our crop kit features papers from the Life Right Now collection by Pinkfresh Studio...


There will be the usual home-made cakes and a variety of punches and dies to use.  Drop us an email if you'd like to come along!


Tuesday 26 April 2022

April Papermaze Kit - Part 1

Lynn here today to welcome you to the April Papermaze Kit, full of pretty pastel papers, cardstock and embellishments for spring and Easter themed layouts. I have created two layouts for my first post, with photos taken at Easter time.


Before looking at the layouts in detail, here is what you will find in the kit.

Patterned Papers:
P13 - Hello Spring - #02 & #06
Echo Park - My Favorite Easter - Happy Day & Picking Plaid
Photoplay - Hop To It - Spring Has Sprung
Lawn Fawn - Watercolor Wishes - Larimar
Bazzill Basics Cardstock: African Daisy & White


Embellishments:
9" washi tape, Lace, banner, 6 easter stickers, 2 3D bows, strip of enamel dots & 5 Perspex domes,
Rosie's Studio Puffy Stickers*

*Mini puffy alpha stickers had to be replaced with Pinkfresh Studios due to supplier issues beyond our control!


Optional Extra Bazzill Basics Pack:


Coral Cream, Nixon, Stonewash & Limeade


Egg Hunt - My children at their Nan and Grandads' house, about to hunt for Easter eggs in the garden.


This layout was inspired by the pretty spring floral wreath featured on the Hello Spring #2 paper. Having just purchased some Tim Holtz Sizzix dies to make some Easter cards, I decided they were perfect to use them on the layout too.

Using Mustard Seed, Worn Lipstick, Spun Sugar and Picked Raspberry Distress Ink I inked all the cut edges of papers and card.


I mounted my photo onto some Coral Cream Bazzill and with a craft knife I cut around the top of the flowers in the bottom right of the wreath, so I could slip the photo in place, and retain the flowers.


I used the chipboard banner and used three shades of Distress Ink to create shading. With Tim Holtz Sizzix Thinlits Alphanumeric Label die set and African Daisy Bazzill, I cut the words EGG HUNT and glued them in place. Then I placed the banner towards to top left of the wreath. (Before cutting shapes from the African Daisy Bazzill, I gutted an area from the centre to use, leaving the remainder for the second layout - See below.)


Then I had fun with the dies from Tim Holtz, Sizzix Thinlits die sets - Papercut Chicks Colorize and Bunny Games. I used Bazzill from the kit and scraps from my stash. Once I had built and inked the eggs, chicks, bunnies and flowers, I arranged them around the wreath. Some of the die cuts were raised with 3D foam pads. 
 

I used three large egg die cuts to add my handwritten journalling and arranged them onto the page. Finally I added one of the bow stickers from the kit and a few Dew Drops from my stash.


Barbie Girl - Emily was not a Barbie fan so I was amused to find these photos of her, with the trainers and doll she received for her 5th birthday. For this layout I used an April 2022 Page Map Sketch.


I started by gutting the Happy Day paper, making a 2.5cm frame for my page with the floral side up. I trimmed the African Daisy cardstock to 29cm x 29cm and placed this centrally over the frame.

With the remains of the Happy Day paper I cut a piece 23cm x 23cm and placed this in the centre of the cardstock.

All my cut papers and cardstock was inked with Distress Inks, I used Mustard Seed, Picked Raspberry, Worn Lipstick and Salty Ocean.

I cut a piece of Spring Has Sprung paper 15.5 wide and 18cm long. I arranged my photos onto this paper (yellow polka dot side up) and placed it to the bottom right of the gingham paper. I cut a 12.5cm circle from the butterflies side of the Spring Has Sprung paper and this was placed to the top left of the page. 

I used the Cricut to create the title using some Barbie pink cardstock from my stash, I mounted this onto white cardstock and trimmed around the edges. The title was placed over the circle. 


Three small tags were die cut from white card using Tim Holtz Sizzix Thinlits Tag Collection set. I added the date to one of these with the Label alpha dies I used on the previous layout, and some had written journalling. More journalling was added on strips of cardstock placed below the title.


With coloured jute twine from my stash, I embellished the tags and added some across the photos with another bow from the kit. 

That's all for today, back with more from this kit soon.
Thanks for looking.
Lynn x

Monday 25 April 2022

The Sweet Life - Vicki Boutin - Sweet Rush Collection

Hello, it's Rebecca with you today sharing my second layout using the bright and beautiful 'Sweet Rush' collection by Vicki Boutin. The full collection has finally arrived and is now in stock here.


I had an amazing photo of my little boy playing with his Grimm's Rainbow on my photo pile and I thought this collection would be perfect to scrap it. Starting with a sheet of the Simple Pleasures patterned paper, I cut a circle about 9 inches in diameter and adhered it flat to the centre of a sheet of Premium White Cardstock. I love how the colours match my photo and look almost like a rainbow.


I placed my photo, already matted onto black cardstock, to the bottom right of my circle - raised up on some craft foam for dimension. Then, using my Cutter-Bee scissors, I fussy-cut some florals from the Perfect Day patterned paper and placed them either side of the photo to create some clusters. To help balance the page, I also placed a floral cluster to the top left of the circle. This cluster is from the Icon Ephemera and I cut the white border off so that it matched the other florals.


I absolutely adore the Phrase and Icon Thickers in this collection and selected 'The Sweet Life' for my title. I placed it to the left of my title and love how it pops with the white border against the coloured background. 


To build on this cluster, I also added a camera icon from the same pack, and also a large arrow from the Icon Ephemera. 


I don't think a 'Sweet Rush' layout would be complete without some fussy-cut butterflies courtesy of the Soar patterned paper...so those were the next thing I added. I tried to place them tone-on-tone to match the colours in my background circle. As always, I only placed some wet glue behind the body of the butterflies and left the wings free so that I could bend them up slightly. I love how realistic this makes them look - as if they have flown down and landed on my layout!


Finally - I added a bit of drama to the page with some black! I created a ring of black Nuvo Drops around the edge of my patterned paper circle and finished off with some large black splatters.


I hope you've enjoyed this layout and it's given you some inspiration. This collection is stunning with all it's bright colours - Vicki Boutin has really outdone herself (again!).


Until next time, take care.


Rebecca x

@preciouspagespapercraft


Echo Park ~ My favourite Easter #2

Hi all, it’s Anna back on the blog today. I’m still working with Echo Park’s My favourite Easter and I have another scrapbook layout to share with you today. 
You can find this collection in the shop here.


For this layout, I used the b side of the ‘sunny floral’ paper as my base. I then cut a honeycomb cutfile by Paige Evans, I’ve used this one before, I find it really versatile and super easy to back too!
I selected a few of the patterned papers from the collection to back the cutfile.


I selected a 6x4 photo and mounted it onto a piece of patterned paper.
I then fussy cut some floral clusters from the Easter Bouquet paper and tucked them around my photograph. 


I also cut out a few pieces from the cut apart paper - multi journaling cards - adhering them around my photo too, adding some with 3D foam pads. I also selected some chipboard accent pieces.


I added a bow from my stash to the cut apart tag and that was me done!


Thanks so much for looking. See you again soon! 

Anna 
X

Monday 18 April 2022

Doodlebug Design - Great Outdoors - Fun Memories

Hello Everyone, and a very Happy Easter Bank Holiday to you all!

Today I'm sharing my fourth and final layout using the Doodlebug Great Outdoors collection - and what a perfect collection to document the Bank Holiday adventures - especially as we've had such fabulous weather! 

My layout today documents one of our favourite pastimes - a trip to the beach! Although this isn't a beachy collection, there are so many elements that work perfectly as well as the typical outdoorsy icons that complement the design.


I started with a piece of white cardstock and the Sleeping Bag paper. It has this bold blue plaid pattern on one side, and lots of cut apart strips on the reverse. I cut 3 squares (2.5") in the blue plaid, distressed the edges and added machine stitching. I scattered these across my page to create the base of the design. 


I complemented this with 2 squares of Wildflower paper which has a beautiful floral design.

Next, I created some smaller dimensional squares using the Great Outdoors paper. These were about 3" flat. To create the dimension, I folded the points of each side to the centre, folding to create the effect.


I lay the squares horizontally across the page, before adding my photo in the centre. I embellished the photograph using a tag from the Tag Along paper and a lovely big sun from the Odds & Ends Friendly Forest Pack.


To create a bit more dimension, I cut some smaller 1" squares in the Wildflowers paper, this time using the b side of this colourful check pattern. I raised these up on foam and outlined in black pen to help them stand out.


I embellished these with lots of stickers from the This & That Sticker Sheet. I also scattered some hearts and flowers from the Odds & Ends Friendly Forest set. 

I positioned my title centrally under the photo, using some of the statement words from the Odds & Ends Chit Chat Pack , underlining it with a scalloped edged sticker from the This & That Sticker Sheet.


Also from the sticker sheet, I took the blue scalloped edge sticker and paired this with a striped strip of paper from the Sleeping Bag paper to create a border at the bottom of the page. I think this really helps to 'secure' what is otherwise quite a 'floaty' design.

Along the border, I created a small cluster, using trees (Friendly Forest Pack) and a banner (Chit Chat Pack)


As an extra detail, I added a vertical banner from the Chit Chat Pack to one of the squares, along with some Nuvo Drops in coordinating colours, and added a black doodled border around the whole page.

I thoroughly enjoyed making this page. It was fun to experiment, and stray away from my usually centred designs. This collection has really allowed me to explore how I create and gave me so many creative ideas. 


I really hope you've enjoyed seeing these pages and have given you some inspiration for future projects.

Until next time, have a fabulous Easter break and take care.

Claire xx
@Scrappysoulamte


Friday 15 April 2022

Simply Me .... using Simple Stories Vintage Lemon Twist

Hello again
Anita here with you today with a layout I have created using the vibrant and zesty Vintage Lemon Twist. Such a pretty and eye catching colourway and there are a lot of gorgeous co-ordinating stickers, chipboard elements, die cuts etc to compliment it.


 I tried various photos with this page and settled on this one of me ( with some kind help from a Snapchat filter!) I backed the page with a sheet of Easy Peasy on the lovely aqua coloured reverse side.

The zesty lemon gingham sheet is called Freshly Squeezed and really pops against the aqua blue!

I trimmed the sheet down to 29 cms square to leave a small aqua border all the way round and create a frame. I then cut a 24cms inner square from the centre of the sheet and started to distress all the inner edges of that square, with some small torn areas to add to the texture and effect. The aqua then showed through the gaps and created an inner frame. I often use this technique on my layouts as I really like the effect it gives.


From the sheet of journal elements I cut various parts out from different panels to embellish the page and used some whole panels to make a layered mat for the photo to sit on.


Bee Happy is lovely on both sides and I cut a few different sized circles out and rolled them to create rolly roses. If you google them you will find lots of tutorials to help you make some. I know they make your page VERY lumpy but they are good fun and the layout would look amazing in a deep box frame!


I added some fine mesh ribbon that I tucked in under the roses before sticking them on the page using my hot glue gun...I really love using this for larger embellies because of how fast it is and how strong it sticks.

To finish off the page I added a few elements from the Bits and Pieces pack and of course a sprinkling of flat backed gems....jeez I love them ( and have a vast collection in many MANY colours!)


And that's it. I hope you have enjoyed seeing my page, I really enjoyed creating it.

Simple Stories is one of my favourite Manufacturers and there is a vast selection of their collections in the shop HERE...why not sit and have a good look yourself, there are themes there for literally every occasion.

Warmest wishes

Anita xx