Wednesday 28 February 2024

Hello Spring Time Memories


 Hello!!

I'm creating a page in my travel journal today from a fun day out last Spring.

I'm using this Simple Stories collection today. Vintage Spring Garden.

It was this paper here that first caught my eye and drew me in. I knew I had to use it.


I used one strip of the tags as a pocket at the bottom of my page and then cut out some more to place in the pocket with photos one side and journaling on the other.


The 12x12 sticker sheet is so fun to use.
Look at this big 'hello' and I popped a blue heart on the tip.


I kept a brown paper bag from the gift shop so I used this. The contract worked so well.


And using this paper here, I cut a piece to use as my hidden journaling.

I added a little 'I love you' tab at the top using the stickers to easily pull out.


This collection is so so pretty and perfect for any Spring memories.


So happy with how this turned out.

If you'd like to see this page being made, I have a video here.

Happy scrapping!

Lisa xx

Monday 26 February 2024

Simple Stories Winter Wonder - Hello Winter

Hello again. Karen here with one final layout using Winter Wonder from Simple Stories. I have really enjoyed using this collection and am sorry that I've come to the end of my design team kit.

I began the layout by layering sheets of white and kraft cardstock on top of each other. Careful gutting of the cardstock beforehand meant that I was able to use only one sheet of each colour.

Once I had created the base for my layout I machine stitched with white thread a straight stitch round the edges of two of the pieces of cardstock. I love adding machine stitching to my layouts. It give the layout more texture and interest.

I cut five 3x4 cards from the 2x2/4x4 Elements paper and one from a piece of the Brr Brr Brr paper.  I rounded the corners of the cards with a paper punch and then attached them in a grid design onto the background with the B sides upmost.

From some white glitter cardstock I die cut some snowflakes and placed these in a row horizontally across the middle of the layout and machine stitched through them all.

I attached photos to four of the cards with 3D foam underneath and tag from the Tag Elements paper onto another. I then set about embellishing the cards with die cuts from the Floral Bits and Pieces pack. I chose the pink flowers to co-ordinate with the tag.


More glittery die cut snowflakes were added too.


I strung the tag with some white twine and added some words cut from the 2x2/4x4 Elements paper as a title.


Using some pale pink watercolour paint, I picked out a few of the phrases on the card made from the Brr Brr Brr paper. It's quite subtle, but brings some pink to that part of the layout.


Finally, I scattered a few sequins here and there,

I hope I've inspired you today to scrapbook some snowy photos or have a go at a grid layout or pop over to the shop and have a look at the Winter Wonder collection from Simple Stories. Whatever you do, take care and I'll be back soon with another project.

Karen x x

Friday 23 February 2024

Carta Bella ~ At Home #2 🏡

Good morning everyone and welcome back to the Papermaze blog. 
It’s Anna back with you today and I’m sharing my second project using Carta Bella’s At Home Collection. You can find it in the shop here


To create this layout, I used the following:
Carta Bella at Home - wonderfully beautiful 
Carta Bella at Home - 3x4 journalling cards
Carta Bella at Home - Good morning moths
Carta Bella at Home - Beautiful chaos flowers
Carta Bella at Home - Bursts of Love
Carta Bella at Home - Simple Things Signs
Carta Bella at Home - Bazzill Matchmaker Cardstock 
Carta Bella at Home - Element Stickers


I began by cutting out a house cutfile by Paige Evans. I knew that I wanted to back each of the sections with photos and some of the patterned papers from the collection. So I worked out which pictures fit in where first before filing the rest with the patterned papers. 


I mounted my finished cutfile onto some bazzill cardstock which I had added some patterned papers to the left hand side as well as a boarder sticker. 


I used several stickers from the Element Stickers to embellish my page. These were tucked in and around my cutfile house. 
I added a title and subtitles with some mini alpha stickers by Cocoa Vanilla Studios.


Thanks so much for looking! 
See you next month when I’ll be working with Noteworthy by Simple Stories

Anna
X

Wednesday 21 February 2024

Simple Stories - True Colors - All About Me

Hi everyone,

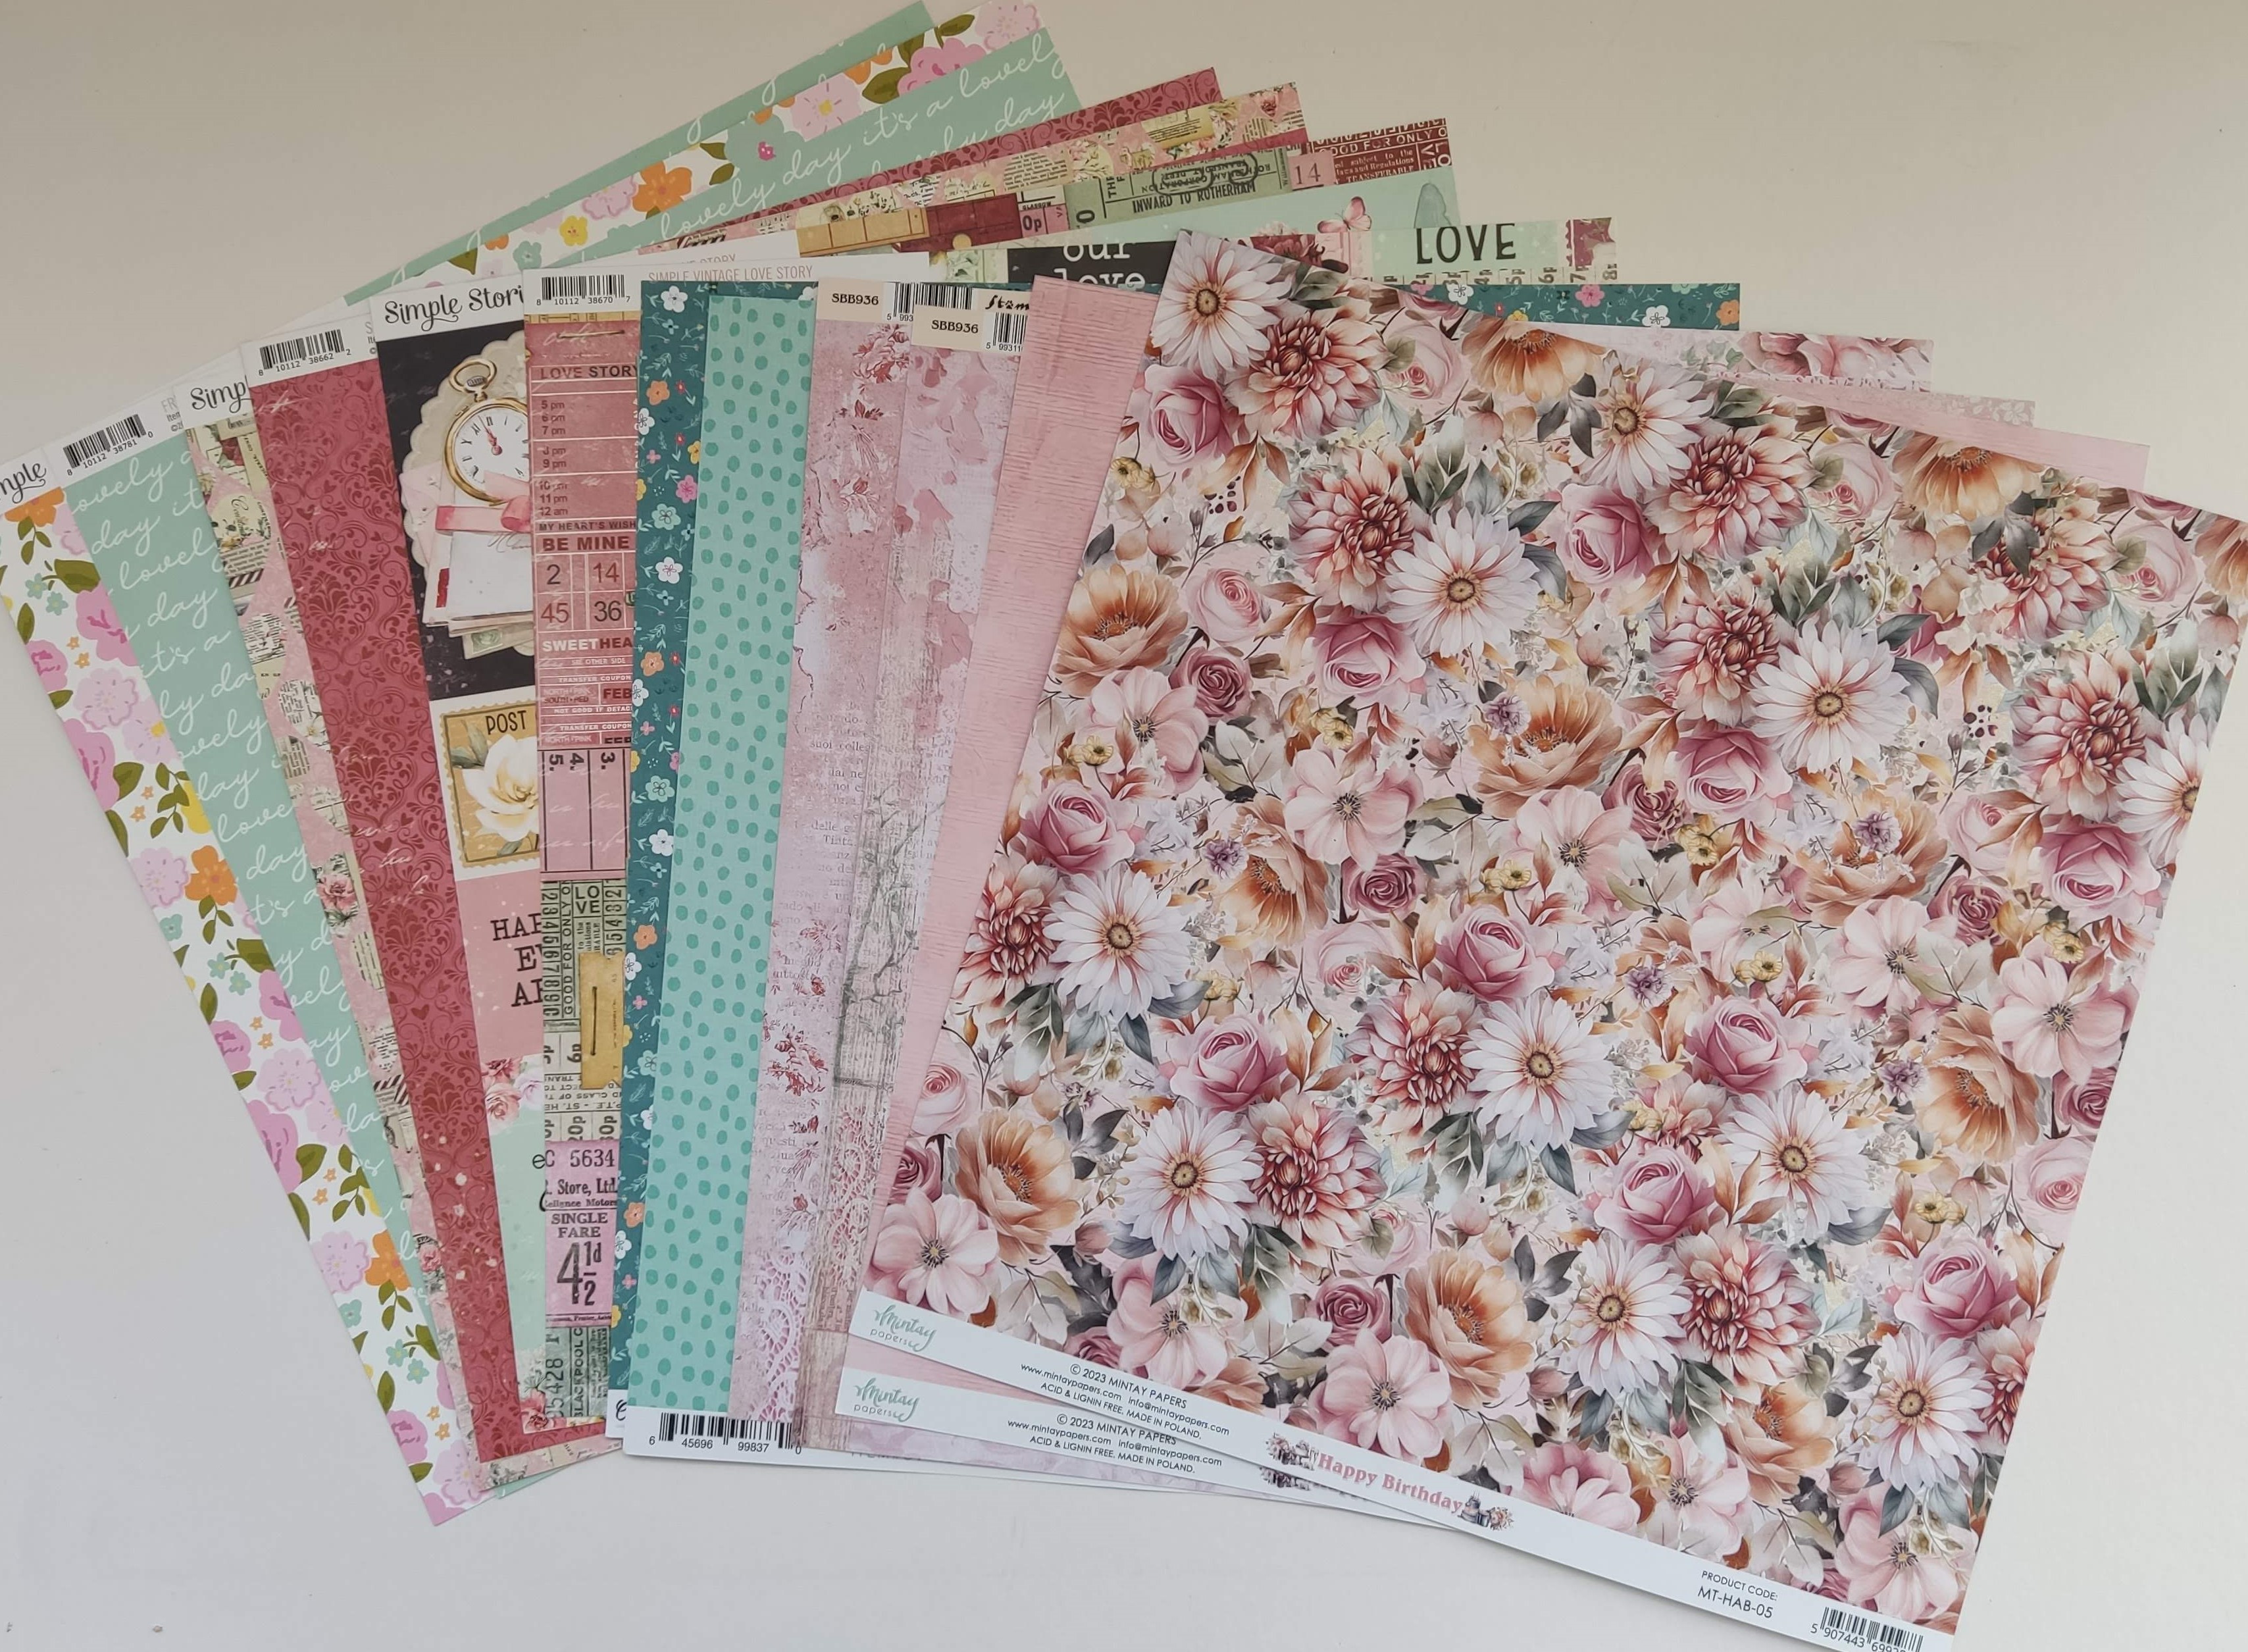
Claire with you today, sharing my second layout with the True Colors collection from Simple Stories. You can find it in the shop here. 

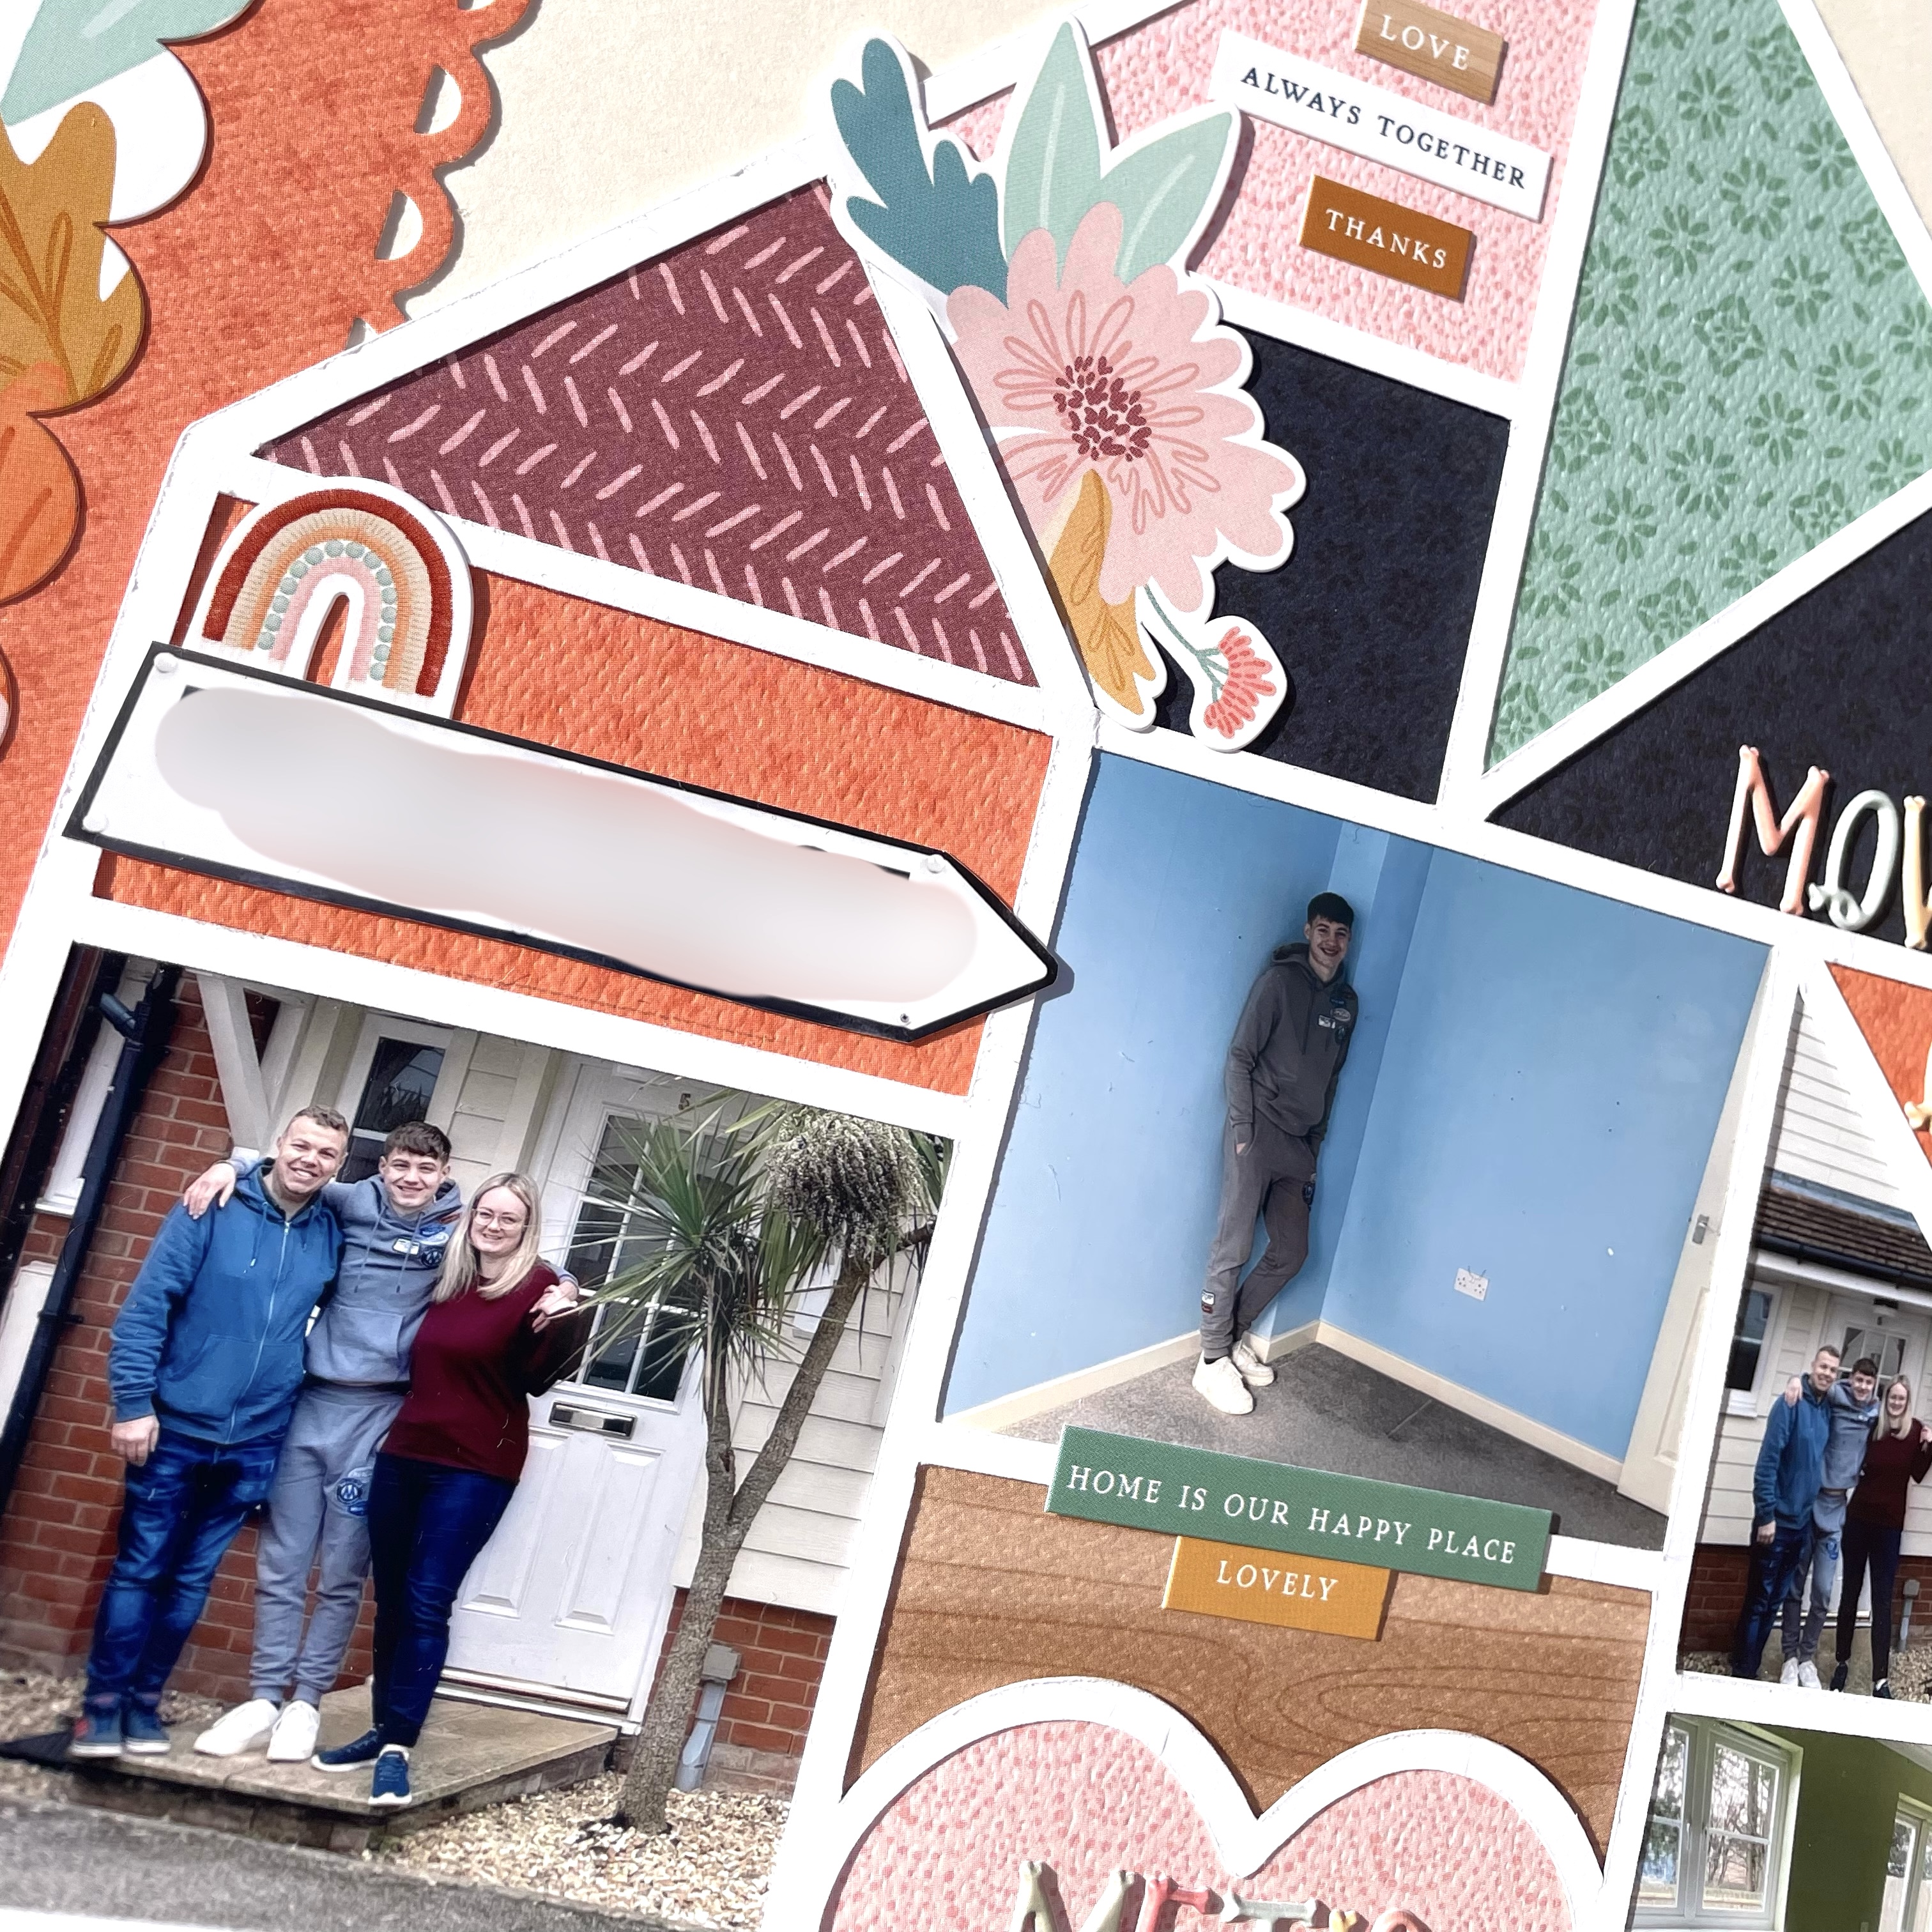
I really love the bold colours in this collection, and today have quite a simple but striking layout to share with you.


To start, I wanted to create a subtle background to my smooth white cardstock that came in the Matchmaker Pack. I pulled out the Little Getaways Stencil from Vicki Boutin's Where to Next collection - I had treated myself to these for Christmas. Using a dry brush I added some Distress Oxide in Black Soot.  I brushed very lightly, slowly building the colour.  Most of this will be covered, but you see a small hint of the stencilling as the base layer which helps create depth on the page.

I really love the Chipboard Frames in this collection - they're so fun and have great designs that make creating easy. I opted for this square frame, and cut two squares of the Can't Get Enough patterned paper into 4" squares - the same size as the frame.


I layered these on top of each other, slightly offset and raised on foam to give extra separation. To help the patterned papers stand out, I added faux stitching with black pen around the edges.

Cutting a thin strip of pink cardstock from the Matchmaker pack, I used a punch to create a scalloped edge and ran this under the photo frame. I used this to house my title, created using the Foam Stickers.


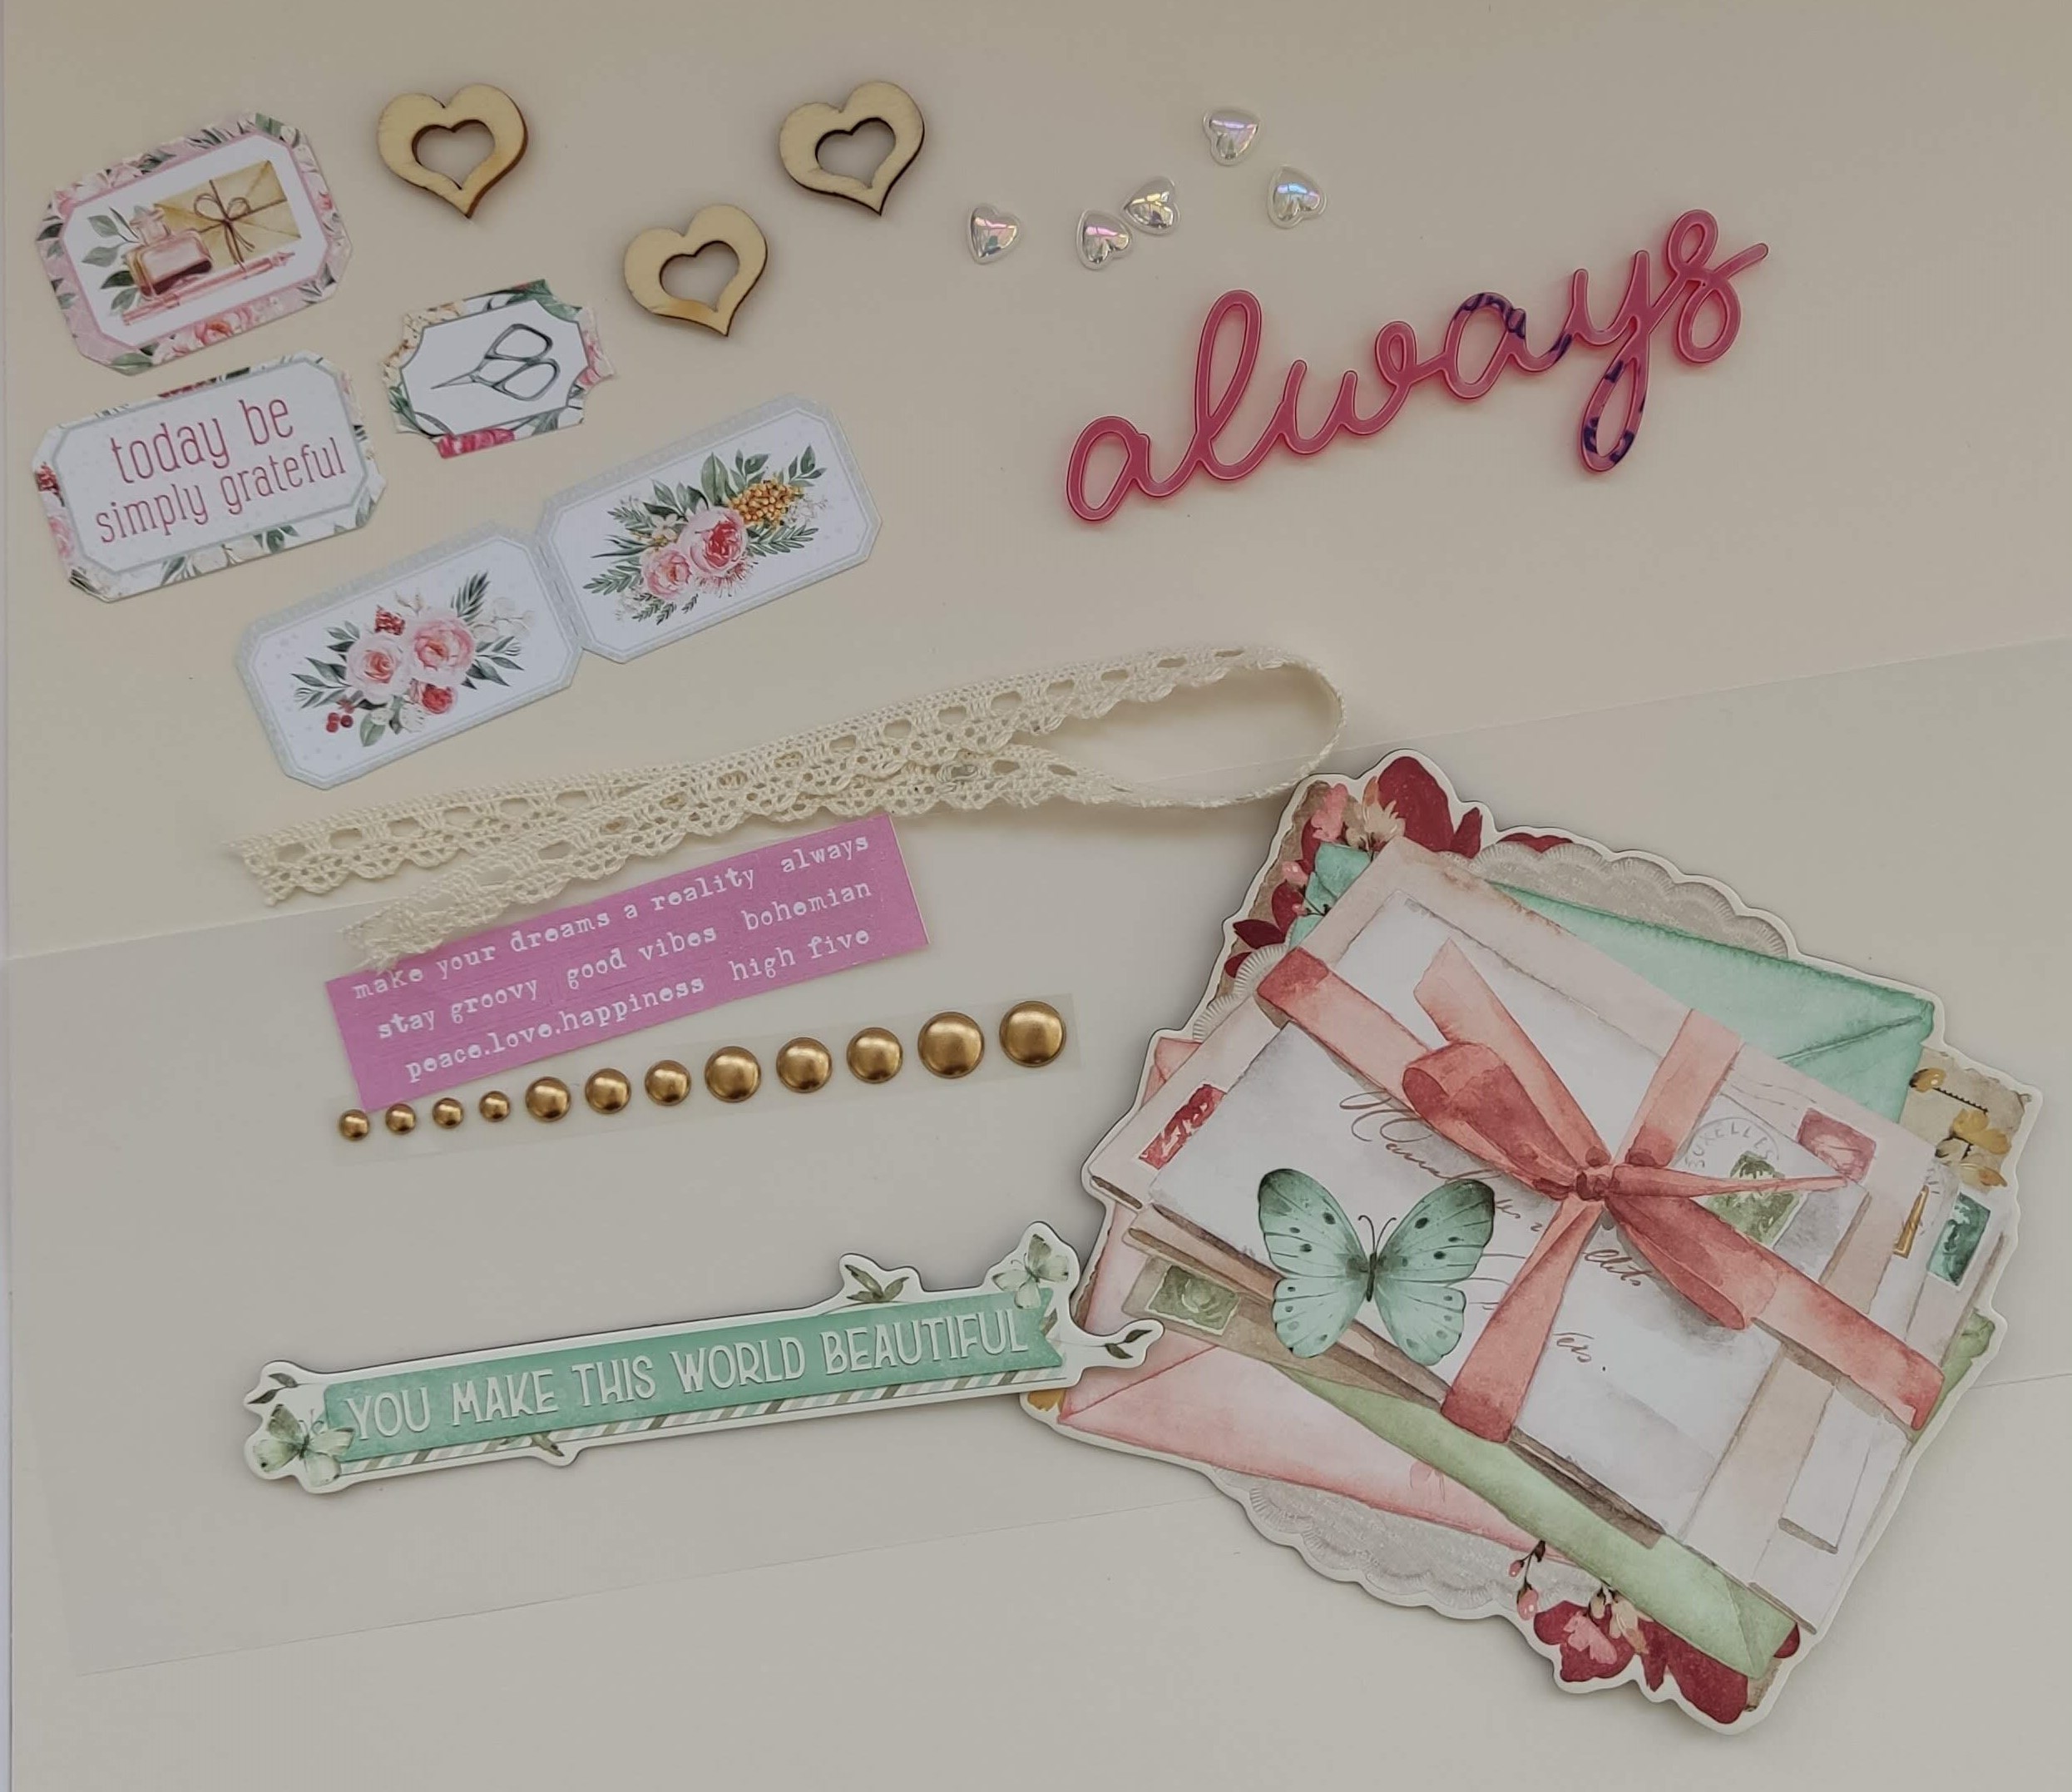
On opposite corners of the frame, I created floral clusters, using the Floral Bits & Pieces. 

I curled the edges of the florals to create movement, and adhered some on foam and some flat for layered dimension.


To the bottom cluster, I also added a small phrase sticker from the Cardstock Sticker sheet.


To the right of the frame, I added a tag from the Tag Elements paper, attaching a eyelet and twine from my stash.

As a final fun touch, I stuck a clip from the cardstock stickers to the edge of the frame. I really like the extra pop of yellow this brings and think it finishes the page really nicely.


I can't recommend this collection highly enough. It's been so much fun to create with and I'm sure it won't be in stock for too long, so get your hands on it here.

See you next month.
Claire xx

@scrappysoulmate

Monday 19 February 2024

A Beautiful Life - Simple Stories - Remember Collection

Hi everyone, it's Rebecca back with you sharing my second layout created with the Remember collection from Simple Stories. I am absolutely loving creating with this beautiful collection, which you can find in the shop here. It's one of those truly beautiful collections that can be used to document and honour loved ones we've lost, or the everyday moments in life.


I really wanted to use the Beautiful Legacy patterned paper, but it's quite a busy paper to use in its entirety, so I cut a semi circle from it and placed it in the centre of my Premium White Cardstock. I love the contrast of the darker paper against the clean white background. 

I fussy cut the filmstrip from the Always Remember paper and placed it going vertically down the centre of the page alongside a strip of patterned paper. On top of this, I added my title - a die cut from the Bits and Pieces pack.


On top of these strips, I added my photo, matted on a section of patterned paper. I love how all the papers match the colours in my photo.

To the left of the composition, I added one of the tags from the Tag Elements patterned paper, and extended this cluster using some of the Floral Bits and Pieces.


It was starting to feel like the layout was very left-heavy, so I added a couple of fussy cut butterflies to the right, and then added some Nuvo Crystal Drops following the curve of the semi circle. I used the shade 'Wedgewood Blue' as it matches the blue florals in the collection perfectly.

I hope you've enjoyed this layout and it gives you some inspiration. I've thoroughly enjoyed creating with the Remember collection, and I love that I've used it to document everyday moments and memories. Don't forget to check out the full collection in the shop.

Take care,

Rebecca x

@preciouspagespapercraft


Friday 16 February 2024

February Papermaze Kit - Part 1

Lynn here today with a lovely, romantic new Papermaze Kit for February. I have created four layouts using this kit and here are the first two.


Patterned Papers:
Mintay Papers - Happy Birthday collection - MT-HAB-05
Stamperia - Roseland collection - Flowers
Simple Stories - Simple Vintage Love Story collection - 2x2/4x4 Elements & My Heart
Simple Stories  - Fresh air collection - Fresh Start
Cocoa Vanilla Studio - Happy Days - Little Blossom


Bazzill Basics Cardstock - Cherry Splash and Walnut Cream (included in the kit). Yukon Gold, Blossom, Flintstone and Sea Glass (extra Bazzill pack).


Embellishments:
3 wooden hearts, 12" lace, 5 water droplet unicorn hearts, 1 exclusive acrylic word, vellum, 2 Simple Stories Chipboard Clusters, 1 strip of Pinkfresh enamel dots, 5 P13 tickets and a selection of word stickers.


Always - one of the official photos from my daughter's wedding.


I created the mixed media background on the Walnut Cream Bazzill using Distress Oxide Inks of several shades of red and pink, watered down on the craft mat, and transferring it to the card on a scrap of acetate. Once dry I stamped the word 'love' several times with Distress Oxide Ink and some old cling foam alphabet stamps from Tim Holtz (Idea-ology Type Lower). I spritzed the letters with water to allow them to oxidise further.


Once the ink was dry, I stamped with 49 and Market - Gabi's Stitches Clear Stamp Set, and Onyx Black Versafine ink (any water-resistant ink can be used).


I cut some of the images from the '2x2/4x4 Elements' paper and layered these with the photograph on top.


The Papermaze February Kit exclusive acrylic word was added as my title to the bottom right of the layout.


From the kit I added more embellishments, including the water droplet hearts, wooden hearts and mini word stickers.

Other gems and water droplets were added from my stash.


Happy Together - This layout shows my nephew and his girlfriend on holiday.


I started this layout (inspired by Paige Evans), by cutting a large heart from the centre of the Sea Glass Bazzill. With the cut out, I drew around the heart, onto a scrap sheet of 12" x 12". I used this to work out where the scalloped shapes would need to go, and a few lines helped me to line the up too.


I cut scalloped strips approx. 0.75 deep, in strips about 11" wide from the 'Little Blossom' and 'Fresh Start' papers. I used both sides of the papers to vary the patterns and stuck them sown in overlapping rows. Once the heart shape was covered I added the heart cut-out sheet over the top of the scrap sheet and glued this on place.


I glued the photo in place, then added a fine lace trim around the heart edge.


I made three clusters of flowers, using paper flowers from my stash to match the paper colours. I layered up the flowers, then used brads to hold the layers together and attach the flowers to the page.


From the Bazzill heart shape left over, I punched some leaf fronds, and inked them with some Distress Ink to make them a slightly darker shade. I added these to the flower clusters.


I added a title using Doodlebug Designs Loopy Lou cardstock stickers in Lily White. To make the letters stand out, I drew around the edges with a black marker pen.


That's all for today. back with more soon.
Thanks for looking.
Lynn x