Friday 31 March 2023

Using Junk From Your Trips

 Hello,

Let's talk 'Junk' today.


I think most of us have to confess to collecting all the bits and pieces when out on a trip.

I'm sure I'm not the only one.

You come home from a day trip or a holiday with so many freebies.

Menus, paper bags, napkins, receipts, leaflets, maps, beer mats....   


Today I'm using up some of these bits on a page in my Disney journal.

I've chosen a paper coffee cup holder, a Starbucks paper bag and a giant tag that was put on our suitcase when we transferred resorts.


I'm using my leftovers from the PinkFresh Studio from the Flower Market collection here.


This pink paper here gave me 'It's a Small World' vibes, so that became my background paper.

I stuck the Disney 50th paper coffee holder down and realised that the super huge orange tag from our luggage was the perfect fit.


So using the PinkFresh Ephemera and the Vellum Ephemera and some scraps of matching papers I decorated these giant tags.


The page was made by sticking down a Starbucks paper bag from a Disney park.
This worked so well as it also meant I had an extra pocket for me to document more stories. I had lots of stories from this particular day : )


So, I had a lot of stories to tell on this day, but they've all been hidden.
The first is under the tag here,


And then this pulls out from the Starbucks bag.


I love that it's hidden and it's a great way to add extra photos and stories.


Even this little green tag has a story on the back of it.


It's such a fun way to document a trip, using up bits that you've bought home.

And having so much fun with such a pretty paper collection.


I hope you like these ideas today.

I also have a process video if you'd like to watch this page coming together here.

Have fun telling your stories.

Lisa xx

Wednesday 29 March 2023

Rosie's Studio Ephemera Projects

Hello there, it is Julie here with some projects using the wonderful Rosie's Studio ephemera.  These cardstock ephemera packs are filled with approximately 160 pieces, 2 of each shape that can be used as accents on scrapbook projects, cards and altered pieces.  The ephemera pieces vary in size from beautiful floral background pieces to tiny accents such as hearts, bees and ladybirds.  These packs are great value for money and can be used with co-ordinating Rosie's studio paper as well as other collections.  You can find Rosie's studio here.

I have been experimenting with several ephemera packs and made some lovely projects as Easter gifts. Firstly I made some Easter egg shaped rosettes using my Cricut and layered pieces from the Simply Charming ephemera set on top of the rosette.  I used a frame as a background shape and layered a piece of ephemera with a row houses using foam strips and then cut a piece of bunting ephemera in half and layered it on top.  


I felt there was a little something missing so I found a great leaf accent and tucked it into the background to create a little more depth to the piece.  I dotted a couple of sequins on top with wet glue to add a little sparkle.


The second egg I created I added pieces from the beautiful One Of A Kind collection.  Gorgeous pastel colours with lots of whimsical butterflies, cakes and creatures.  I used a large egg rosette ephemera piece as a background and layered butterflies and a sweet little caterpillar on top,  I like to combine using foam tape and double sided tape to add a little height and texture to the pieces.  


I also created two smaller egg rosettes and added ephemera from Brand New Day.  This collection has delicate watercolour flowers which work perfectly as backgrounds to these pieces.  Again, I layered the ephemera to create clusters to go on top of the egg.  I used to be quite worried about hiding ephemera pieces or cutting them but now feel confident in layering them up to create fuller clusters.


Lastly I made a mini pizza box in which I have put some sequins as a gift.  I used a cut file from Cricut design space and some Simple Stories paper to make the box.  I then added ephemera from One of a Kind and added some puffy pastel hearts from the same collection.  These hearts are a "must have", with 8 different pastel shades per sheet to co-ordinate with the collection.  I have used so many for different projects and still have lots left over.


I hope you liked my Easter projects, I will be back next month with some more ideas using Rosies studio ephemera.

Monday 27 March 2023

American Crafts Blooming Wild by Paige Evans - Hello There Cutie

Hello. Karen here again with my second project using the fabulous bright and cheerful Blooming Wild collection by Paige Evans for American Crafts. I love this collection! The bright colours really making me happy. For today's layout I have used a favourite photo of my daughter from quite a few years ago and paper #10.

Paper #10 is full of colourful strips of different widths and I started by cutting apart all the strips using my paper trimmer.


I then made rosettes from some of the the paper strips. Different width strips make different size rosettes and for some of the smaller rosettes I didn't need to use the full 12" length. I also used some pale purple cardstock and a strip cut from paper #21 to make some rosettes, to ensure I had all the colours I wanted.


To embelish the smaller rosettes I glued sequins to the centres and the larger rosettes were embelished with butterflies from either the pack of Ephemera Icons or fussy cut from paper #22


I then glued all the remaining strips (and part strips) of paper horizontally onto a sheet of white 12x12 cardstock leaving a slight space between each strip and lining them up along the left edge of the paper. As I had used some of the strips to make the rosettes, I filled in the missing gaps with additional strips cut from paper #21 or cardstock.

Using some matching embroidery thread I hand stitched on top of some of the printed designs to give the layout some texture.

The whole sheet was then trimmed slightly and matted onto a sheet of Bazzill Violet Lupine (Purple) 12x12 cardstock.


Using white thread I machine stitched all round the edge of the layout.


My 6x4 photo was placed on the right side of the layout where the part cut strips had left a white space. I embellished the photo with floral die cuts from the Ephemera Icons pack and also added a word plaque also from the pack. Many of the die cuts in the ephemera pack have holographic foil accents which are really pretty.


The rosettes that I had made earlier were then added to the layout.


The rosettes were used to embellish colour on colour - blue on blue, pink on pink, etc.


Finally I added the date in the bottom left corner using small white foam number stickers from my stash and a scattering of silver sequins to echo the holographic accent on the word plaque.

I hope you love this collection as much as I do. Vanessa has the full collection in the shop here

I'll be back again soon with another project.

Take Care
Karen x x

Friday 24 March 2023

Simple Stories - Wildflower - Love This

Hi everyone,

Claire back with you today, sharing an extra layout using the Wildflower collection from Simple Stories. It's such a gorgeous collection, I couldn't resist just one more page. 


I was drawn to the scalloped circle frame from the Chipboard Frames Pack . Using this as the centre of my design, I opted to create layered circles, using 3 patterned papers.

I used the b sides of the Radiate Sunshine, Breath Deep and Live Large papers. I roughly positioned the largest circle on the page to understand where it would sit, and added Distress Oxide in Tumbled Glass to the white cardstock, creating a blue haze around the outside of the design.

I distressed the edges of each circle, and added a few rows of machine stitching, before layering one on top of the other with foam sheets.


I mounted the photo into the chipboard frame and adhered this flat to the page. Then came the embellishing.

If you've seen any of my other blog posts with this collection, you'll know I am besotted with the florals, and this design was perfect to host a big statement floral cluster at the bottom of the design.


I selected lots of florals and leaves from the Floral Bits & Pieces pack, with the largest pink flower coming from the Bits & Pieces pack. I curled the leaves and petals to create extra movement, and again layered these on foam, following the curved edge of the main design.


For my title, I used two stickers from the Foam Stickers sheet.


Once the main cluster and title were done, I wanted to add just a few more embellishments to balance the page. I selected a bow from the Bits & Pieces pack, and adhered this to the top of the design.


I also cut some butterflies from the Love Greatly paper and positioned these along with a pink moth from the Combo Stickers along the top left edge of the design, directly opposite the large floral cluster.


As I was choosing the embellishments, I saw this cute bird in the Bits & Pieces Ephemera pack and I really wanted him to feature on the page. So I found a small gap in the floral cluster and nestled him in amongst the flowers.


I hope you've enjoyed this extra bonus page with the Simple Stories Wildflower collection. There are a few pieces of this left in the store and I'd highly recommend you grab these whilst you can - it really is a truly beautiful collection.

I'll be back next month, but until then, happy crafting! 

Claire xx
@scrappysoulmate

Wednesday 22 March 2023

Beautiful Moments - Simple Stories - Simple Vintage Life in Bloom Collection

Hello, it’s Rebecca with you today and I’m back with another layout created with Simple Vintage Life in Bloom - my new favourite collection from Simple Stories!

You can find the collection in the store here.


I’m well and truly over my fear of cutting into this gorgeous collection now and have had so much fun playing with the beautiful patterned papers and embellishments. 


Just like my previous layout, I wanted to feature several different patterned papers on this layout. I cut several ‘shards’ from the papers - effectively long triangles - and arranged them behind a circular photo so they resemble sunbursts. 


Behind this, I added some mixed media using a  Distress Oxide ink pad in the shade ‘Picked Raspberry’ (to perfectly match the pink in my photo) and a scouring sponge. Yes, you read right! It’s my new favourite way to add wet ink to my layouts. I simply dab a scouring sponge into the paint/ink and ‘smoosh’ it onto my background. The process is quite similar to the ‘packaging technique’, however, the sponge gives more control and I love the effect it gives. I finished the background off with some splatters in the same colour. 


Around my photo, I added some florals from the ‘Floral Bits and Pieces’ pack, and a couple of die cuts from the ‘Bits and Pieces’. For my title, I’ve used a chipboard sticker. 


I absolutely adore adding butterflies to my layouts so I fussy cut some from the ‘Shine Bright’ paper and added them so they look like they are flying up the page. 


Feeling like I wanted to add more, but not wanting to overcrowd the page, I added a few stickers from the elements stickers sheet. This sheet comes in the collectors kit, but is also available to buy on it’s own. 


To finish the layout, I trimmed my background cardstock in a couple of areas and backed them with a dark, floral patterned paper to help ‘frame’ the page. 


I hope you’ve enjoyed this and my precious layout. If you’d like to watch how this layout came together, there is a video over on my YouTube channel here


Thanks so much for reading. 


Rebecca x

@preciouspagespapercraft


Monday 20 March 2023

Pinkfresh Studio ~ Spring Vibes #3 🌺

Hi there, it’s Anna back with you today and I’m here to share my third and final layout using Pinkfresh Studio Spring Vibes. 

You can find the collection in the shop here


I began with a sheet of white 12x12 Bazzill cardstock
I really wanted to make use of the lovely bold stripes on the ‘Sunny Days’ paper. So I decided to trim each strip down and distress the edges. 


I mounted my photo onto some coordinating cardstock from the matchmaker pack and placed it centrally. 


I then pulled out my pack of Simple Stories Color Vibe Flower Bits - Spring. I put various combinations of flowers together and began to arrange them on my layout. I also fussy cut some of the florals and leaves from ‘Daisies’and arranged those in together with the simple stories flowers. I added some enamel dots to the centres of some of the flowers as well. 


I selected various elements from the cardstock stickers and tucked them in around my photo. I also added a few sentiments and puffy dots from some Vicki Boutin Thickers. 


I added a title and a subtitle to the layout using Doodlebug Abigail Alphabet Stickers and some Pinkfresh Alpha Stickers too. 


Thanks so much for looking! 
I’ll be back next month with a brand new collection to share with you! 
See you then, 
Anna 
X

Friday 17 March 2023

March Papermaze Kit - Part 1

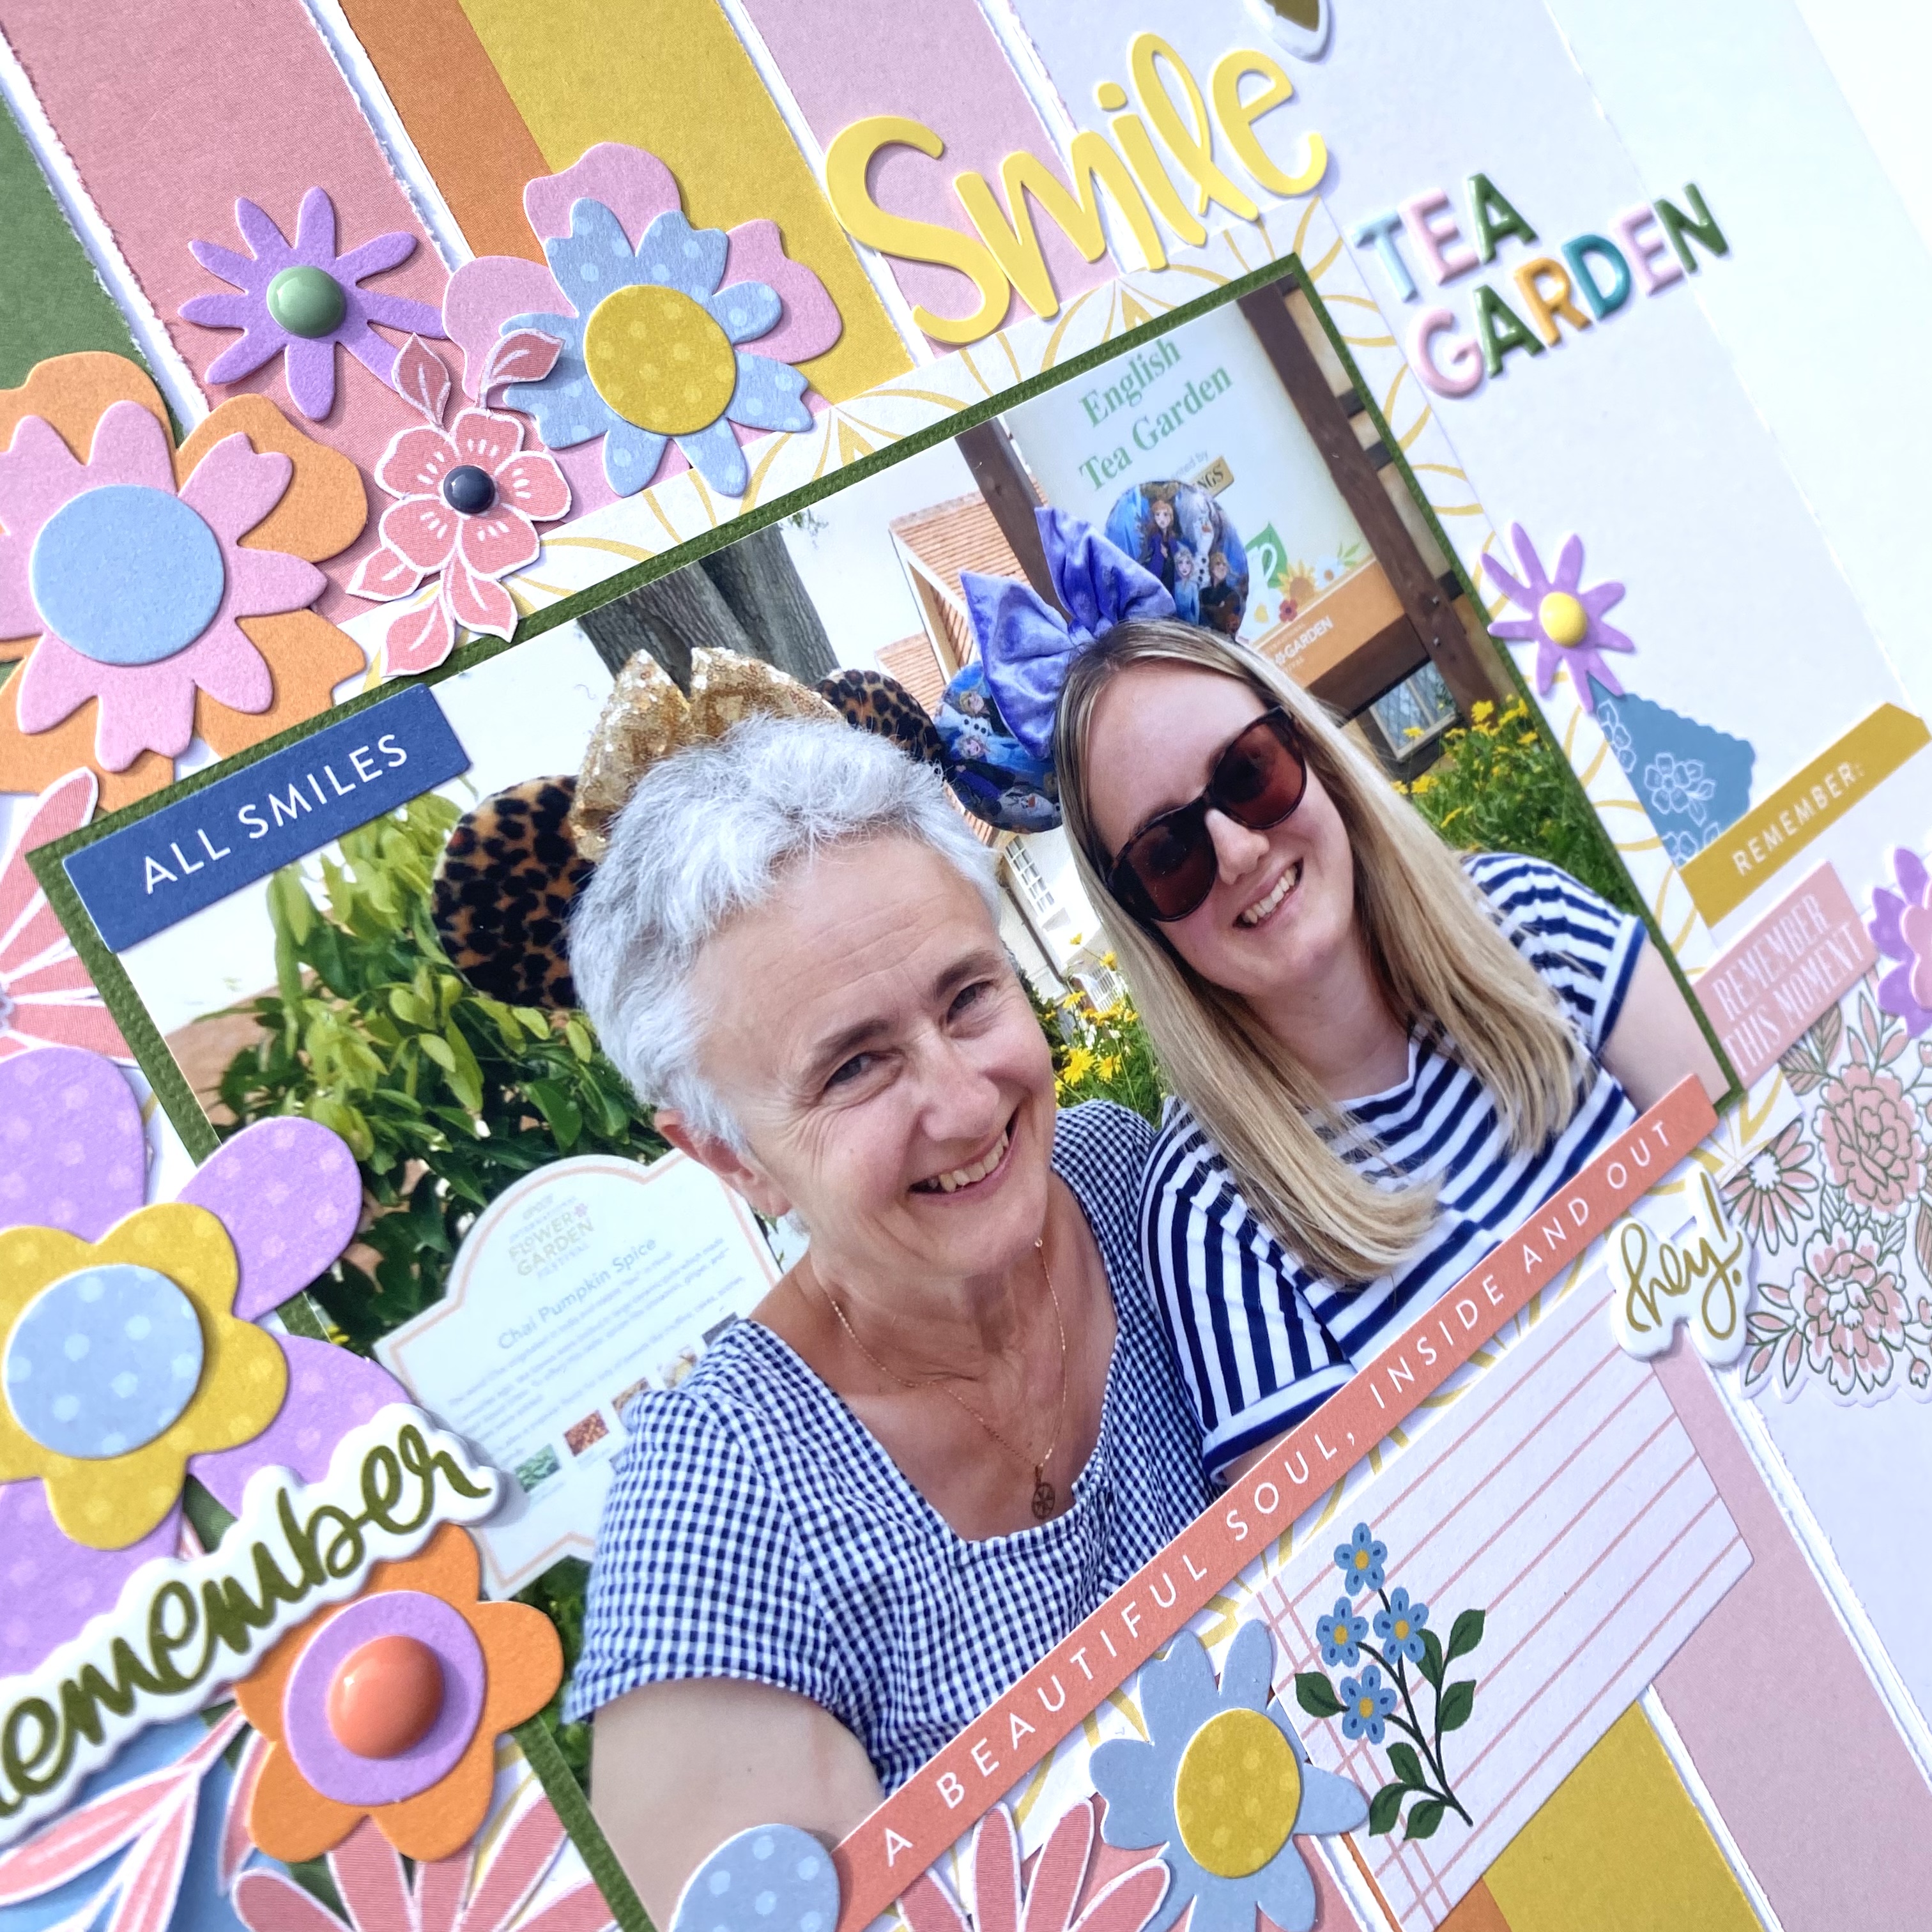
Lynn here today with the pretty new kit for March. Full of papers, cardstock and embellishments, in a purple and aqua colour scheme.

Here are my first two layouts, I felt the papers were idea for some heritage pages, and so I celebrated these family members for my husband's ancestry.


Patterned Papers:
Prima Marketing - Aquarelle Dreams collection - Timeless Tales & Forget Me Not
Mintay Papers - Lavender Farm collection - #05
49 & Market - ARToptions Plum Grove collection - Coloured Foundations 1
P13 - Secret Garden collection - #06
Pinkfresh Studio - Delightful collection - Brighter Days

Bazzill Basics: Bazzill White & Grape Delight

Reverse side of papers
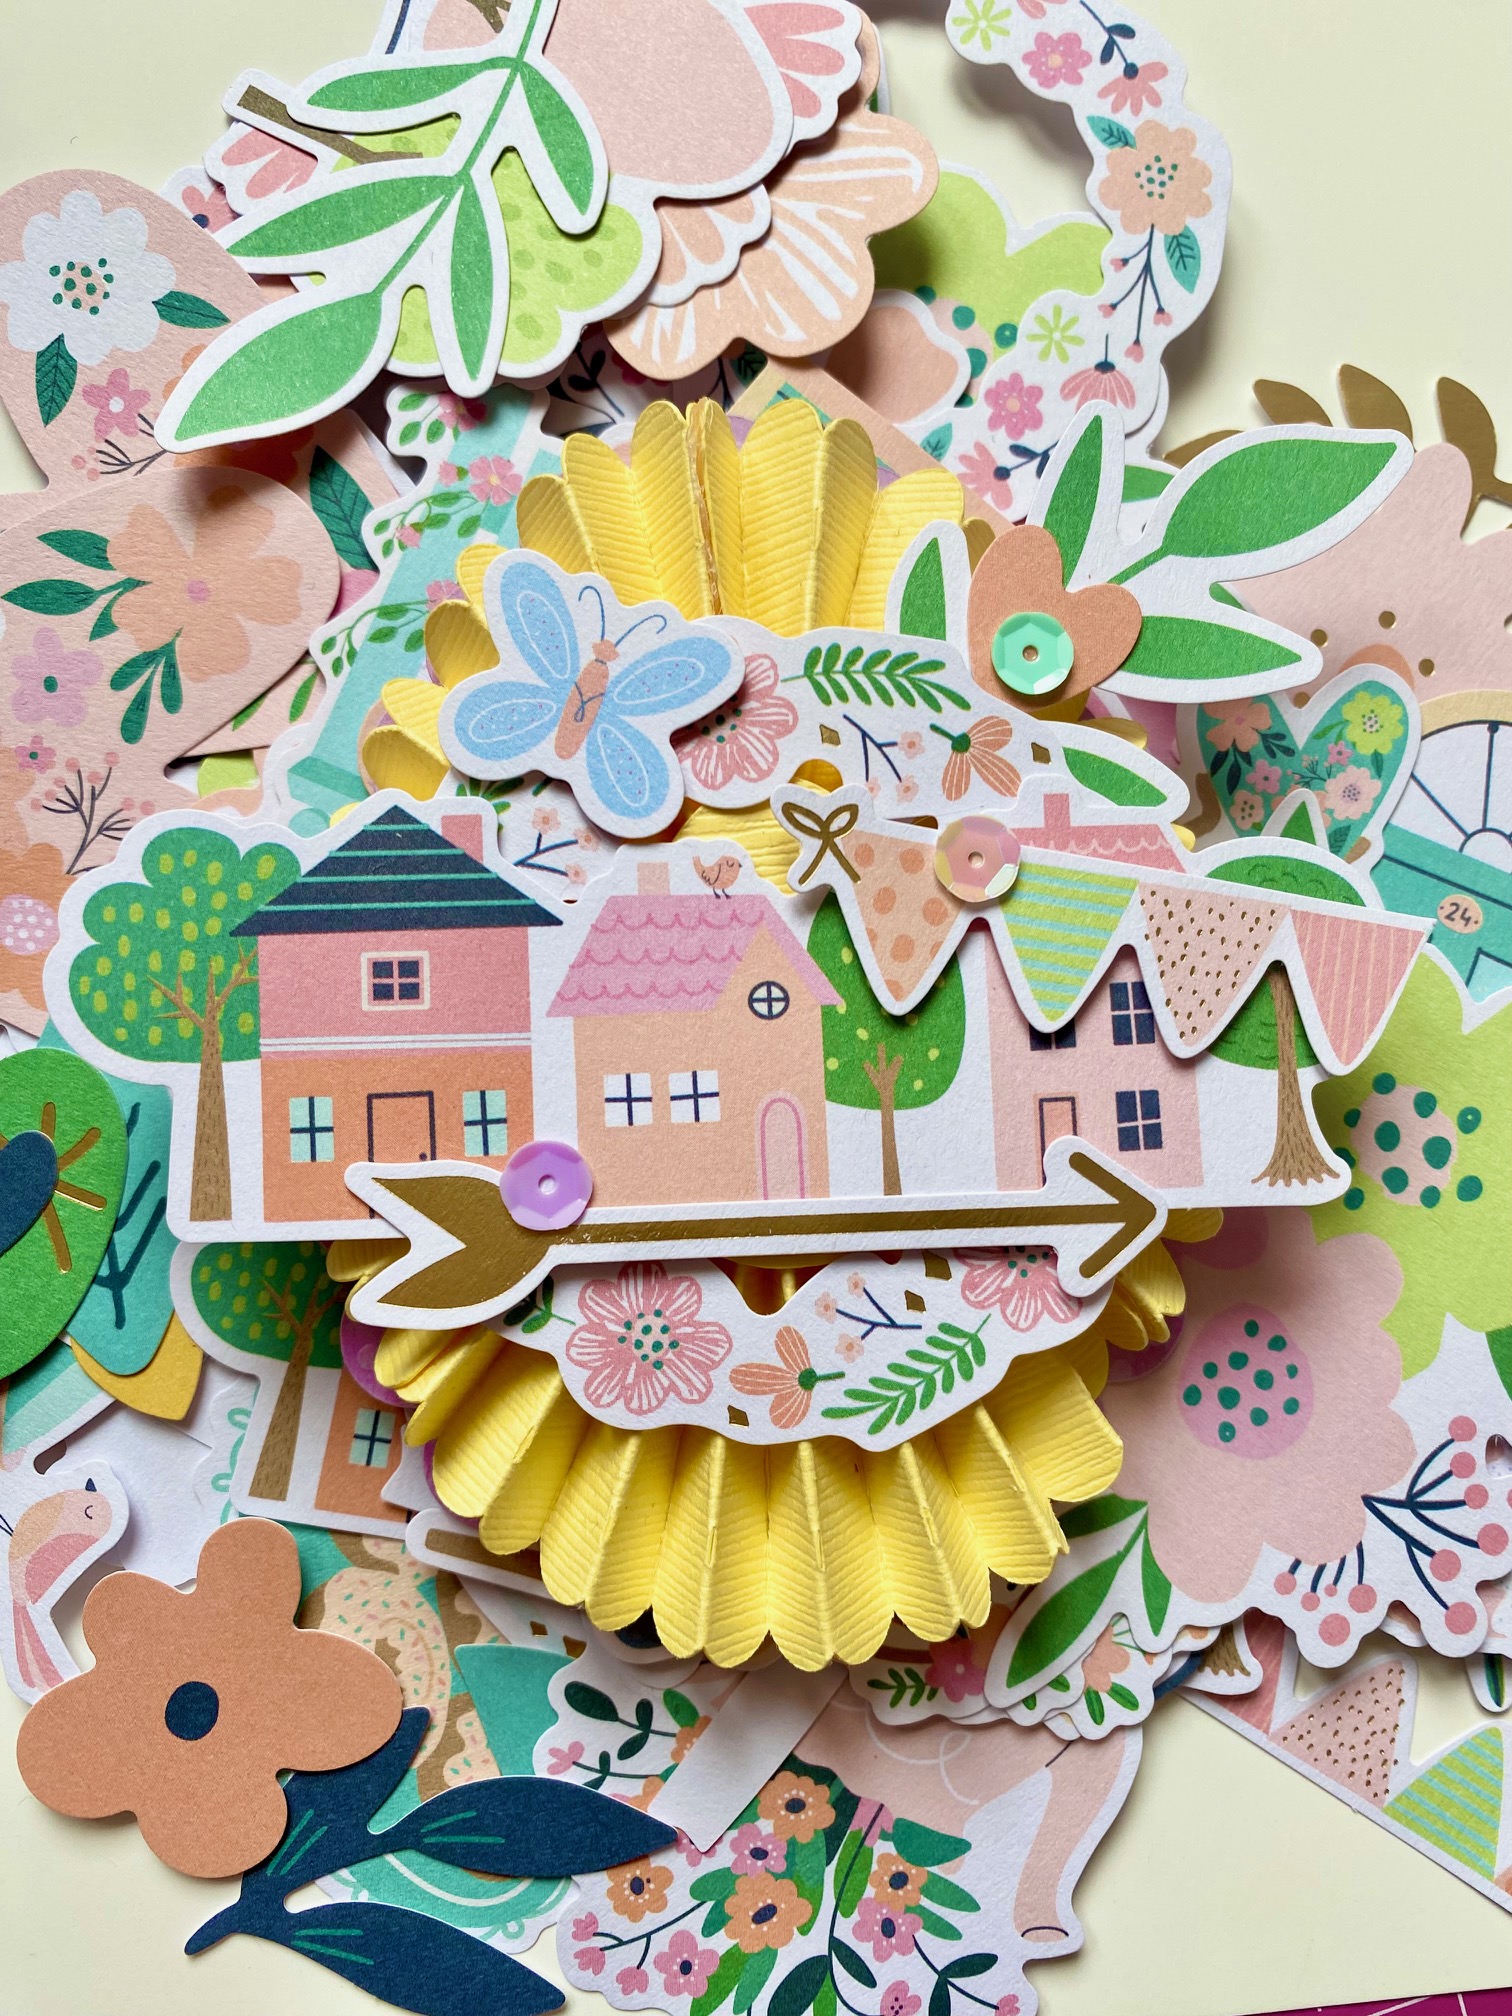

Embellishments:
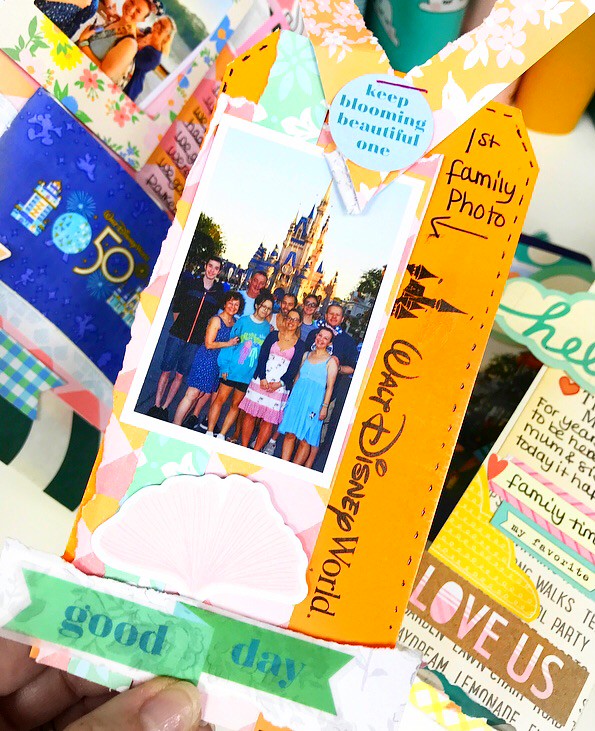
1 sheet P13 Secret Garden phrase stickers, 1 heart doily, cheese cloth, 5 Prima Dreams dragonflies, 12 Rosie's Studio Fanciful Gemstones, 5 - 49 & Market chipboard pieces, 3 - 49 & Market tags 3 mini flowers


Extra Bazzill Pack: Date Swirl, Wisteria, Parakeet & Pastel Blue

Sisters

This first layout was made using the Prima 'Forget Me Not' paper. I decided to place a photo into each wreath, and embellish the printed flowers and leaves with die cuts. 


First, of all I placed a length of 3.5cm deep, white, lace across the page, at an angle, between the two wreaths. Over this I added a length of 12mm pale blue, seam binding ribbon. which I tied in a bow to the right side. Over this i placed some 9mm purple grosgrain ribbon, which I secured in place with a few tiny stitches. 


I mounted the photos onto the Pastel Blue Bazzill, and used Walnut Stain Distress Ink to edge the photos and the mounts. After working out where the photos would sit, I used a craft knife to cut around any petals and leaves that would otherwise be half hidden by the photos. I inked the edges of these, tucked the photos into place with the leaves and petals overlapping the photos. 


Using the Tim Holtz, Sizzix Thinlits Die Set - Brushstroke Flowers #2, I cut leaves and petals using Bazzill from the kit and additional scraps from my stash. I inked these pieces, created the flowers and arranged them around the wreaths to compliment those printed on the paper.


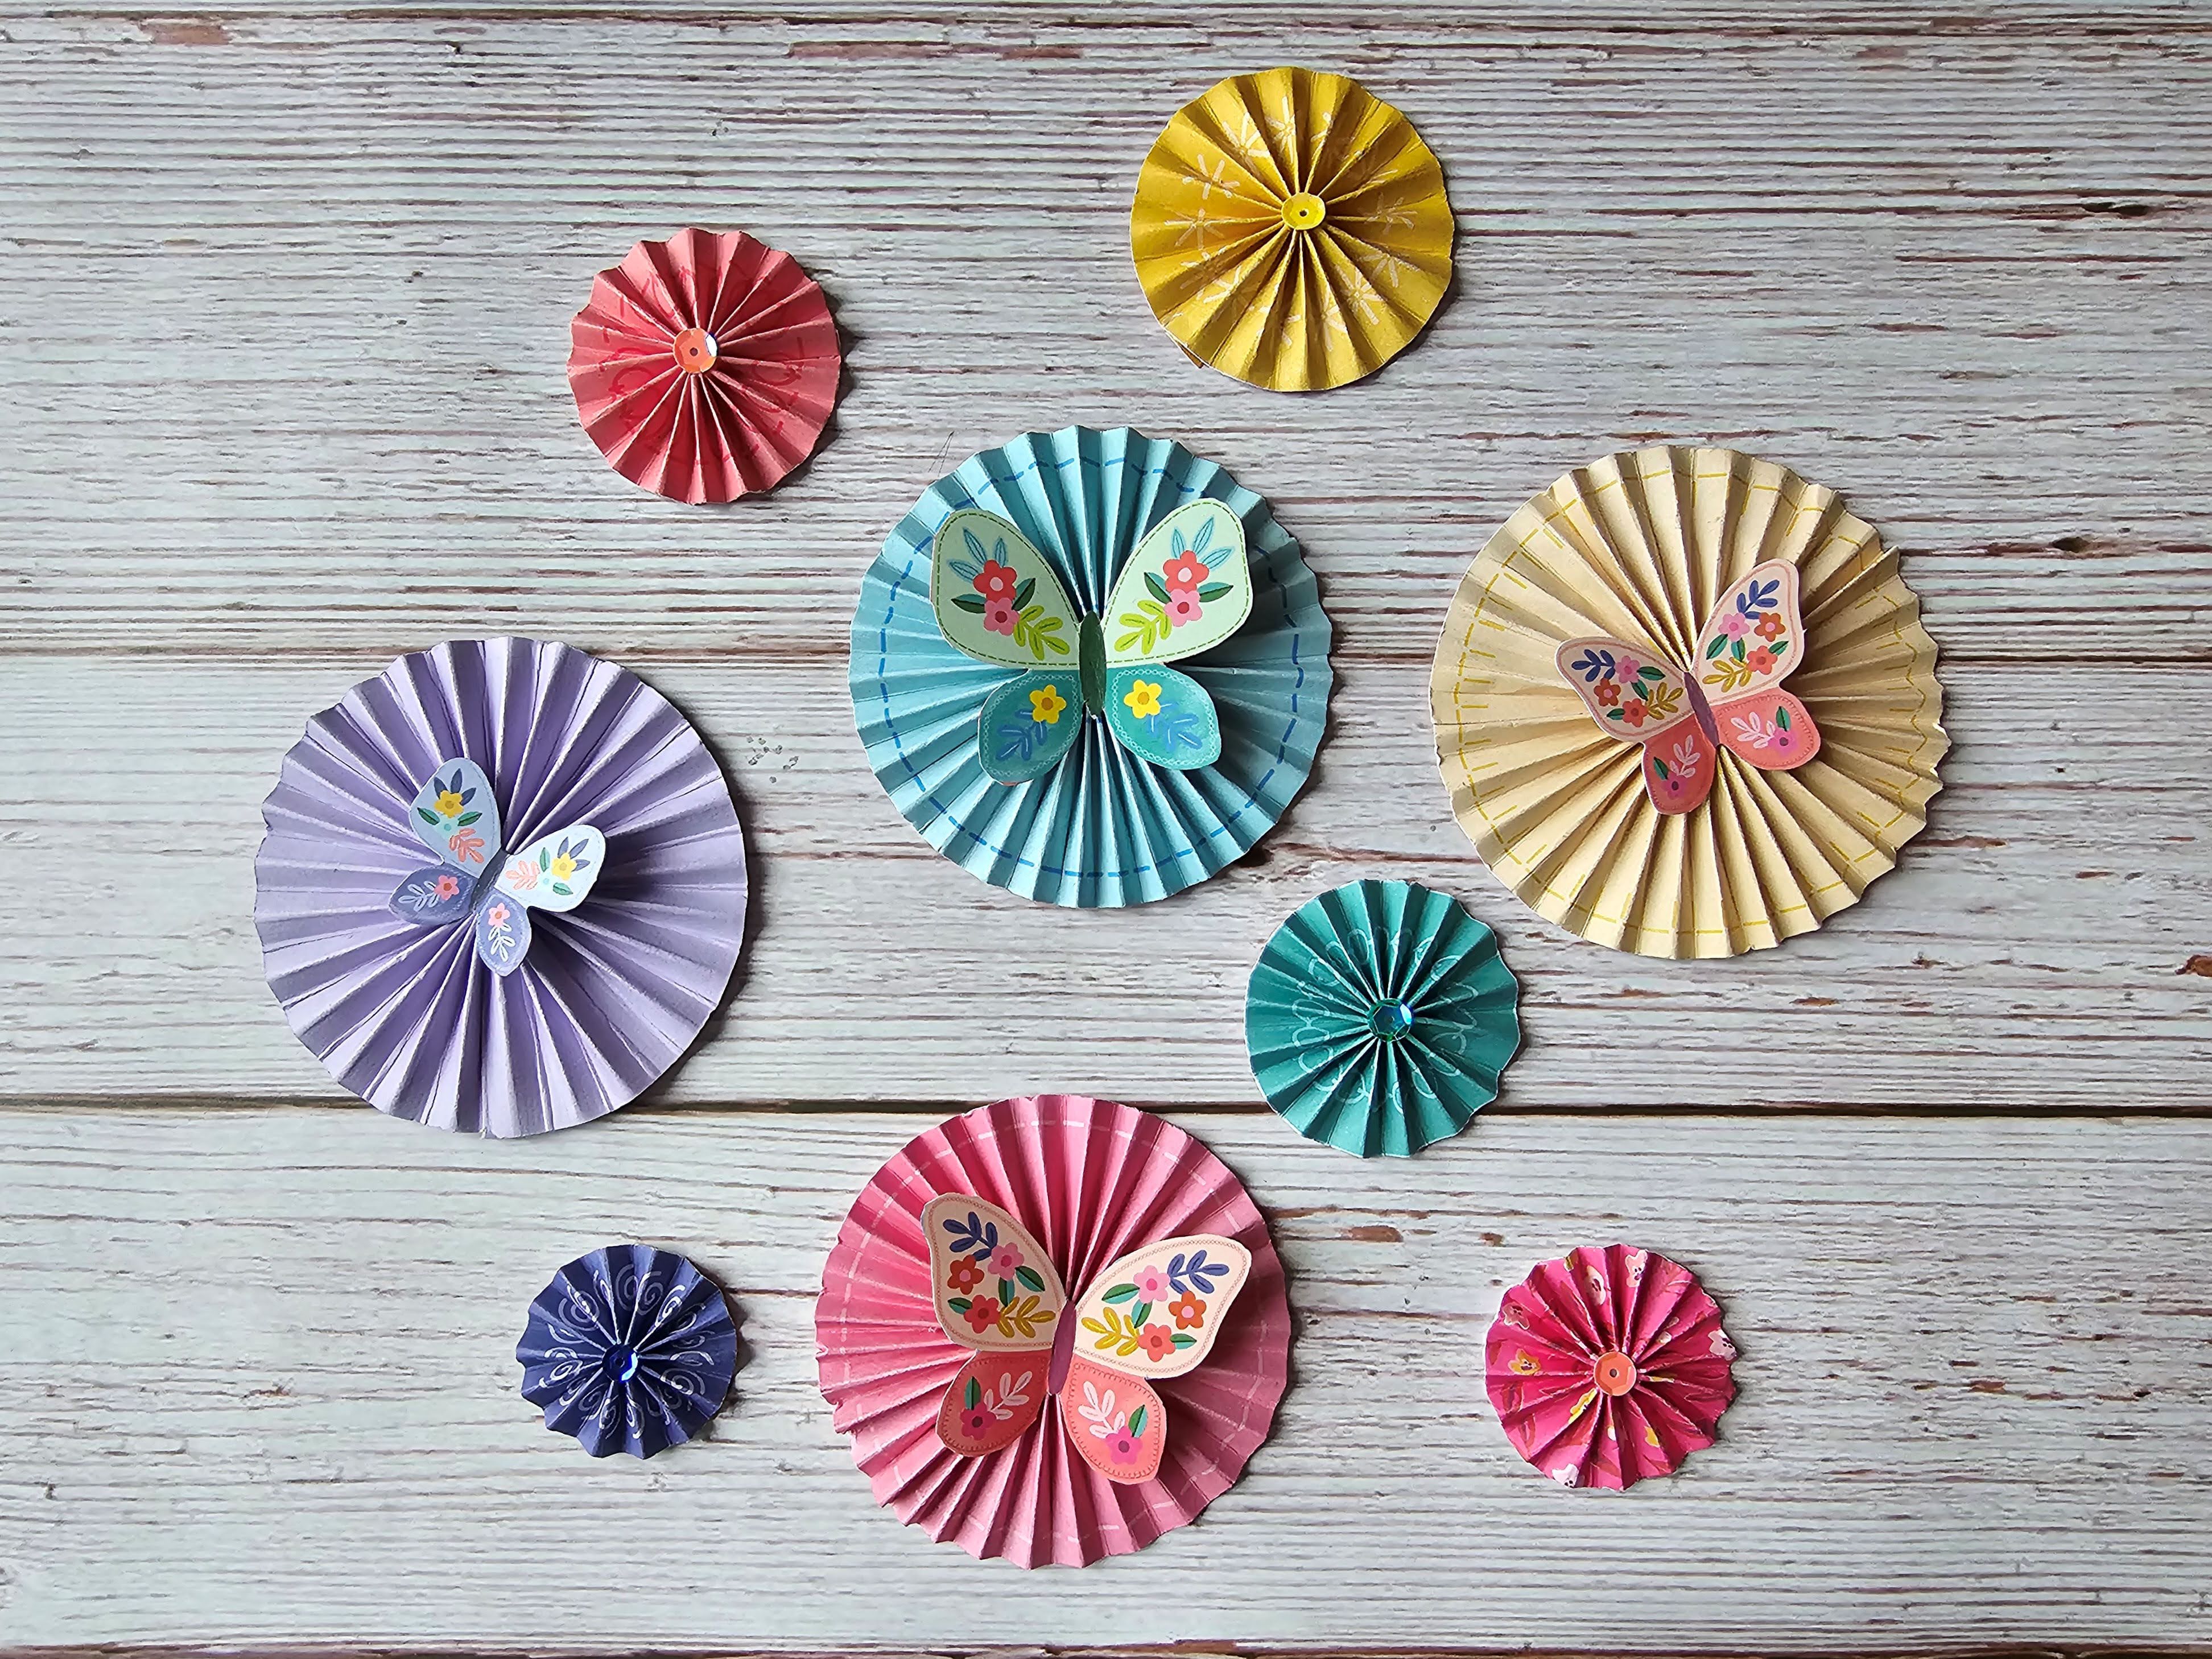
I added the three mini flowers from the kit. I added a touch of sparkle to the flower centres with Nuvo Glitter Drops - Silver Crystals. I also scattered clear gems around the wreaths.

I used one of the chipboard tags from the kit to add the title 'SISTERS', and tied this with another piece of the blue ribbon. I also added the sister's names using the Tim Holtz, Sizzix Thinlits Die Sets - Alphanumeric Tiny Type - Upper and Lower.


Georgina and Henry

I made a frame of 2.5cm by gutting the sheet of Secret Garden #6. Over this I mounted the Foundations Plum Grove paper, after tearing off the edges of the sheet. This paper has had the multimedia effect already printed onto it, but I decided to add some stencilling as well. I used a stencil from Vicki Boutin's Colour Study Fresh collection and Wilted Violet and Shaded Lilac Distress Oxide Inks.


From the remains of the #6 paper, I tore a double mount for the photo, using both sides of the paper. From the same paper I cut two wreaths, using Time Holtz, Sizzix Thinlits Die Set - Funky Wreaths. I cut one in half and placed it either side of the photo and the other I placed at the base of the photo. 


I embellished the wreathes with the Fanciful Gemstones and one of the chipboard elements from the kit.


I used the P13 phrase stickers and picked a few of the gardening phrases to add across the layout. I tied two of the kit tags to the wreath to add the names. The names and date were made with more scraps of Bazzill cardstock and Tim Hotlz, Sizzix Thinlits Sets - Alphanumeric Upper and Lower Tiny Type.


That's all for today, but there are more layouts from this kit, which I will share with you soon.
Thanks for looking.
Lynn x