
I am going to be your host for the week this week...i have several different projects to show you...so pop back every day to see whats happening.
One of the things that i love the most in this hobby is finding something normal and turing it into something pretty...
I found this picture frame at Sainsburies for £5...so cheap so i decided to buy it and alter it...here is how i did that...
 I took it apart so i could just work with the inside cardboard frame...
 I then cut out a rectangle to adhere to the back so you can see it though the middle of the frame. The size i cut out was 16cm by 28cm.
 I inked the edges of the inside of the frame before adhereing the pattern paper...the paper i used for this was the Basic Grey Basics called Docket.
First off the butterfly...
I used the butterfly from the embellishment pack from Jenni Bowlin... ( i have to apologise for the quality of the photos..i didnt realise they where bad until i had actually put the frame together!!! Iused this as a template...
 I cut out the butterfly from the pattern paper called Cabbage Rose from the Girls Paperie line.
 I then cut out the edges of the wings from the pattern paper called Vintage Patch work and adhered them to the edges of the butterfly.
 i then added some faux stitching with a white pen to the edge.
Before adhereing the butterfly to the frame i placed a doily down...
 I then went on to do the centre of the butterfly...i cut out some script paper ( i use a hard back book that i bought from a charity shop for my text paper) using these cuttlebug die.
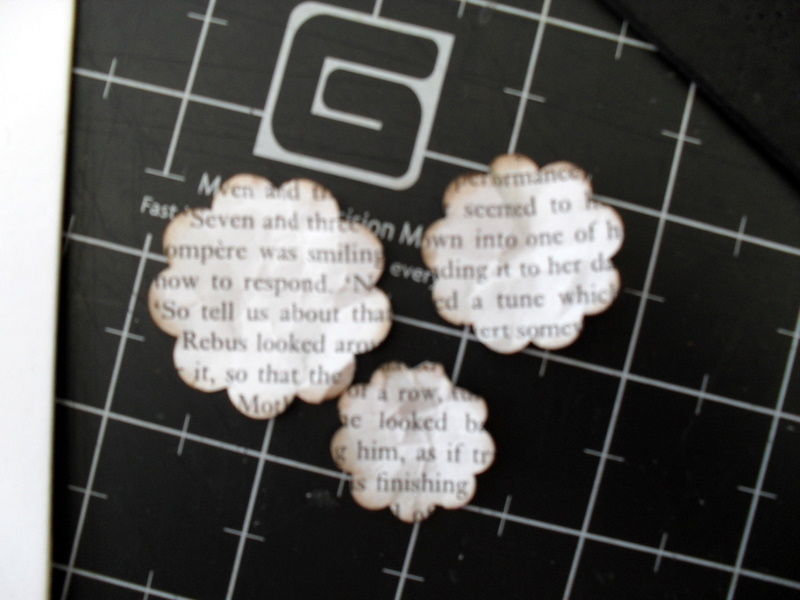 I put the big flower down first on top of the butterfly...
 I then cut out a smaller butterfly from Transparency and ran it though the cuttlebug embossing folder called swiss dots...
 I then added the other two on top of the butterfly...before adhereing them down i used a Basic Grey brad to keep them together.
I used some small gems in a pattern on the edge of the butterfly...
And i added a small pin with some beads on...

 Now onto the top butterfly...The basics of this are the same as before...
 I used the pattern paper calledgreen brocade and paisley from the girls paperie line.
And again i cut out the newspaper flowers...
 I made the middle section of the butterfly but rolling up a triangle... and then layered them onto the butterfly like below...
 I then added another pin...
 and some gems...
and then the bottom butterfly...
 this one is made out of the pattern paper called cabbage road and an OCtober afternoon paper called Picnic Table...and repeated the same steps as the previous butterfly...
the little words that i have put across the butterflies are from Making Memories..find them here.
And then the whole thing put together...


Supplies used:
Girls Paperie Pattern paper
Big Gems
little gems
pins
vintage findings shredded words
Brad
Cuttlebug flower dies
Come back 2m for another project!!!!
5 comments:
So, so pretty!
Really lovelly. A great idea for a gift - Thank you
Gorgeous gorgeous.
I love those papers. Such a pretty project & a great idea :)
Beautiful piece of artwork. :)
Post a Comment