Showing posts with label Doodle Border. Show all posts

Sunday, 28 June 2026

Seaside - Simple Stories - Simple Vintage Sand & Sea Collection

Hi everyone! 

It's Rebecca with you today, sharing my second layout of the month created with the Simple Vintage Sand & Sea collection from Simple Stories. The collection is now live in the shop here.


Whilst tidying my desk this week, I came across a photo of my son that I instantly knew would look fabulous with this collection. I pulled out the two striped patterned papers and cut a large triangle from each, making sure the stripes ran in the same direction. I positioned them in the centre of a sheet of Premium White Cardstock, slightly overlapping them with the points facing outwards. I then mounted my photo on craft foam and placed it over the top, adding dimension while ensuring it remained the main focal point of the layout.

Around the photo, I layered embellishments from both the Bits & Pieces and Floral Bits & Pieces packs, tucking and layering each element to create plenty of texture and dimension.


I had originally planned to use one of the Foam Stickers for my title, but the ones I had left felt a little too blocky against the lines of the triangles. Instead, I got creative and cut the word 'Seaside' from the Combo Elements patterned paper to create my own custom die-cut title. I popped it up on foam and positioned it to the left of my photo.


As my photo contains some darker tones and this collection has such a light, airy feel, I wanted to introduce a few subtle pops of black to tie everything together. Using a black gel pen, I lightly traced around the edges of the triangles, title and embellishments, creating a soft hand-doodled border. I deliberately kept the lines loose and imperfect to give them a rustic, slightly shabby look, and I was really pleased with the finished effect.


To finish the layout, I added a few hearts down the vertical centre of the page, helping to soften the strong lines of the triangles and bring the whole design together.

Thanks so much for reading! I hope you've enjoyed taking a look at my layout and that it's inspired you to create with this gorgeous collection. 

Take care,

Rebecca xx

@preciouspagespapercraft

Monday, 18 April 2022

Doodlebug Design - Great Outdoors - Fun Memories

Hello Everyone, and a very Happy Easter Bank Holiday to you all!

Today I'm sharing my fourth and final layout using the Doodlebug Great Outdoors collection - and what a perfect collection to document the Bank Holiday adventures - especially as we've had such fabulous weather! 

My layout today documents one of our favourite pastimes - a trip to the beach! Although this isn't a beachy collection, there are so many elements that work perfectly as well as the typical outdoorsy icons that complement the design.


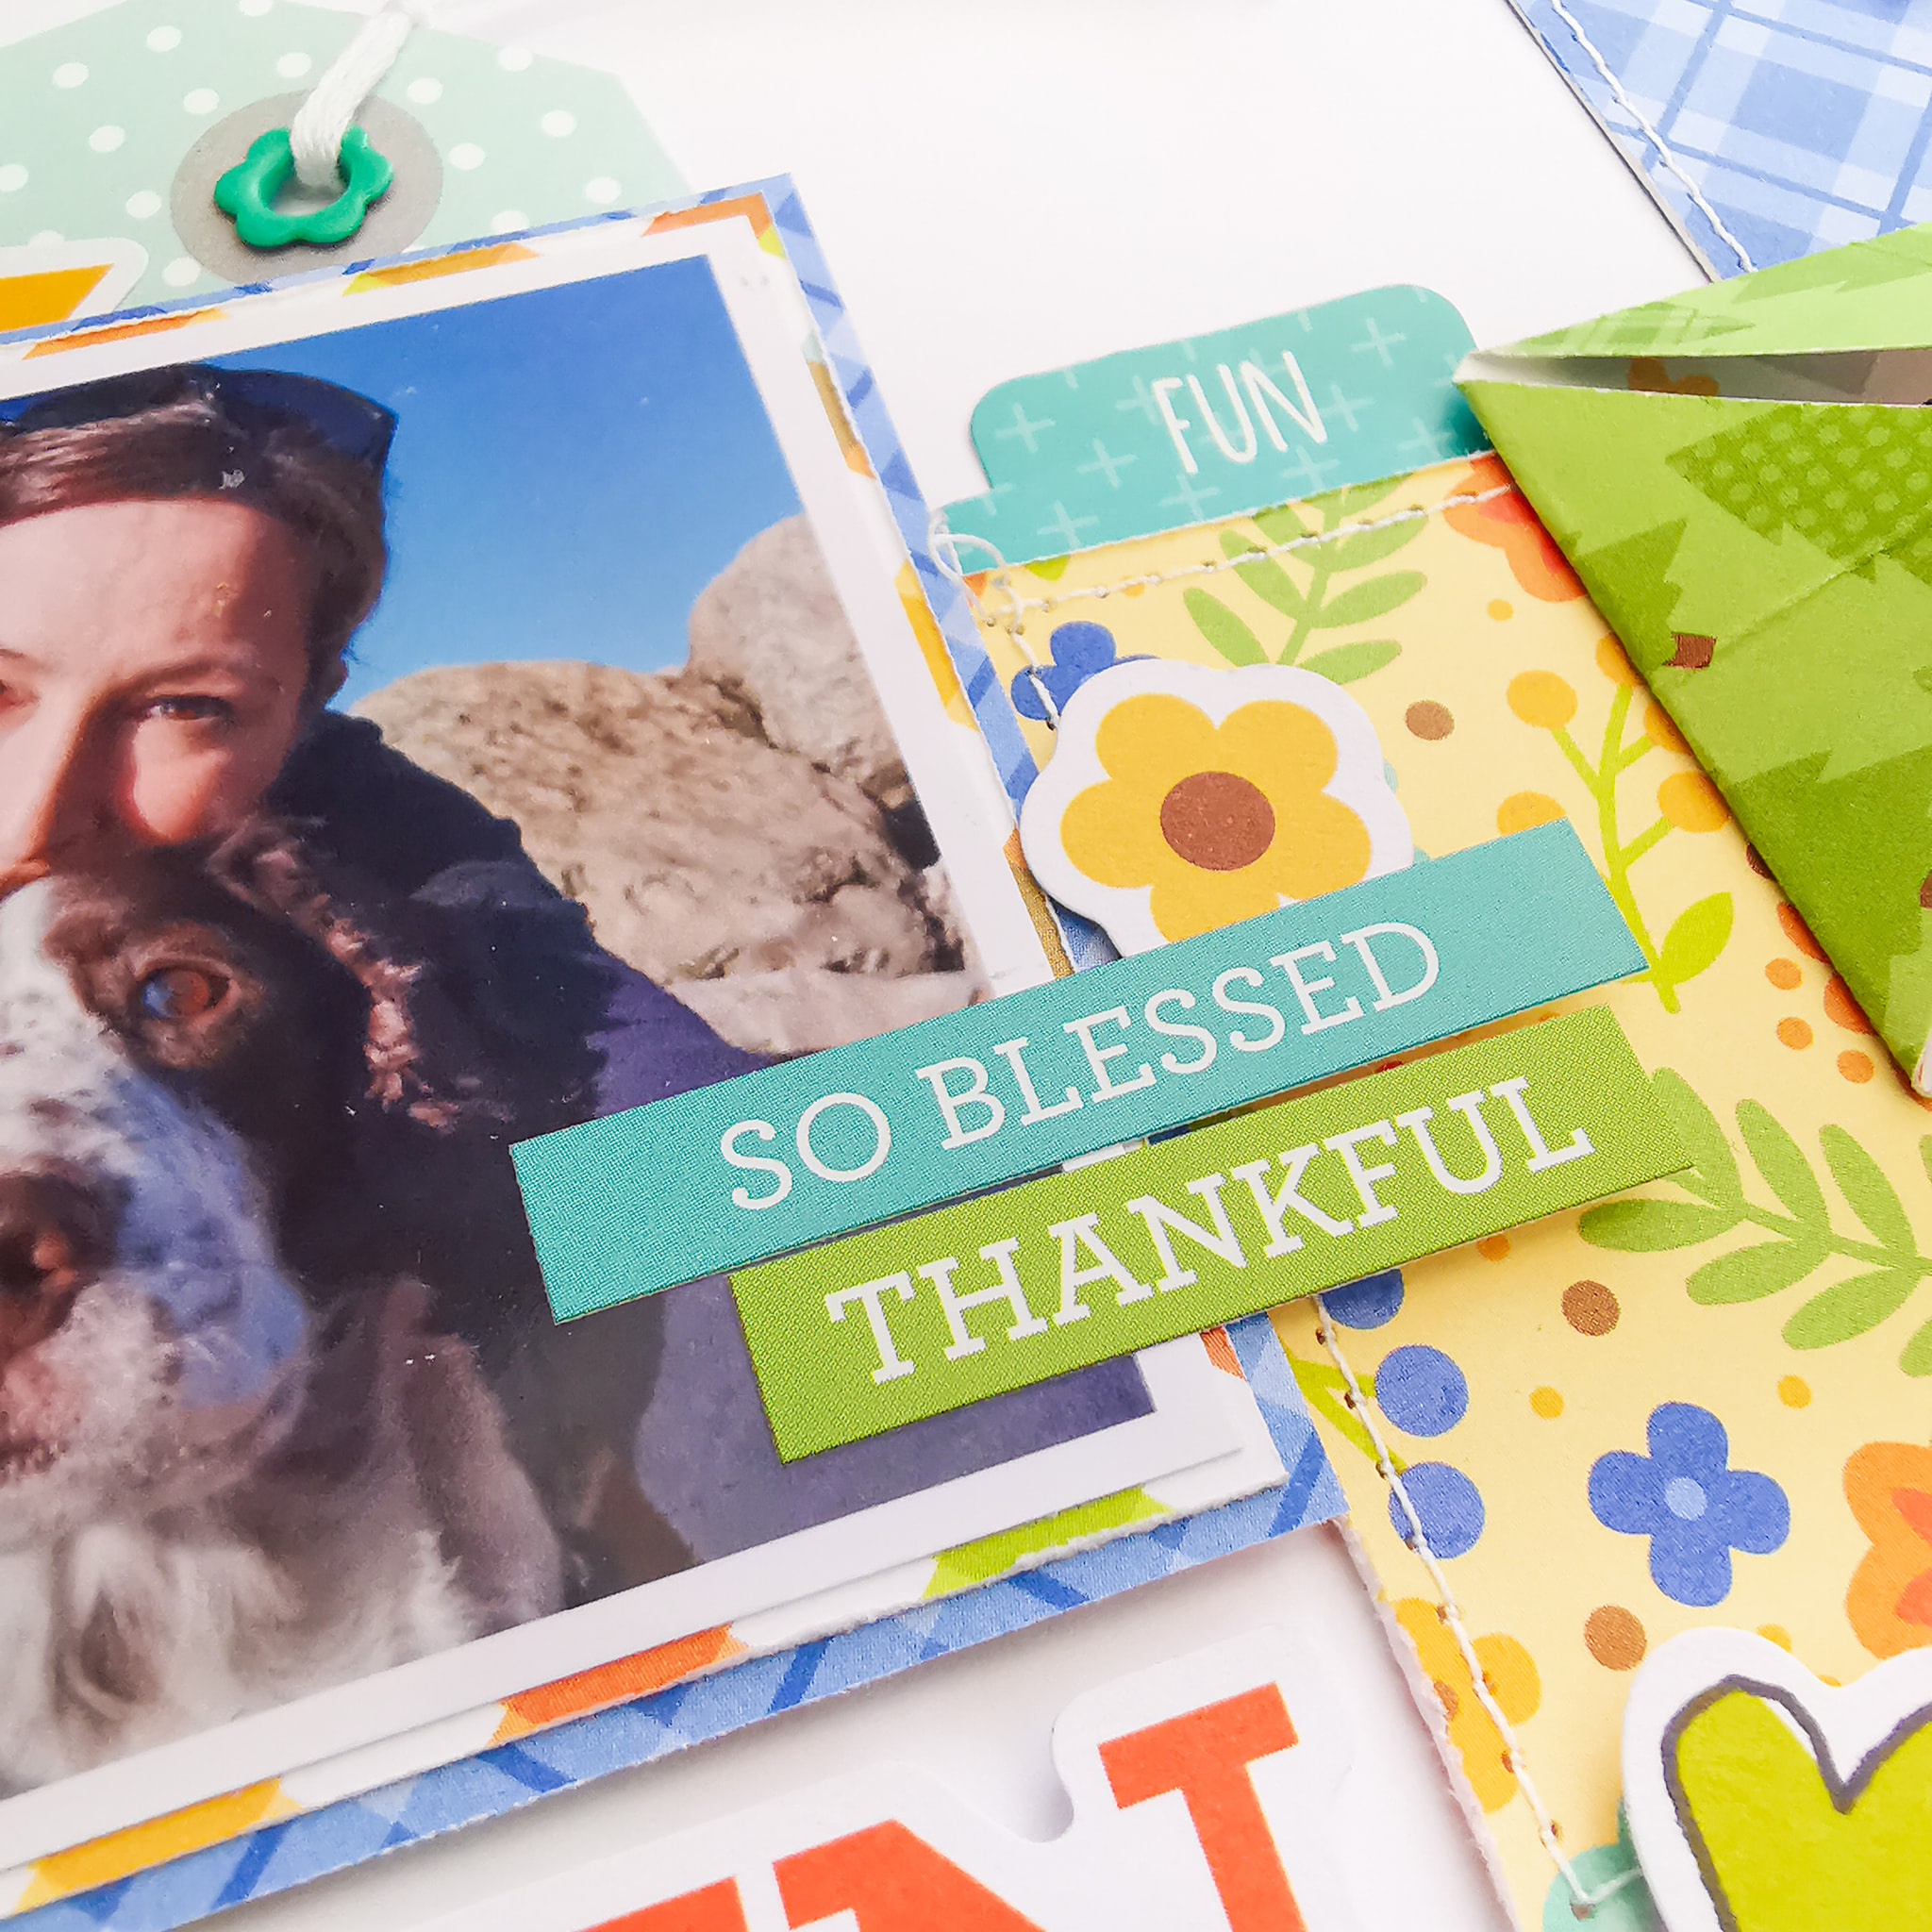
I started with a piece of white cardstock and the Sleeping Bag paper. It has this bold blue plaid pattern on one side, and lots of cut apart strips on the reverse. I cut 3 squares (2.5") in the blue plaid, distressed the edges and added machine stitching. I scattered these across my page to create the base of the design. 


I complemented this with 2 squares of Wildflower paper which has a beautiful floral design.

Next, I created some smaller dimensional squares using the Great Outdoors paper. These were about 3" flat. To create the dimension, I folded the points of each side to the centre, folding to create the effect.


I lay the squares horizontally across the page, before adding my photo in the centre. I embellished the photograph using a tag from the Tag Along paper and a lovely big sun from the Odds & Ends Friendly Forest Pack.


To create a bit more dimension, I cut some smaller 1" squares in the Wildflowers paper, this time using the b side of this colourful check pattern. I raised these up on foam and outlined in black pen to help them stand out.


I embellished these with lots of stickers from the This & That Sticker Sheet. I also scattered some hearts and flowers from the Odds & Ends Friendly Forest set. 

I positioned my title centrally under the photo, using some of the statement words from the Odds & Ends Chit Chat Pack , underlining it with a scalloped edged sticker from the This & That Sticker Sheet.


Also from the sticker sheet, I took the blue scalloped edge sticker and paired this with a striped strip of paper from the Sleeping Bag paper to create a border at the bottom of the page. I think this really helps to 'secure' what is otherwise quite a 'floaty' design.

Along the border, I created a small cluster, using trees (Friendly Forest Pack) and a banner (Chit Chat Pack)


As an extra detail, I added a vertical banner from the Chit Chat Pack to one of the squares, along with some Nuvo Drops in coordinating colours, and added a black doodled border around the whole page.

I thoroughly enjoyed making this page. It was fun to experiment, and stray away from my usually centred designs. This collection has really allowed me to explore how I create and gave me so many creative ideas. 


I really hope you've enjoyed seeing these pages and have given you some inspiration for future projects.

Until next time, have a fabulous Easter break and take care.

Claire xx
@Scrappysoulamte


Sunday, 14 February 2021

Hello Today Stash Busting by Adam

Happy Sunday! Adam back with another layout using Hello Today from Simple Stories.

This isn't my last share of the month, theres a few more to come but this was the last layout I actually did with the collection and I went for a full on stash busting to use up stickers and ephemera! I didn't take much notice of what the bits were and just went a bit crazy!

So I used a scrappy tip from a Shimelle Facebook Live video to cut a shape from cardstock and fill it with stickers! I love this idea and will definitely be giving it another ago. You could do this in so many different ways, shapes and collections!

I started with precision cardstock and cut a large circle then used a sheet of yellow cardstock from my stash to back the circle. I took a 4x4" photo and backed with some red Bazzill. There are a few word/phrase stickers around my photo from my stash. I doodled around the photo - not sure I am completely happy with that but you can't like everything! 


Then I went sticker crazy! These are all from the element sticker sheet, foam stickers, adhesive brads, chipboard stickersenamel dots, sticker book and puffy stickers. I've also used two fabric/puffy hearts from Cocoa Vanilla Studio's Daydream collection. 


This was definitely a layout to stash bust the rest of the stickers and so I wasn't paying too much attention to what the stickers were and instead just going for it! 

Its a great way to use up ephemera, stickers and embellishments. You can quite easily adapt it to different shapes - square, triangle, hexagon and so on. You could also back the circle with a photo and then go sticker crazy round the outside! So many options. I'll definitely be giving it another go!

That's it from me for today. Thank you so much for reading - I really appreciate it! Go check out all the other posts from the design team - there are some incredible layouts from everyone else right now!

You can find all the new scrappy goodies in the shop! Take care, stay safe and happy scrapping!

Adam x