Wednesday, 12 February 2014

Valentine's Scrapping with Echo Park...

It's a couple of days early but I have a love layout to share with you today using Echo Park's pretty collection 'Head over Heels'. You can find the whole collection at Papermaze here

Here is what I have used: 

I based this layout on a central piece of Echo Park patterned paper and then layered on it and at the top left and the bottom right sides using a selection of embellishments. 


I made the heart garland below by punching out some small hearts and then roughly stapling them to a piece of twine. I then tied a knot at either side to finish. 


 I have been busy making a project life style layout using the Echo Park Head over Heels collection to go alongside this layout. I will be back on Friday to show you this, along with the rest of the Design Team to share some lovely Valentines ideas. 

Have a good week! Anna x

Monday, 10 February 2014

More Websters pages recorded

Hi Tracee with you again today sharing another layout, this time "project life style", that I created using some of the lovely Websters Pages recorded.

I've not yet gotten the Project Life bug but I wanted to create a layout with a Project Life type flair.

I cut some strips from the Rewind  & Today sheets and stitched them along the edges to frame the layout  


The printed acetate frames make a striking focal point for your photographs, I added some of the stickers from the sticker sheet to spell out my title.


 How cute are the mini frames?, with the simple addition of some word stickers and wood veneers your page is complete. I love how you can create 2 totally different atyle layouts using the same paper collection This is my post sharing the first layout.
All supplies can be found in the Papermaze shop
Hope you have a great start to the week and the weather is being kind to you, my thoughts go out to all those suffering the floods.

Sunday, 9 February 2014

A Little Bit of Sunshine

Today is day 3. The last day of my masks and stencils tutorial weekend.
Have you grabbed yourself a bargain whilst they have 25% off?
See here.

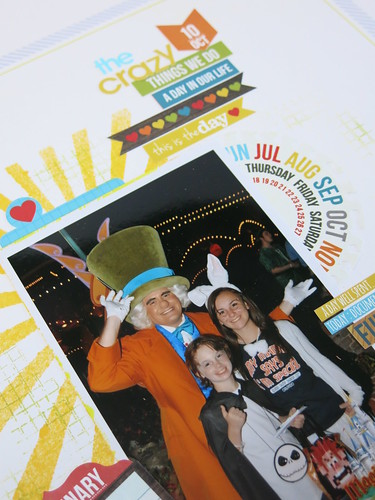
This is what we are making today.

 
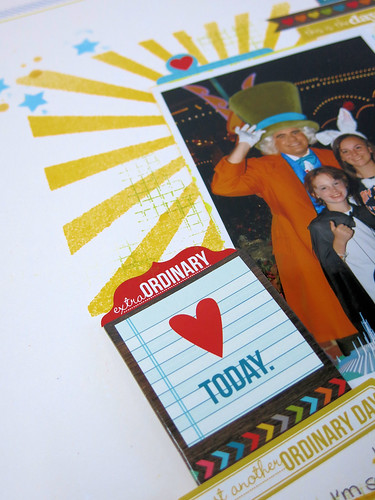
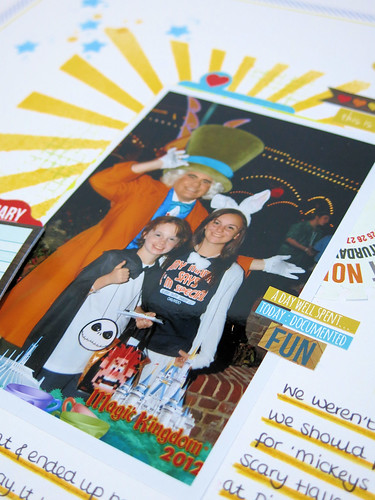
Today we are taking a break from the lovely Dear Lizzy from American Crafts and playing with the very colourful Daily Grind from Simple Stories.

I didn't go a gathering for this one today. I was quite content with my 12x12 Simple Stories Sticker Sheets. They gave me so much to work with already. I didn't feel the need to reach for much else other than a piece of matching chipboard.

This whole LO starts off with a mask today.
The sunshine mask.
Now I call this technique, controlled misting. I don't know if it actually has a name, that's just what I call it when teaching. Misting can be a little unpredictable. Some (like me) like that, but that's not for everyone. This way is more suitable to the 'cleaner' scrapper.
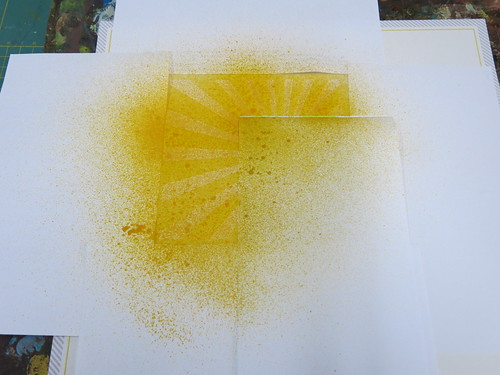
So, lay your mask where you want it to be on your page. I laid my photo on top so I would get it exactly in place. I didn't want any excess misting going on today.
Now cover up EVERYWHERE else with scrap paper where you don't want to see any misting.
Like this.

 
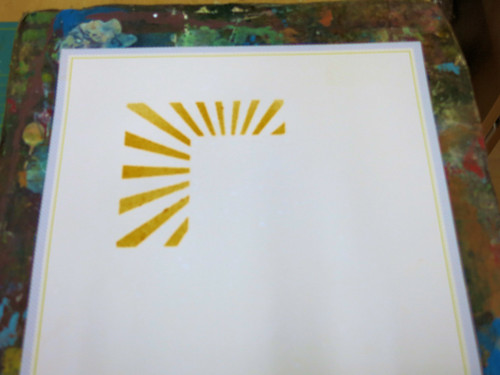
Now you can mist over your mask.
 
 
You are left with this.
 
 
Once it's dry you can add your photo and stickers.
 
 
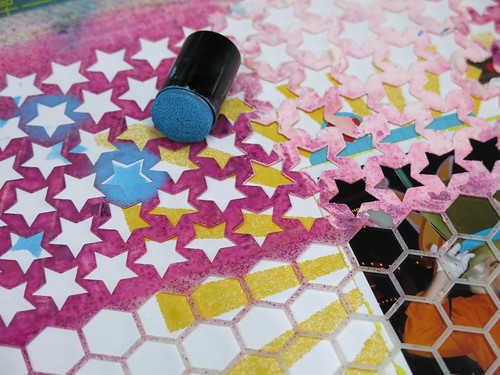
To finish it off I take another mask. One with small stars this time and lay over the LO.
I use a dauber pressed in ink and use that to press through the mask.
 
 
I love these stars.


My weekend blogging has come to an end here at Papermaze. I hope you have enjoyed.
Thank you for stopping by.
Happy Masking
 
Lisa x


Saturday, 8 February 2014

Believe

I hope you enjoyed the first of the 'Masking' posts yesterday.
I am here with a second for you today.

Today we will be getting a little messy with out masks.
We are using this 6x6 Crafters Workshop Mask. Mini Vine.
Remember, we have 25% off all masks & stencils this weekend.

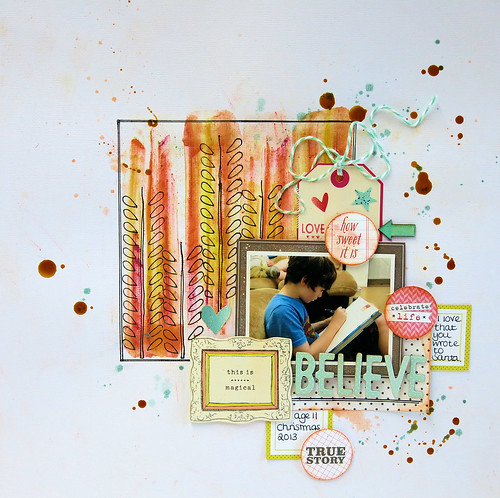
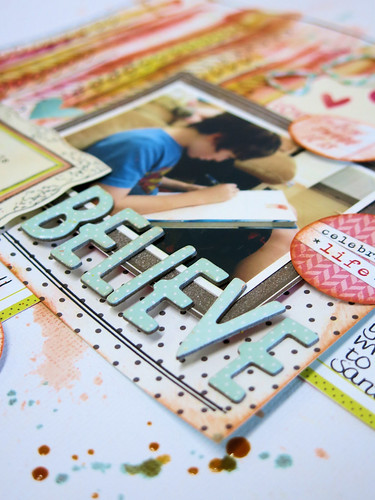
The LO I've made is this one here.

 
I started off in the same way as I did yesterday. I gathered and collected. I'd decided on my colour combo already and set off on my search to find things that matched. Again as yesterday I used the American Crafts - Dear Lizzy - Polka Dot Party paper, stickers and this time I did use the Thickers to match too. 
 
Back to the mask.
You need a base that can take a little water. Some paperstock is a little thin and you'll find that it ends up wharping, so make sure you use a good cardstock. I like Bazzill for this.
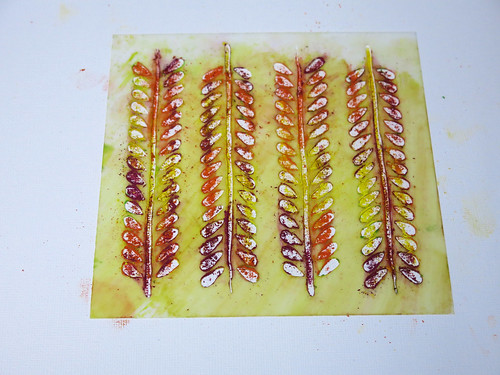
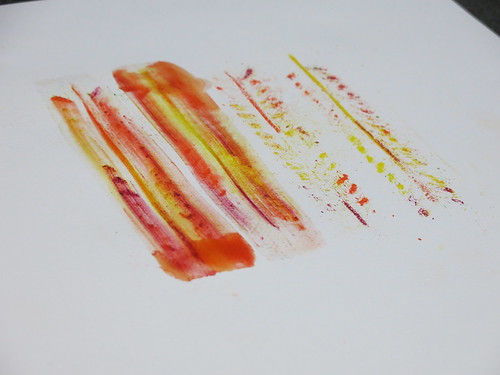
Lay your mask in place and rub over using Inktense blocks. These are my favourite for this but you could try watercolour pencils too.


I warn you, it does get a little messy with the inktense blocks. They are like chalks and you end up with dust and powder everywhere. Once you remove your mask you are left with this.
 
 
At this point I like to give my hands a good wash otherwise you end up getting the coloured dust everywhere. I also like to have a clean rubber to hand to rub away an excess marks that I don't want on my cardstock.
 
 
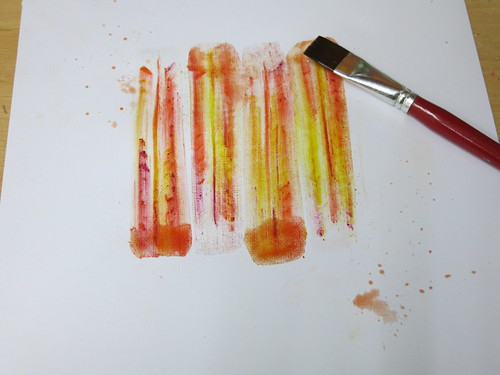
Now taking a decent sized wide and flat paint brush, I load it up with water and brush down the pattern. I stop at the end of each line. Load up with clean water and brush up in the other direction, stopping at the top again. The water will form a small puddle at the end of the line where you stop, that's good. Don't try to dry it up. You can now see why you need decent cardstock to work on.
 
 
Once I finished, as my paint brush was wet, I flicked it and let it drip down on to my page. I now leave it to dry.
 
 
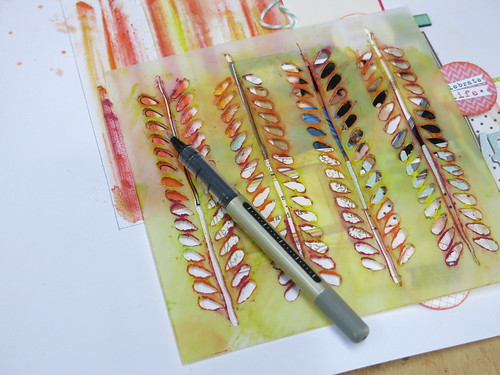
I've started to work on the photo and the layers. It's now time to work on the next part with the mask. As the card is dry, I lay the same mask back on the page and take a black journal pen and use the mask as a stencil for doodling. As the mask is chalky from before, either clean it off before doing this or like me, just wipe the photo after and use the rubber to rub out any unwanted smears.
 
 
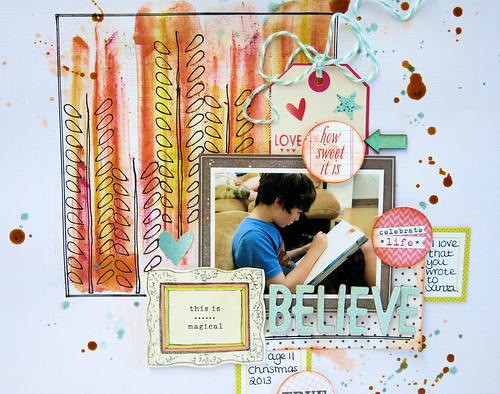
The LO can now be finished.
 
 
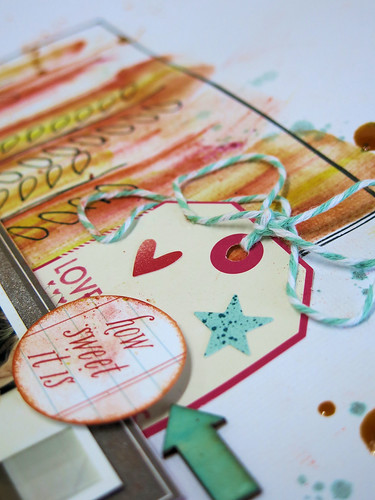
I added some of the Elle's Studio Tidbits to the LO. I inked around the edges of these.
 
 
The orange drops are Tattered Angels Glimmer Glam.
I've dipped a long, thin paint brush in to the pot and let it drop. You get nice big drops by doing this and not the little splatters you get from flicking. It feels slightly more controlled too. It looks wet on the photo, that's how it looks when it dries.
 
 
And lastly a close up of the mask work.


Thanks for joining me today. I hope you have enjoyed these techniques. Please come back and visit me here tomorrow where I will have a third LO to share with you and more mask & stencil techniques.
 
 
Lisa xx


Friday, 7 February 2014

A Few of my Favourite Things

That's what todays blog post is about.
A few of my favourite things.

The secret to a good LO for me is to collate a few of my favourite things before starting.
For me a good colour combo is necessary.
I like to have one in mind and then start gathering.
It's blue, aqua with pops of hot pink and sunshine yellow today.

I'm like a little squirrel, I start gathering pretty things from around my studio that all fit my colour combo and set them on my desk altogether.
Then I stand back to see what I have and start piecing it together.

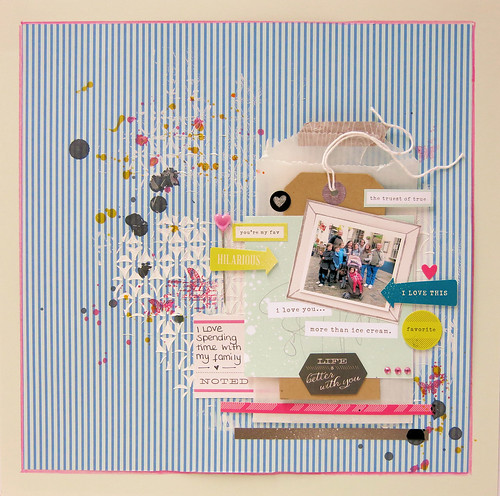
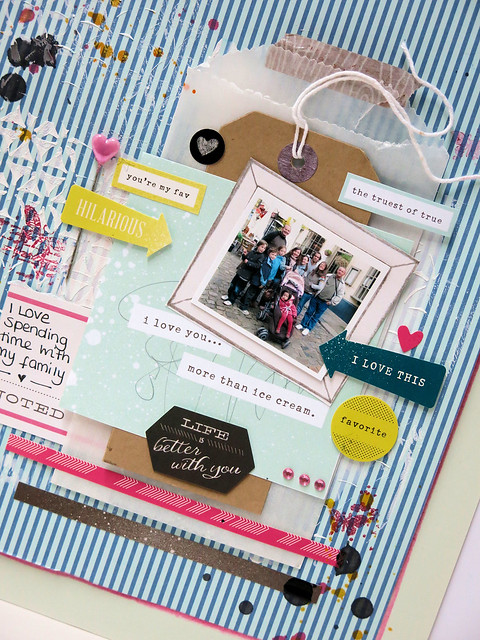
This is what I made.


Today on my desk I had some pretty American Crafts - Dear Lizzy - Polka Dot Party Papers, the matching pretty stickers, A pack of Thickers, some pink gems,  Twine, a couple of heart topped pins, along with mists and a tag and glassine envelope.
Everything laid out in front of me ready to use.
I love this way of scrapping. It makes it so fun.
And just because it's on my desk it doesn't mean I will always use it.

I started with using my favourite scrapbooking tool. A mask.
I use these on pretty much all of my LO's. I have so many now in loads of different sizes.
You will be pleased to hear that we have 25% off all masks & stencils for the whole of this weekend.
Take a look at the large range that we stock. (discount gets taken off at checkout)
I used to loose my masks, so now I keep them all in a 12x12 pizza box. The kind that companies like Papermaze deliver their wonderful products in. They make great storage for masks.

This is the mask I used today. Crafters Wokshop - Kaleidoscope. Designed by the very lovely Ronda Palazzari.

 
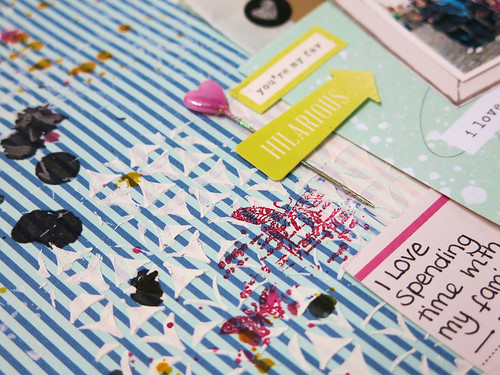
I thought I'd show you a fun technique using a mask and some moulding paste.
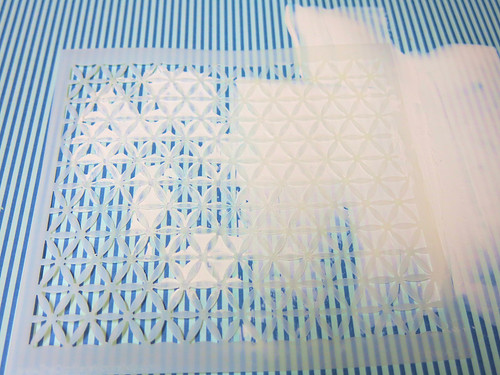
Place a blob of paste on your base. I then like to take an old credit card to spread it around the area where I want it.
I then lay the 6x6 mask half over the paste and half on the part that doesn't have any paste.
As my credit card still has some paste on it, I start scraping and pressing down  on the mask over the area with no moulding paste underneath. I then continue scraping hard over the area that is sitting on the paste. It should look like this. If you need to add more paste you can.   
 
 
Then for the good bit. Carefully peel off the mask.
 
 
The area with no paste underneath now has the pattern of the mask showing and the pasted area has the indentations of the mask. Leave to dry.
 
Once the base is dry it time for my other favourite technique. Layering. I love adding bits and pieces and building up layers.
 
 
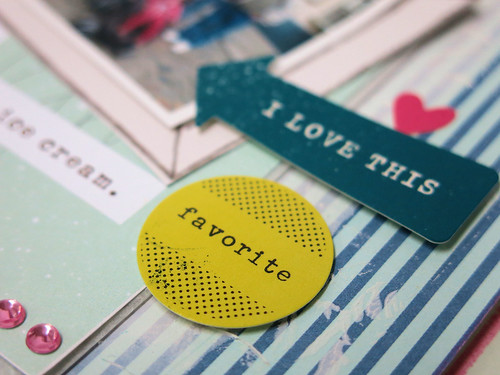
I've used the American Crafts, Dear Lizzy papers, cutting them up and stacking them. The stickers that match make a perfect addition and add the pops of colour that I need to bring this LO to life. It would look quite plain and bland without them.
 
 
To help your stickers stand out more, stick a 3d foam pad to it. They really stand out from the page then.
 
 
I start adding the final bits and pieces. I go with 1 pin and 3 diamantes. I decide that I want a little more of the pink so grab a stamp and some hot pink ink. I've just stamped in a couple of areas.
Time for a little mist. I've unscrewed the top and literally let it drip drop on to the LO.
 
The LO is now finished and I used one last favourite of mine..
A photo of my family : )
 
 
Like I said, just because I laid out everything on my desk to use, it doesn't mean I have to use it. I left off the Thickers and the twine.
 
I really love this way of scrapping. I find it a really good way of finding things that I'd forgotten I had. It's like a little personal challenge each time I scrap.
Why don't you give it a go : )
 
Don't forget to grab yourself a bargain this weekend with the 25% off all masks and stencils.
I will be back for more ideas and tips using masks over the weekend. 
 
Lisa xx 


Wednesday, 5 February 2014

Kaisercraft Enchanted Garden Collection

Have you seen all the New Kaisercraft products going online at the moment? There are 5 new collections to wow you and I have chosen to use Enchanted Garden to play with today. Ok, so this one line is not brand new, (we've had it for a little while) but I couldn't resist those pastel colours and soft patterns that suited this photo I had ready to scrap so perfectly!
 
 
For my layers I have cut out some of the blocks from the Rapture paper, and mixed them with strips of other patterned papers in the collection. Instead of inking the edges, I distressed the edges to make them white and worn.

 
I cut out the flowers from the Charm sheet and pinched and curled them do give them dimension. They are so realistic looking, and there's loads on a sheet to cut out.

 
Besides the papers, sticker sheet and a photo, all I added to my layout was some scraps of white cardstock die-cut into swirls and some small dots of liquid pearls which can be found HERE in the shop. The faux stitching was achieved by drawing a thin line with a gel pen and making holes into it with a pokey tool after the ink had dried.
Monday, 3 February 2014

looking for Mr Mojo...

We all go thro' stages were we feel that Mr Mojo has upped and left us…a good way to get him back is to take a small piece of card, tag and play… and thats what I've done here.


I started off by placing a selection of distress stains onto my craft mat - I spritzed these with water and then dragged a small tag thro' the stains I then,dried with a heat gun, then dragged the tag thro' again - taking a piece of ribbon I used this to "mop" up the left over stains this means that I have a matching ribbon for my tag when finished.  I then dragged an old store card thro' some white acrylic paint and and then added to the tag…take a distress stain and get some ink into the sponge top by pressing onto your craft mat then splat onto your tag….take some washi tape and add to the edges.  Add some stencilling using distress inks and then stamp a stronger (harlequins) design over the top…. I've doodled the edges and then added a stamped sentiment…. I added some wax soluble crayon around the text to make it pop a bit…. play over and Mr Mojo?

Thank You for looking today - if you have a go please let us know so that we can take a look.