Friday, 22 June 2018

Life is Good with Simple Stories Hello Summer

Hi Tracee with you today sharing another layout created with the fun Hello Summer collection by Simple Stories. Hope the sun is with you today as it's so much nicer creating in this lovely weather. 


This collection is especially fun as the colours are bright and the saying all happy, I used this photo of my son & daughter just after he picked his new car up. I got the date wrong and it was actually 2016, which I have now rectified!


I created a watercolour background with some watercolour pencils and scrumpled packaging. I first added some clear gesso to my page to stop the paper soaking up all the liquid. This is my favourite way to make this type of effect, as soon as I have my watercolour on the page I use a soft brush to push into the spots I want. I added some Nuvo drops. These are great for creating the tiniest of dots and there are so many colours to choose from over in the shop


I used my sticker sheet and I love how some of them are made up of all the colours in the collection which makes it easier to select a wider range of papers for one layout. I raided my stash and found some tiny puffy stickers by Amy tangerine, they are older but fit perfectly on my page, in case you are looking it is the tiny cluster of yellow flowers on the title sticker.


I didn't leave space for my journaling so I added some tags behind the photo, the fabric one is a very old one by Maya Road. Vanessa sent me some adorable wood veneer words in my pack this time and I layered the "awesome" on top of my layers running vertically. I added another of those puffy stickers on top of the clouds and word sticker from the combo sticker sheet.
I hope you have enjoyed my share today, I enjoyed creating it. For this and all your scrappy needs please head over to the shop


Wednesday, 20 June 2018

June Papermaze Kit

Hello, Lynn here today with my first of two posts using the new June Monthly Kit. A very different feel to this kit, but just as lovely as the May kit. So for some inspiration I will be bringing you two blog posts. This kit is now available in the shop to purchase.


Here is what you get in the kit this time:


2 sheets Bazzill cardstock - Almond Cream and Heidi
6 sheets of double sided patterned paper -
Kaisercraft - Misty Mountain collection - Marbled and Moody
Kaisercraft - Romantique - Primrose
Kaisercraft - Pen & Ink collection - Stamps
Authentique - Dame collection - Dame Three
Prima - Lavender collection - Communication Through Love

This shows the reverse side of the papers.

The embellishments included are:
4 x Prima tickets, 1 reel MAMBI mini washi tape, 10 x sequins, 1 x metal charm,
1 strip gems, 2 x Heidi Swapp acetate words, 12" rose ribbon, 50cm string,
1 x Prima flower, 8 x buttons, 2 x paper flowers and 4 x Tim Holtz chipboard quote chips.


You can also buy the four extra sheets of Bazzill cardstock, this has been selected to go with the kit and includes - Admiral, Blossom, Avalanche & Thunder.


My first layout 'Happy Ever After' is for my daughter's wedding album.


Gut the Admiral cardstock so you have enough left over for a photo mat and some dies cut lettering, my frame measures 3.5cm in from the sides, 
9cm down from the top and 5cm up from the bottom.

Tip - I place my gutted cardstock on a spare piece of cardstock to give me a stable surface to work from. This may be the back of a book of papers, paper from my stash that I don't think I will use or one that got spoilt in an experiment that went wrong!!

I inked the edges of my papers and die cuts with Distress Ink - Chipped Sapphire and Peeled Paint.

Cut the lacy side of the Authentique Dame paper to 25cm x 18cm.
Cut the floral side of the Prima paper to 25cm x 3cm (avoid any of the sayings you want to keep on the other side of the paper).
Cut the floral side of the Marbled paper to 15cm x 21cm.
Trim the butterfly strip at the bottom of the Kaisercraft Primrose paper an cut this down to 28cm.
From Primrose paper (bird side) cut a piece 20cm x 15cm (avoiding the bird and including the lace edging).
Cut the Hazrat Khan quote from the strip on the Authentique paper. 


Cut a mat for your photograph from the cardstock, arrange all these papers as seen in the photograph.

Now for the embellishments -  
I used the acetate word and stuck the directly to my photograph with a few tiny dabs of Diamond Glaze.


Tie the string in a bow at one end and lay this across the lacy paper.
Make a small tag from Almond Cream Bazzill (4cm x 6cm), Then use the remainder of the string to tie a knot through the hole in the tag.
 

Make three clusters of flowers and leaves, die cut using Sizzix Thinlits - Small Tattered Florals, (one of the most useful sets of dies I own). The paper used for these was from the reverse side of the Dame paper. Curve shapes with scissors, ink the edges and build up in layers. 


I used Nuvo Crystal Drops - Wedgewood Blue for flower centres and a touch of Crystal Stickles to the leaves. Select a butterfly for each cluster from the Primrose paper, add them to the clusters and cover them in Crystal Stickles.
Finally add a chipboard sentiment to the bottom of the lacy paper. 

For my second layout I chose a photo of a Canadian relative Edna May.


This time I gutted the Heidi Cardstock to ensure I had a piece from the middle measuring 25cm x 25cm for another page (I will show you next time). I needed the frame for this one to be at least 2cm deep all round.

All my inking for this layout was done with Distress Ink - Seedless Preserve with some Peeled Paint for the leaves.

Next I cut the floral side of Moody paper to measure 29cm x 29cm, and rounded the corners. Gut a piece from this where it will not show (approx. 14 cm x 19 cm, for another day).
Cut a piece of Almond Cream Bazzill to 15cm x 26.5 cm.
Then gut the Avalanche Bazzill to leave a frame of 4cm for another layout (again this is coming next time). From the remainder cut a photo mat and mount the photo to leave a narrow border.
Cut a strip of Primrose, from the bird side 28.5 cm x 4.5 cm.
Cut a strip from the Stamps paper - 30 cm x 2 cm.
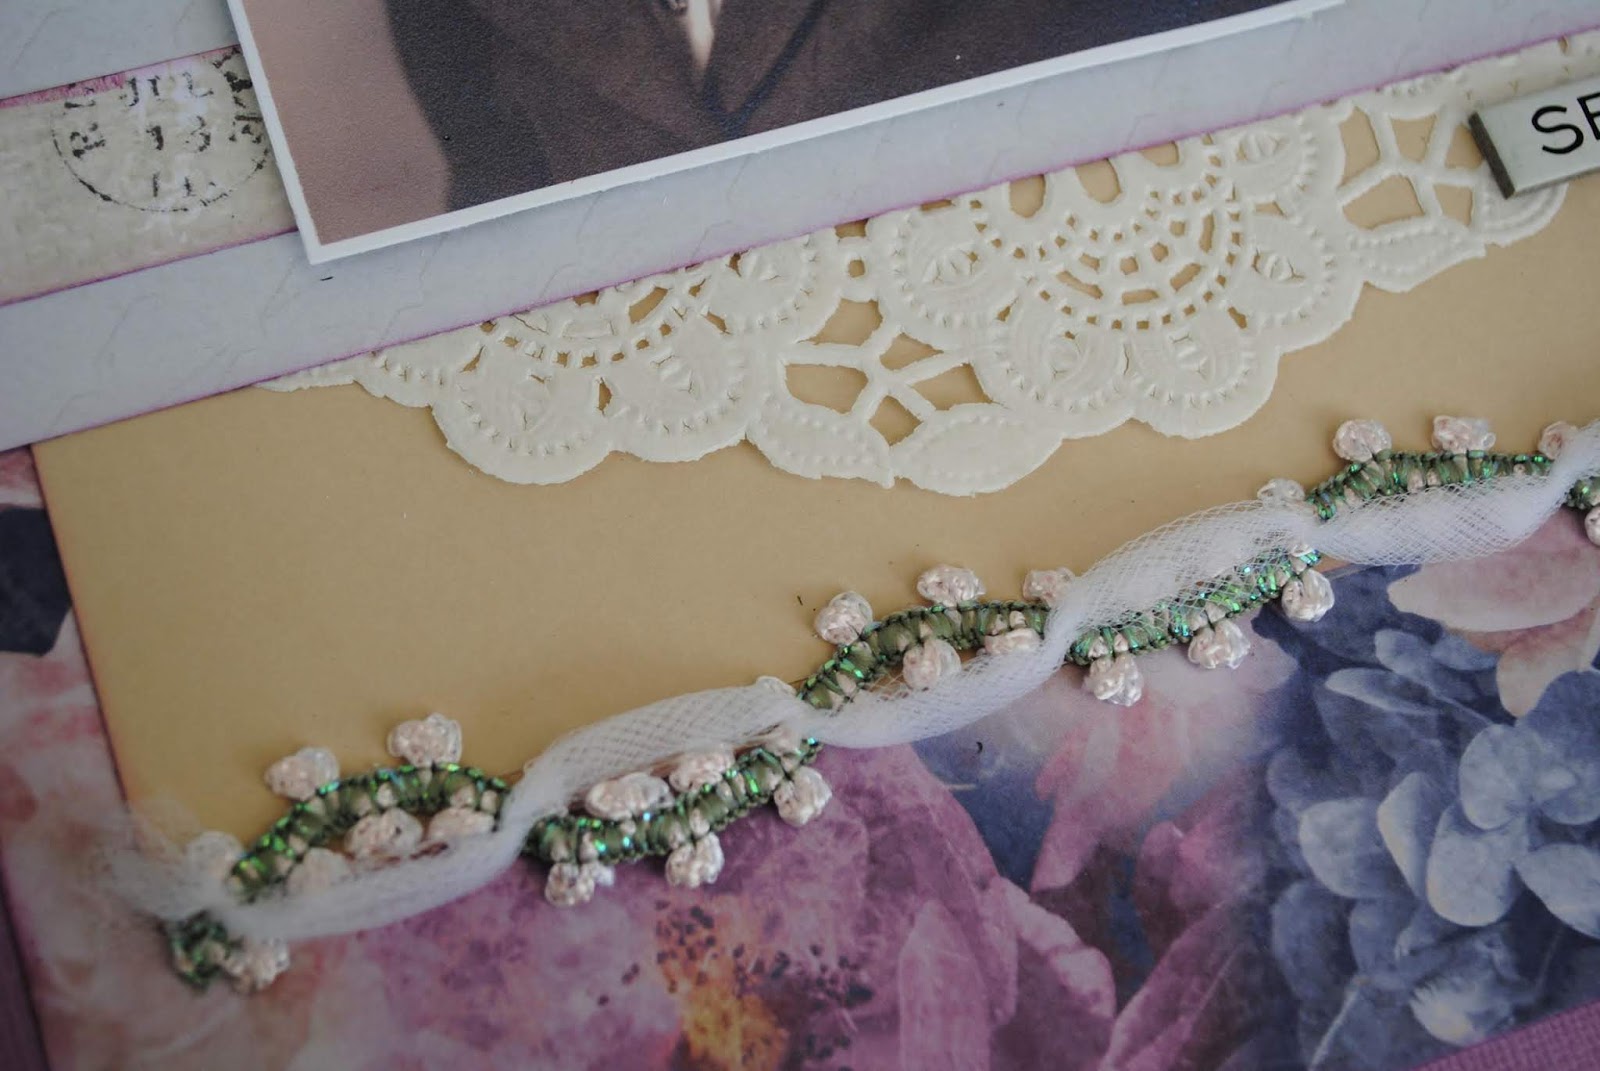
Layer this all up with a Doily - mine was about 22 cm diameter.

I cut three of the bingo cards from the other side of the Stamps paper, selecting appropriate sayings.

I made a cluster of flowers with the two paper flowers from the kit and one added from my stash. The leaves were punched using the Martha Stewart Frond punch. They were cut from scraps of the reverse of the Authentique paper.  


Using the gutted piece of Heidi Bazzill I cut a title from one corner, making sure it was at least 1 cm in from the sides as I needed the rest for later, and this will be covered.


I cut my shadow for the letters from scraps of Admiral Bazzill. These were all cut using Billionaire font and my Cricut. I added Crystal Stickels to the letters.


I trimmed the bottom of the Almond Cream Bazzill with the rose ribbon from the kit. Then finished off with two of the Tim Holtz chipboard quote chips suitable for my well travelled cousin.

As before I will be back early in next month with more from this kit. 
Thanks for looking.
Lynn x

Monday, 18 June 2018

Creative Journaling - Planning a Trip


Hello, Lisa here with some leftover scraps from the 'Here & There' collection from Crate Paper.
 
 
I've been using my Travelers Notebook a lot lately. I'm really enjoying my creative journaling sessions. When using up scraps like today, scrapbooking on this smaller scaler is perfect.
 
I do have a video here where you can see me working on these next 2 journal pages.
 
 
We have an exciting trip coming up. This holiday though, rather than just waiting until we come back to start recording the memories, I've started documenting already.
 
 
I've created this double page spread to tell our trip planning stories. We spend so much time researching our trips, so I thought it would be fun to start the story telling right from the very start.
 
I've cut out pieces from the patterned papers to create embellishments and I've even used brush pens to colour in (See the word 'JUN').
 
 
I've also decided to create a few pages so they are ready to work on when we get back.
We are heading to the mountains when we first arrive, so this card is perfect.
I just love the idea that all I need to do is to print some photos and add some journaling when we return and I'm ready to go.
 
This is the first time that I've done this. I love my Traveler's Notebook.
 
So, are you taking a trip this Summer?
Why don't you document the planning before and even prep some pages before you go??
 
Happy trip planning : )
 
Lisa x  


Saturday, 16 June 2018

Flashback to April's Kit

Lynn here, with a layout I made using the delightful April kit from Papermaze, there are still a few available in the shop. 

Scarlett Rose is the newest member of the family, she is my great niece, born to my nephew Sam and his fiancée Chelsey last November. I can't really believe this cute little baby girl is already 6 months old!


These kits are such great value for money and you get six sheets of patterned paper, 2 sheets of Bazzill and a bag of embellishments. I also had the extra 4 sheets of matched cardstock. The colours are stunning, not sure my photo does them justice. Here is a photo of the kit. I have only made one page so far, but there is plenty more to play with.
 

I used three sheets of Bazzill for the base of this layout. The first was Whirlpool, the second Blossom and the third layer was Lily. I cut the latter two down in size slightly to give a fine border and the former two were gutted.

I just loved the little square designs on the Kind paper from the Be You collection by Pink Fresh. They reminded me of the flower dies in the new Sizzix Thinlits Funky Floral #3 set from Tim Holtz, so I simply had to combine the two!
I used a QuicKutz alphabet for 'SCARLETT ROSE' and another Sizzix Thinlits Tim Holtz set for the months, chopping up the word October to make a 'to'!.  

Thanks for looking
Lynn x

Friday, 15 June 2018

June's Crop

It's that time of the month again!  Our June crop seems to have come round very fast, but we'll be ready tomorrow from 10am with our usual home-made cakes and refreshments!

Our kit this month uses the beautiful Photoplay Moments In Time collection and a bit of distressing...


There's also a shop discount, and great company of course!  If you'd like to join us, drop me an email!

Wednesday, 13 June 2018

Life's a Beach! ............ G45 Sunkissed.


Hi There....
It's Anita here with you today and I have brought along some summer sunshine!
I have been using the vibrant and sunshiney Sun Kissed Collection from Graphic 45. Its full of glorious blue hues, oranges and fresh yellows and beautifully combines marine life, shells and flowers


Their paper collections are always stunning, with so many details and very busy sheets....this can be daunting sometimes. But all you need to do is see past the complete sheet.....and chop into it, using elements here and there and introducing other sheets to break down the intensity.


I based my page on a sheet of Blue Oasis cardstock and also used the reverse side of a sheet of Under the Sea which I trimmed down to 11.5 inches ( to leave a lovely blue border )

Next I took a sheet of Sun Kissed and fussy cut diagonally and removed the right hand side of the page. I fussy cut the little girl and the turtle, raised them on foam pads used them lower down on the page.


Amongst the Collection there is a sheet called Kids At Play, this is covered in picture panels, decorative strips and tags and is perfect for cutting up for adding to your layouts or making cards with. I chose a panel and a strip to use on my page, again raised on foam pads. I also matted my photos of our youngest daughter, which were taken on our local beach at Pevensey Bay several years ago, onto some Mango cardstock.


I popped some white sequins and some paper blossoms on the page to finish it off.


Here are a couple more close ups. The details on the designs are superb and the colourway is just so lovely and really encaptures the spirit of the beach, sand, shells and sunshine.


You can see the entire collection of Sun Kissed here, along with the co ordinating cardstock stickers, journalling and ephemera cards and 8 x 8 pad.

This is the perfect collection for scrapping your summer holiday, trip to the beach or even just a stroll along the promenade.
Thanks so much for looking today.....I will be back later in the month with more creations using this wonderful collection.

Warmest wishes
Anita xx

Monday, 11 June 2018

Today you Shine - Heidi Swapp Pineapple Crush

Hello, Karen here. This month I've been playing with Heidi Swapp's gorgeous Pineapple Crush collection. The collection has a fun tropical vibe with pineapples, flamingos and palm trees but also soft watercolour

For my first layout this month I chose to create a scrapbook page using a favourite recent photo of my daughter and some of the pink and black/white papers from the collection.


I trimmed a quarter of an inch off of each side of a sheet of the pineapple crush paper and matted this onto a gutted sheet of 12" x 12" black Bazzill cardstock. A narrow strip torn from the palm beach paper was glued to the left side of the layout. A 9" x  6½" piece of the south beach paper was matted onto black Bazzill cardstock and placed on the background with 3D foam. For some added softness, my photo was first matted on several layers of pale pink tissue paper and then various pieces of paper from the collection.

A paper doilie and a hand made tag were tucked behind the left edge of the photo mats.


For my title I used a Heidi Swapp White Acetate Word and black Simple Stories Sn@p Letter Stickers. A punched paper heart was glued above the title.


Near the bottom of the layout I hung bunting made from scalloped circles punched from some of the papers and some twine. A pink button was glued at each end.


I machine stitched with white thread round the edge of the layout, on some of the paper layers and across the bunting.


The date and my daughters name were added with Websters Pages The Good Life Little Letters Stickers .


A few sequins were used to embellish the photo.


I finished my layout with some word strips, a scattering of sequins & seed beads and a splattering of some black spray mist.


Thank you for looking. Do visit the Papermaze shop to see this gorgeous collection and for all your other crafty purchases.

Take Care
Karen x x