Showing posts with label Paper strips. Show all posts

Friday, 14 June 2024

Echo Park - Summer Vibes - Vacay Vibes

Hello everyone!

Welcome back to the Papermaze Blog! It's Claire here with you today and this month I am working with the Summer Vibes collection from Echo Park.

This is a really beautiful collection, full of warm tones, fun patterns and lots of ephemera perfect for documenting a wide range of summer memories.

For my first layout, I'm scrapping some photographs of a visit to a local restaurant on a recent trip away. The photographs have lots of warm orange tones, greens, blues and yellows and seemed to match this collection so beautifully, I couldn't resist!

I started with a piece of smooth white Bazzill Cardstock in Coconut Swirl which came with the Matchmaker Pack.

I cut four strips of patterned paper with approximate sizes as follows:

I distressed the edges of each piece ad drew a white border around the outside. For extra interest, I used a punch to add some decorative elements to the 2nd and 4th strip.  To create a shadow, I adhered each strip to my page with foam tape, replicating the evening shadows from the sun.


To draw your eye into the photos, I used a piece of 4x4 Journaling Cards and Pool Pals papers to double mount the photos, pulling the different colours in the collection together.


I created two clusters on either side of the photos, mixing materials by using the Element Stickers and Sticker Book, along with some icons from the Chipboard Phrases.


I complemented this with some small phrases from the Element Sticker sheet, raising some on foam and sticking some flat.


For my title, I opted for this fun Vacay Vibes piece from the Chipboard Phrases, layering stickers underneath. For a little extra drama, I also added a long border sticker from the Sticker Book along the top edge of the Tropical Vibes paper which takes your eye across the page to the title.


I love how this turned out. It's been so much fun to create with this collection, and I'm looking forward to sharing another layout with you soon.

Check out the collection in full here.

Happy Scrapping!

Claire x
@scrappysoulmate

Friday, 3 November 2023

Echo Park ~ I Love Fall #2 🍂

Hi all, 
It’s Anna back with you today. I have a second layout to share using Echo Park’s I Love Fall collection. 
You can find it in the shop here. 


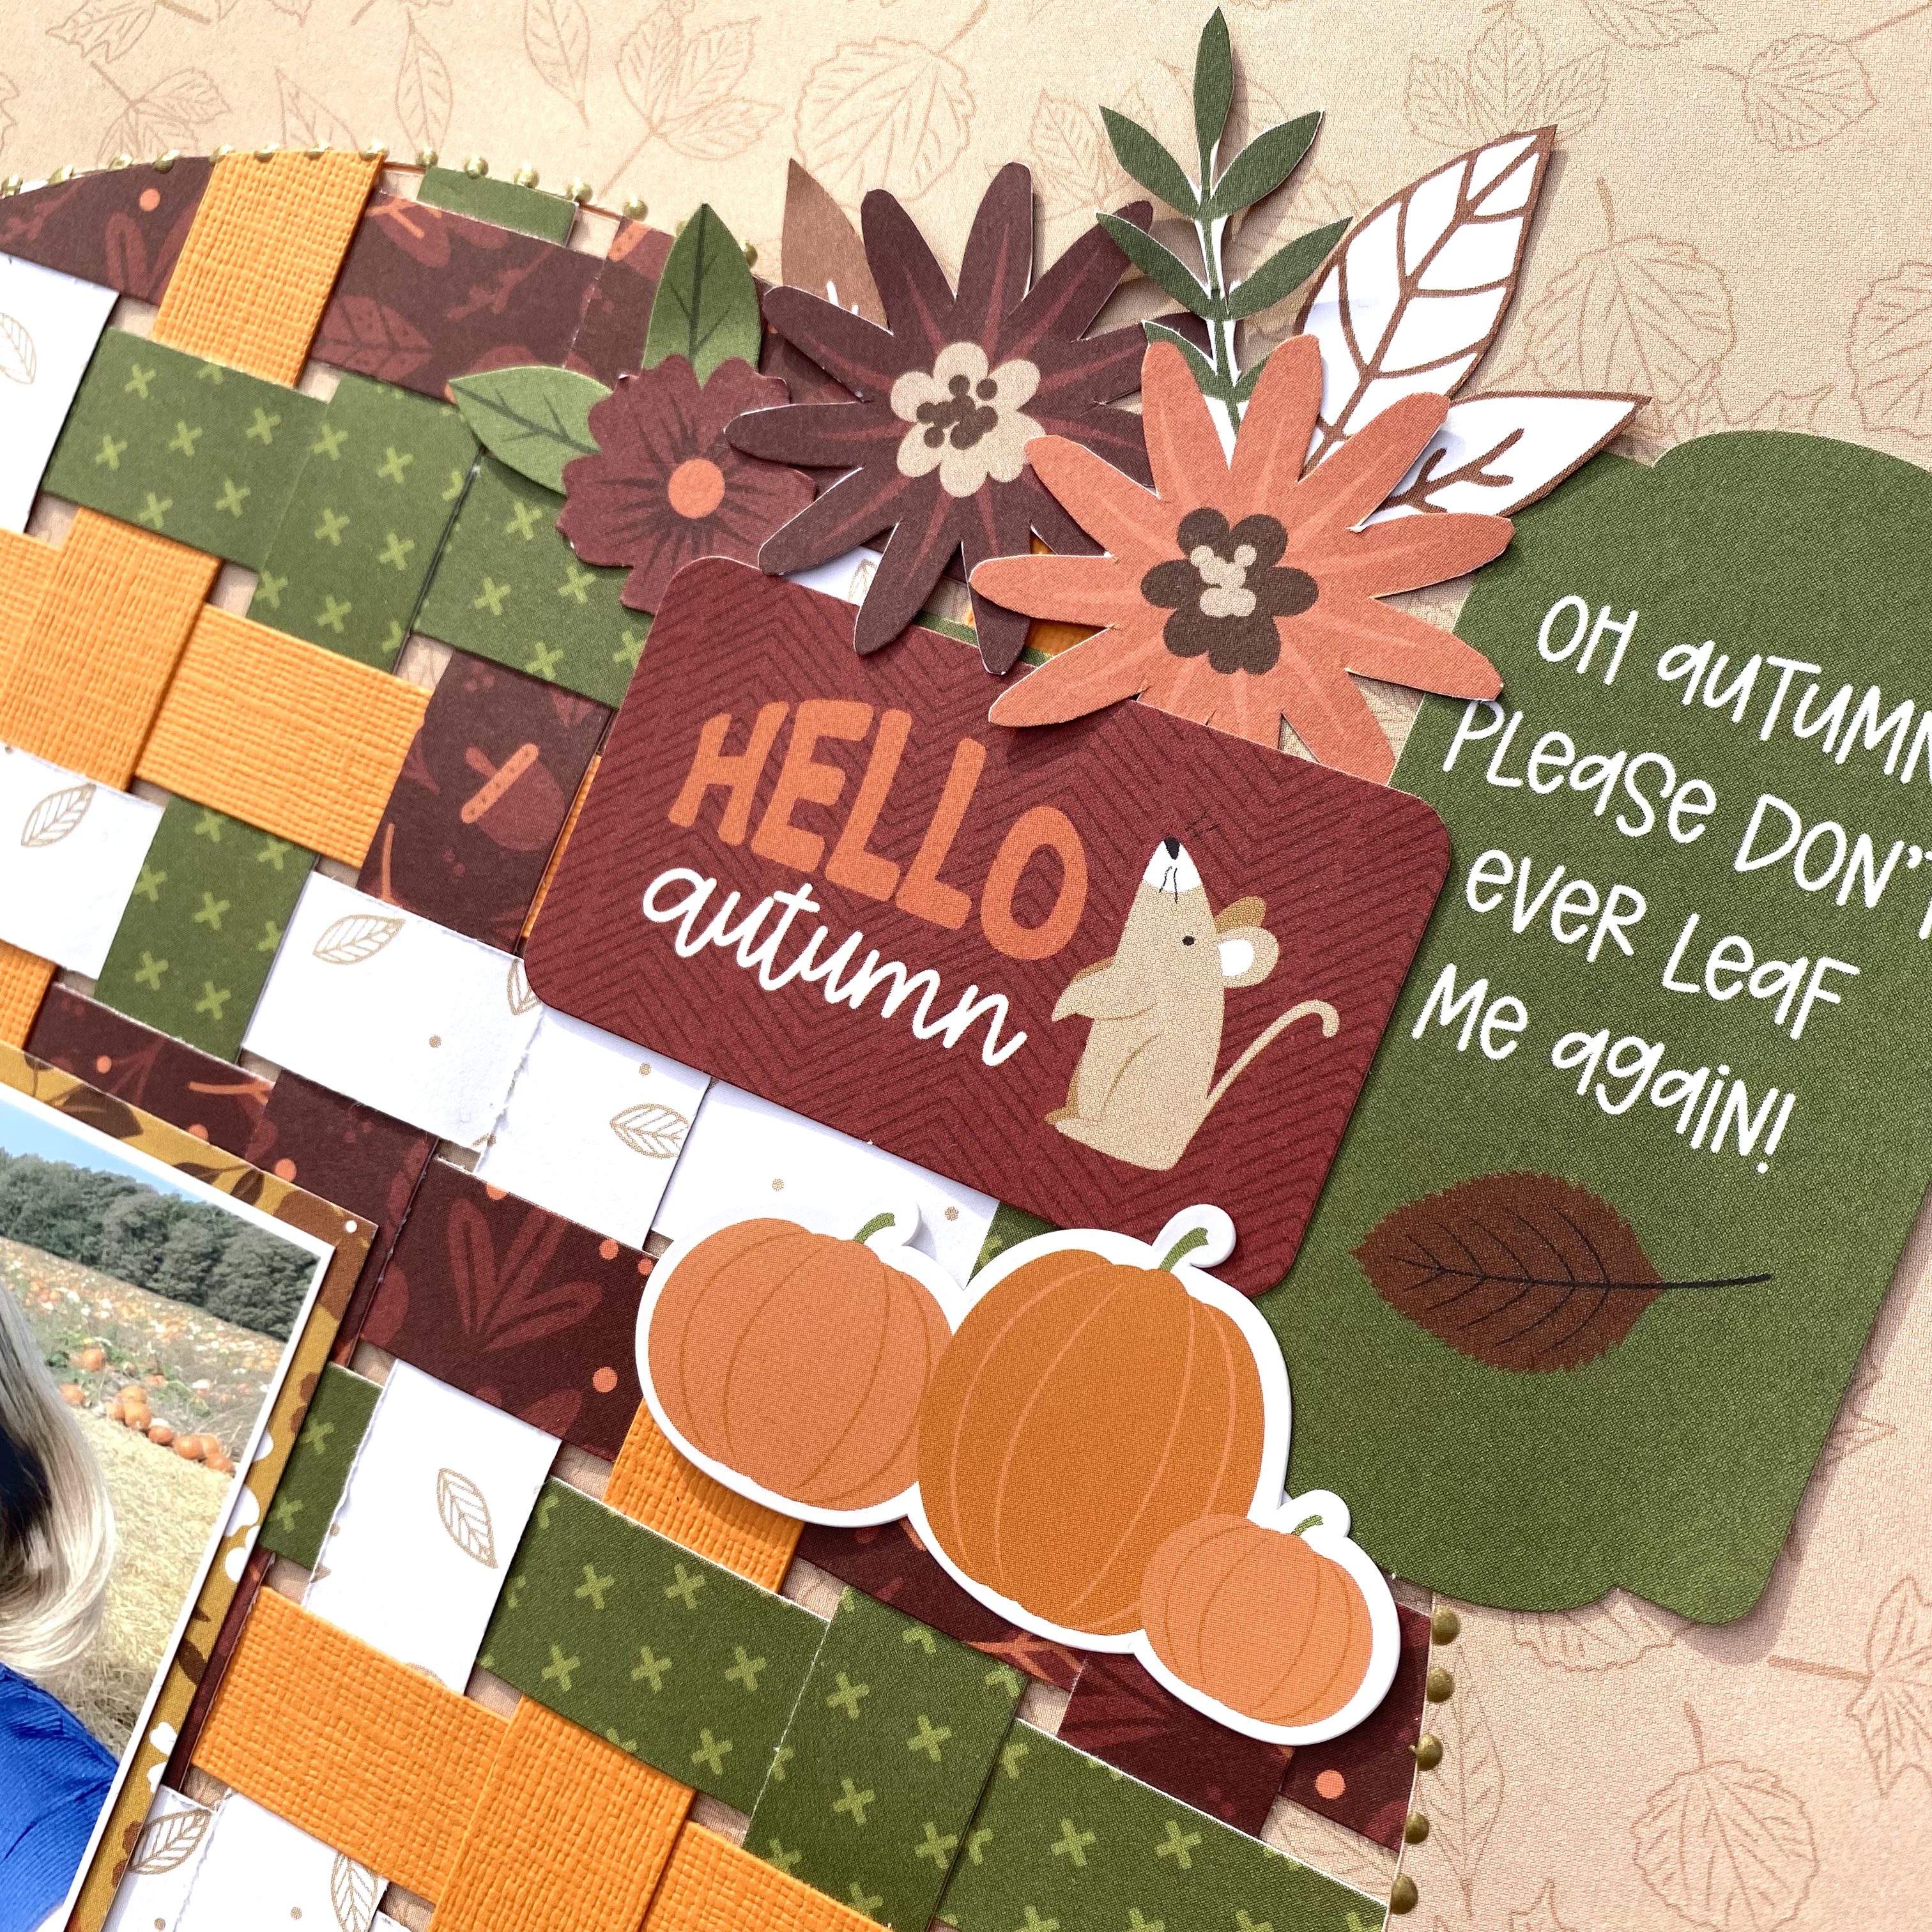
To create this layout I began by cutting a circle out of Autumn Woods. I kept the inner circle and then selected various patterned papers from the collection as well as coordinating cardstock and cut 1.5inch strips. 


I used the paper strips to do some paper weaving and then stuck it all down on the inner circle. Keeping the lengths of paper, I adhered these strips to the back of Autumn Woods. 


I mounted my photo onto the b side of 4x4 journaling cards and adhered to the lower left side of the circle. 


I fussy cut some flowers from Fall Flowers and created two clusters. Adding to my clusters, I selected some ephemera icons and some element stickers to place alongside. 


To finish, I added some Nuvo Vintage Drops around the edge of the circle. 


Thanks so much for looking! See you next time with something Christmassy!

Anna 
x 

@acraftylifewithanna

Friday, 13 January 2023

Simple Stories - Simple Vintage Christmas Lodge - Peace & Joy

Hi Everyone! 

It's Claire with you today, and for my first layout of the year, I'll be continuing to create with the beautiful Simple Vintage Christmas Lodge collection from Simple Stories. You can find it in the shop here.

My resolution for 2023 is to minimise waste - whether that be food and cooking or indeed scrapbooking. With this in mind, I wanted to set myself a challenge this month to see just how far I could stretch my supplies, and see how versatile a Christmas collection can really be.


So for my first layout, I wanted to use up some of the leftover patterned papers. I decided to use the technique of filling shapes with paper strips, creating a fun and vibrant anchor for my photo to sit on.

Of course, I started with a sheet of 12x12 Premium White Cardstock. I used a circle cutter to cut two circles, each roughly 4" in size which I backed with 1" strips of patterned paper.

The papers I used were:


Once both circles were filled, I used a punch to create a circular photo. Unusually for me, I decided not to give it a white border or back it with any more paper as I wanted it to feel blended with the two patterned paper circles, and I thought more paper may be distracting.

I layered it on foam pads before adhering directly to the page.

Then came the embellishing! There are so many beautiful embellishment options in this range - It's quite hard to scale back and not throw everything at it as it's all so pretty.

In the end, I opted for some foliage from the Woodland Bits & Pieces Ephemera Pack (my favourite!), some puffy stickers from the Foam Stickers and some ephemera from the standard Bits & Pieces Pack.


For my title, I used the Foam Stickers - these are awesome, taking all the stress out of deciding on what to call your layout. I laid this directly on the page, overlapping the circles to ensure it 'belonged' as an integral element of the design.


When layering, I incorporated some of the ephemera from the Bits & Pieces pack to create a small cluster. Similarly, I created a cluster at thee top of the design using the tags and foliage pieces to bring it all together.


Once all the elements were in place, I added some Nuvo Glitter Drops in Golden Sunset to act as a frame for the design.

As a finishing touch, I trimmed the edges of 3 sides of the page, creating small insets for patterned paper to peek through, acting as a delicate border for the layout.


I hope you've enjoyed this page. I'll be back later this month with another layout, which sees this collection used to create a none-festive page.

See you then :)

Take care,
Claire
@scrappysoulmate