Showing posts with label simple vintage christmas lodge. Show all posts

Friday, 20 January 2023

Simple Stories - Simple Vintage Christmas Lodge - Hello 2023

Hi there,

Claire here and today I'm sharing my final layout with the Simple Stories Simple Vintage Christmas Lodge collection.

You may remember, this month I'm challenging myself to use up all the scraps and see how versatile a Christmas collection can be.

For this layout, I'm focusing on the green and woodgrain elements of the collection to create a wintery layout with no sense of Christmas in sight! (apart from a very small amount of Holly, but I hope you'll let me off!)

Here's how it turned out.


I prepped my 12x12 Premium White Cardstock with clear gesso, leaving it to the side to dry.

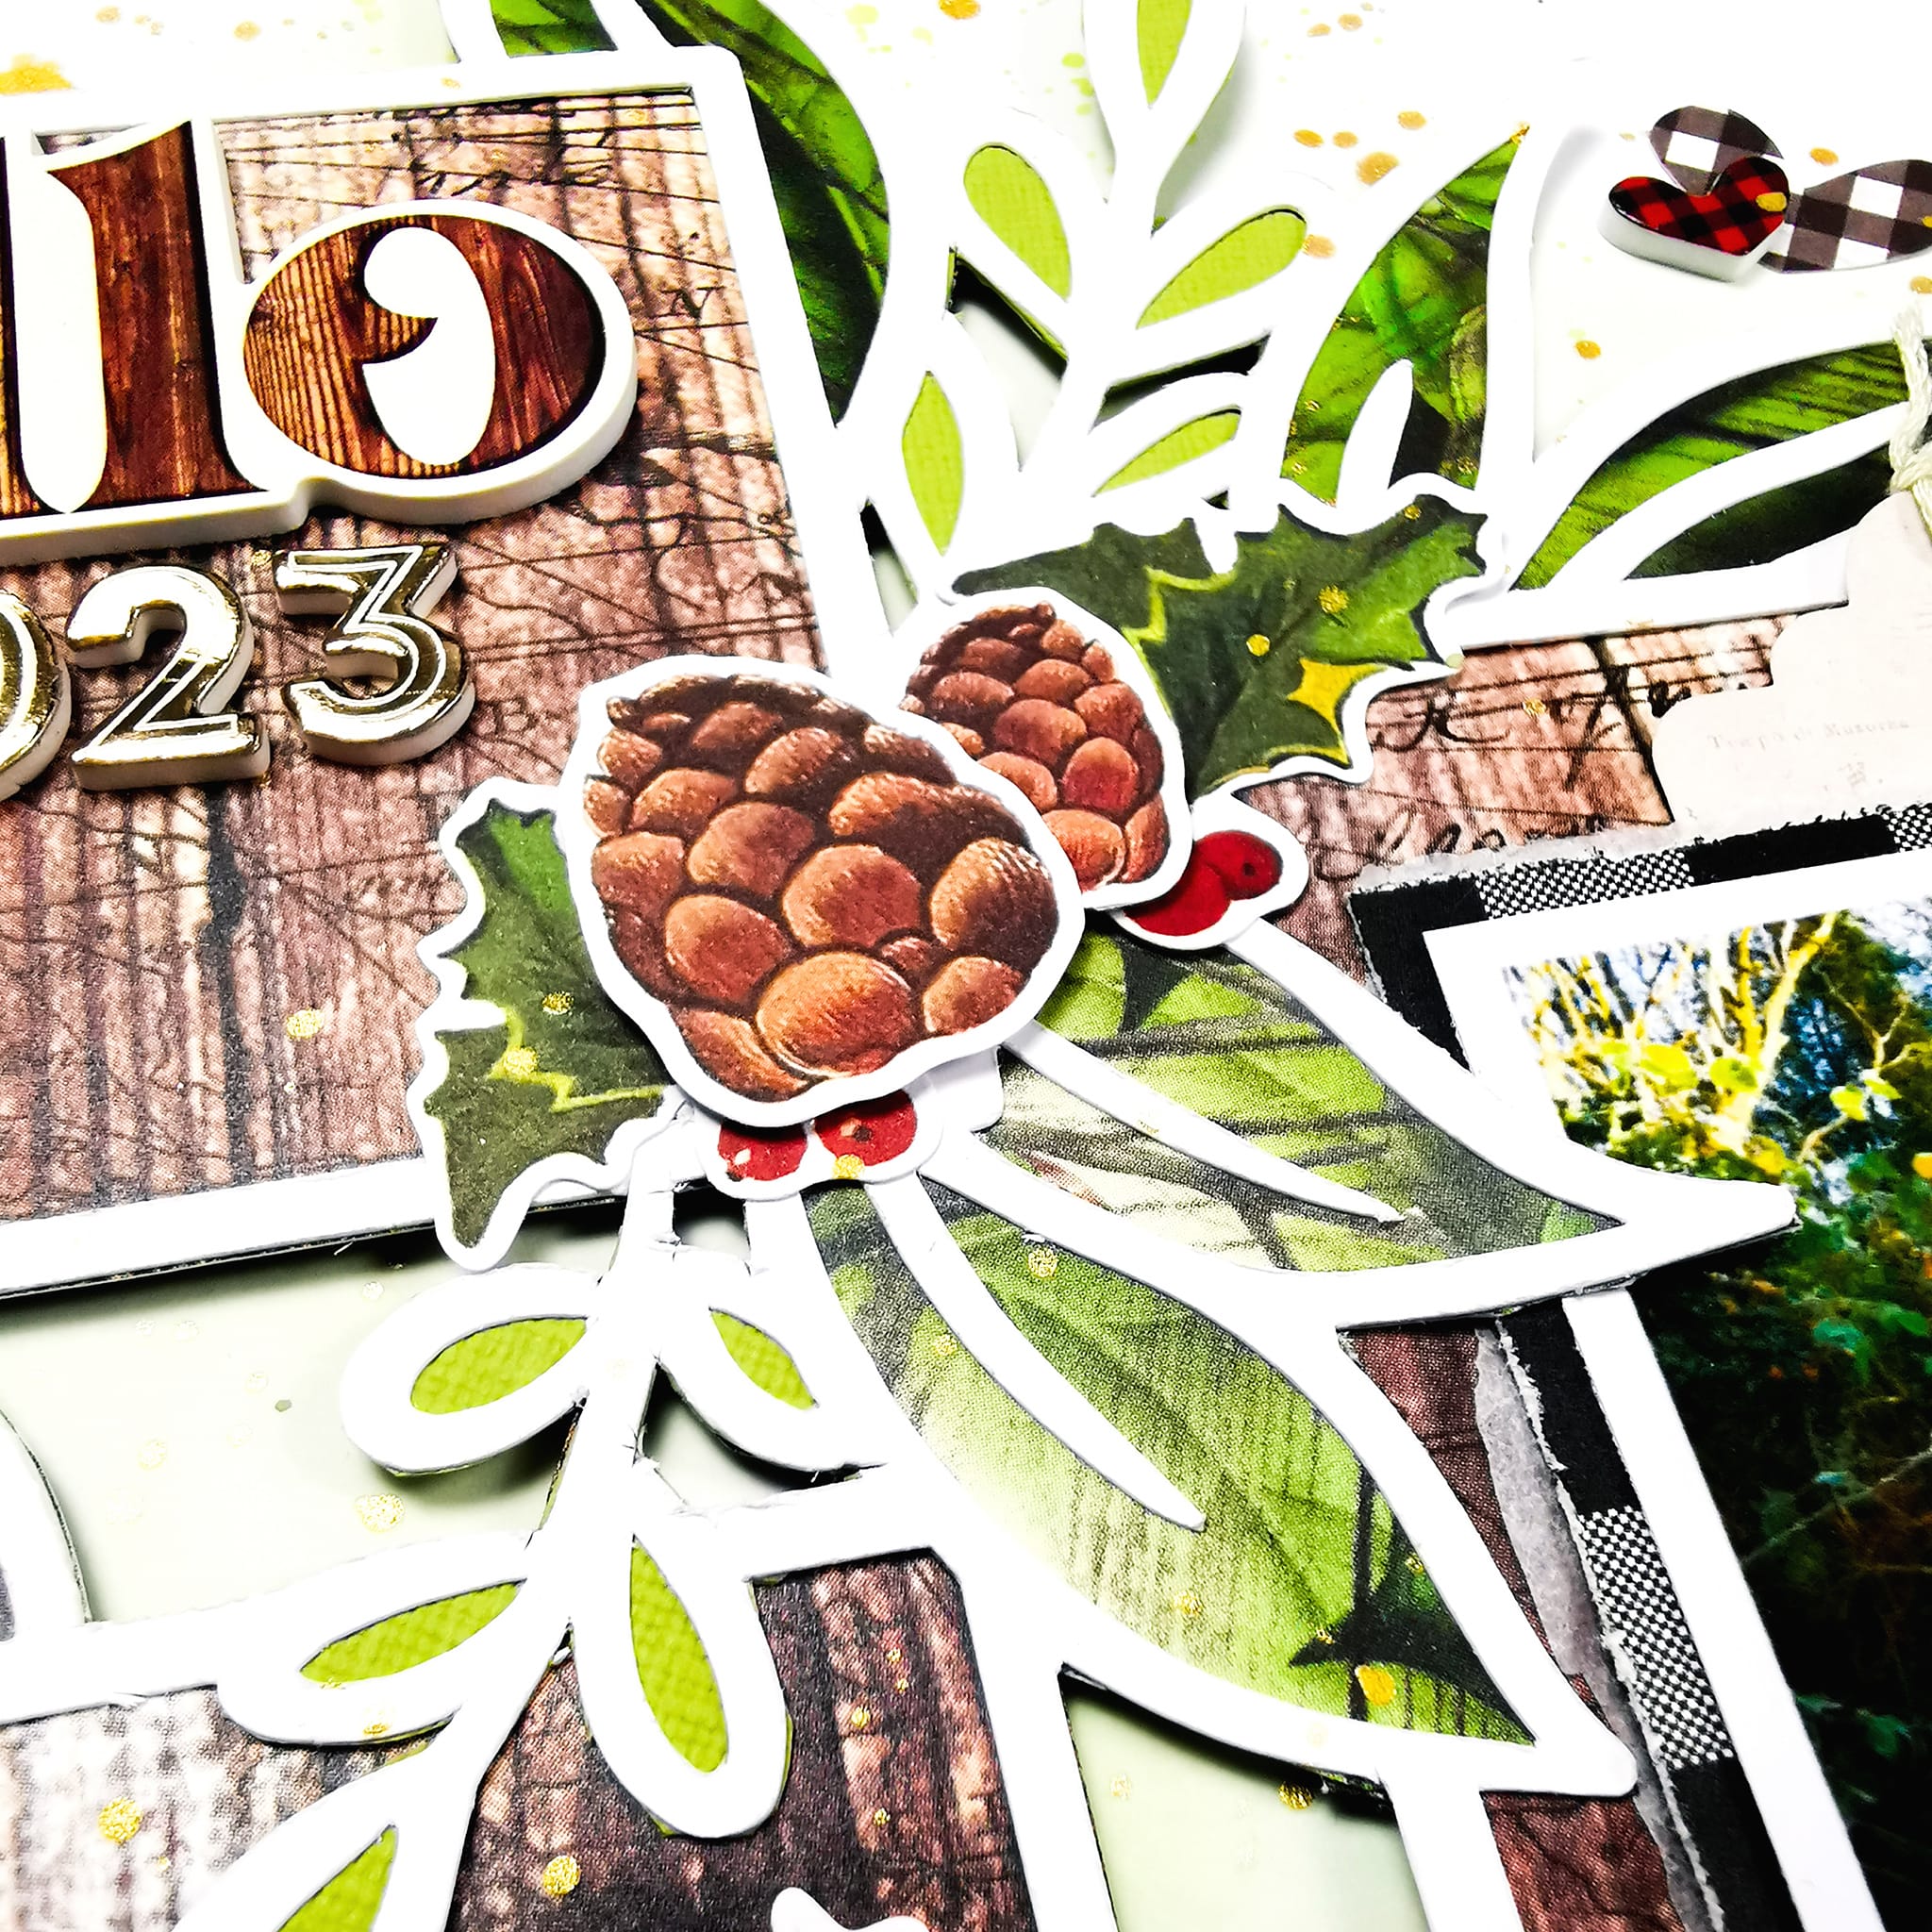
In the meantime, I cut the Leafy Frame Trio cutfile by Pinkfresh Studio, sized to about 9" wide. You can download the file for free in their Facebook group.

I backed the square frames with the Jolly St Nick paper, making sure to include some of the white holly and distressed pattern for extra interest.

Next, on to the leaves which I backed with a combination of the Christmas Wishes Paper and some Parakeet Bazzill Cardstock.

Once all the leaves were backed and the gesso dry, I added quite a lot of water to the background before spraying Distress Oxide Spray in Bundled Sage and Antique Linen. This helped to dilute the ink, resulting in a light colour wash rather than bold mixed media.

Whilst waiting for the ink to dry, I set about printing my photo. I resized it to 2.5" (including the white border), mounting it on a piece of the b side of the Boughs of Holly paper with a layer of white tissue paper behind. 


For extra interest, I also added a tag from the Bits & Pieces pack.


Next, I created some clusters on top of the file, mainly using the Bits & Pieces Ephemera and Woodland Bits & Pieces.


Alongside the cardstock ephemera pieces, I added extra dimension by using some of the foam pieces from the Foam Stickers which have really helped lift the layout.


For my title, I again reached for the Foam Stickers. Remembering this was not going to be a Christmas layout, I needed to find something more generic. Luckily, there is a sticker saying Hello which provided me with lots of options to create my title.  As this was one of the first layouts I made this year, I reached for some older gold Thickers from my stash and added 2023.


I scattered some heart ephemera pieces, raising some on foam and some flat for extra dimension, and added a few splatters of gold ink to finish the page.


I'm really pleased with how this turned out. I don't feel like it says Christmas at all and has a much more wintery feel. I hope it will inspire you to get more from any Christmas collections you have and push the boundaries to see what else you can create. 

Have fun!!


Claire xx

@scrappysoulmate

Friday, 13 January 2023

Simple Stories - Simple Vintage Christmas Lodge - Peace & Joy

Hi Everyone! 

It's Claire with you today, and for my first layout of the year, I'll be continuing to create with the beautiful Simple Vintage Christmas Lodge collection from Simple Stories. You can find it in the shop here.

My resolution for 2023 is to minimise waste - whether that be food and cooking or indeed scrapbooking. With this in mind, I wanted to set myself a challenge this month to see just how far I could stretch my supplies, and see how versatile a Christmas collection can really be.


So for my first layout, I wanted to use up some of the leftover patterned papers. I decided to use the technique of filling shapes with paper strips, creating a fun and vibrant anchor for my photo to sit on.

Of course, I started with a sheet of 12x12 Premium White Cardstock. I used a circle cutter to cut two circles, each roughly 4" in size which I backed with 1" strips of patterned paper.

The papers I used were:


Once both circles were filled, I used a punch to create a circular photo. Unusually for me, I decided not to give it a white border or back it with any more paper as I wanted it to feel blended with the two patterned paper circles, and I thought more paper may be distracting.

I layered it on foam pads before adhering directly to the page.

Then came the embellishing! There are so many beautiful embellishment options in this range - It's quite hard to scale back and not throw everything at it as it's all so pretty.

In the end, I opted for some foliage from the Woodland Bits & Pieces Ephemera Pack (my favourite!), some puffy stickers from the Foam Stickers and some ephemera from the standard Bits & Pieces Pack.


For my title, I used the Foam Stickers - these are awesome, taking all the stress out of deciding on what to call your layout. I laid this directly on the page, overlapping the circles to ensure it 'belonged' as an integral element of the design.


When layering, I incorporated some of the ephemera from the Bits & Pieces pack to create a small cluster. Similarly, I created a cluster at thee top of the design using the tags and foliage pieces to bring it all together.


Once all the elements were in place, I added some Nuvo Glitter Drops in Golden Sunset to act as a frame for the design.

As a finishing touch, I trimmed the edges of 3 sides of the page, creating small insets for patterned paper to peek through, acting as a delicate border for the layout.


I hope you've enjoyed this page. I'll be back later this month with another layout, which sees this collection used to create a none-festive page.

See you then :)

Take care,
Claire
@scrappysoulmate