Showing posts with label shaker box. Show all posts

Wednesday, 4 January 2023

December Papermaze Kit - Part 2

Happy New Year - It's Lynn here today, back with part two of the December Papermaze kit.
I have two more layouts for you today, both based on a circular design an both using Mintay Papers from the 'Merry Little Christmas' collection.


Patterned papers:
American Crafts - Vicki Boutin - Evergreen & Holly collection - Making Spirits Bright & Holiday Cheer
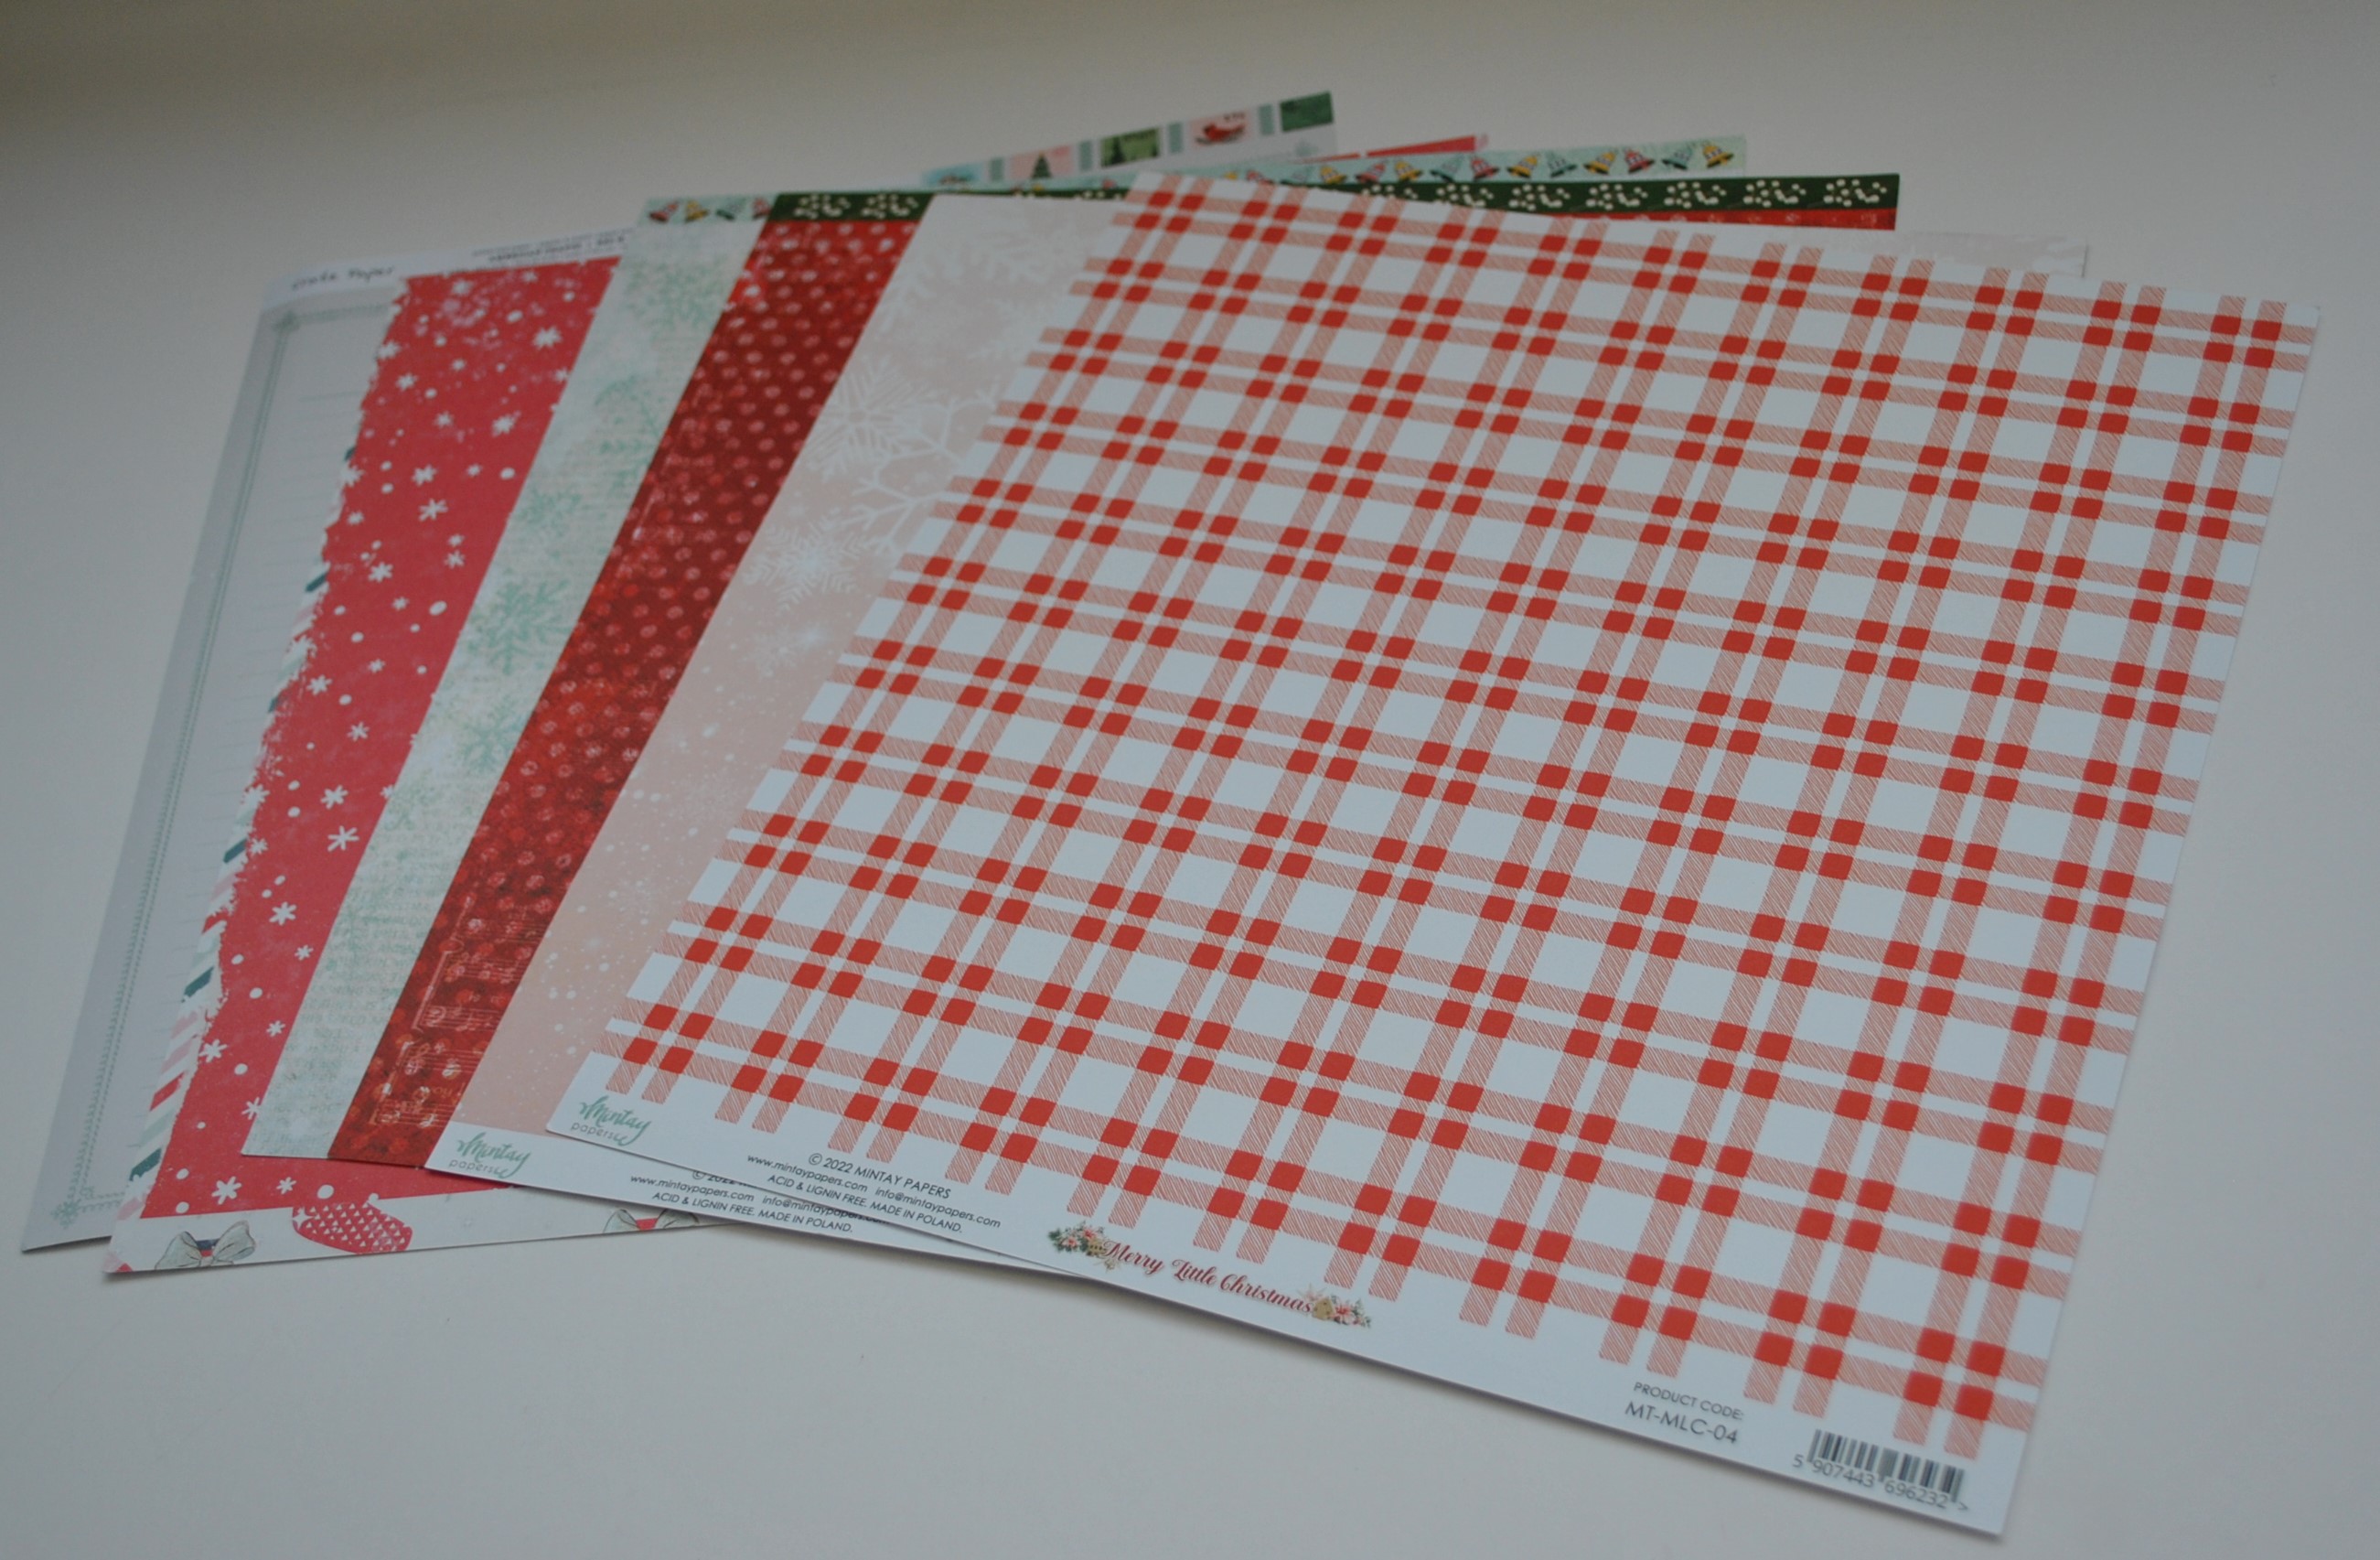
Mintay Papers - Merry Little Christmas collection - #04 & #05
Crate Paper - Mittens & Mistletoe - Dear Santa
Prima Marketing - Candy Cane Lane collection -
Sparkling Christmas
Bazzill Basics cardstock - Bazzill White & Lagoon


Reverse side of papers


Embellishments
4" x 12" Prima Candy Cane Lane Poinsettia Vellum, 3 sparkly buttons, 3 Vicki Boutin chipboard stickers, 3 Rosie's Studio chipboard frames, 50cm Holiday Divine Twine, Prima poinsettia, strip red pearls, Crate Paper epoxy charm, 8 printed label phrases


Extra Bazzill Pack
Cherry Splash, Pink Cloud, Coastal & Toasted Nut

Merry Christmas - My daughter, Catherine in her pink Santa hat - December 2016 DSM at St. Gabriel
Rehearsal Space, Pimlico, London for a show called 4000 days.

One of the most beautiful scrapbook papers produced this Christmas has to be this sheet from Mintay Papers, Merry Little Christmas collection #04, almost needs no more than the addition of a photograph! Love the 'A' side, but the 'B' side is good too. 


With this sheet 'A' side up, I decided to enhance the wreath with some embellishments. My photo was placed into the bottom right of the inside of the wreath. I made a light pencil mark where the photo will sit. I removed the photo and with a craft knife I trimmed around the images between the marks. I slipped my photo in place and stuck it down.

I cut lots of greenery from scraps of dark green Bazzill using a Tim Holtz Sizzix Die Set. I also cut some bows using red Bazzill. 


I arranged some paper flowers around the wreath, and added the greenery, making sure I did not cover the interesting images, like the gingerbread treats, drinks, birds, flowers, and berries. 


To these arrangements I added some florist’s artificial berries and the charm from the kit. 


The title was made with the Tim Holtz Sizzix Thinlits Retro Merry Christmas set, glitter card and Bazzill. My journalling was written onto the planks beneath the wreath.


Peace on Earth - This photo of my parents at Christmas 2016.


I used the pink, snowflake side of the Merry Little Christmas paper #05, as a backdrop for this giant snow globe shaker.

With a cutfile from Peartree Cutfiles, I cut the snow globe from sliver glitter cardstock. I adapted the file to make the circle thicker, to give me a wider outline to make into a shaker.

Using a sheet of acetate to stick to the underside of the snow globe aperture, I then applied 3D foam tape all around the opening, making sure there were no gaps for the sequins etc. to fall through. I removed the backing tape from most of the 3D foam leaving a little attacked at the top to allow me to pop the embellishments inside later. The snow globe was attached to the paper. Then I popped in a mixture of sequins and some white micro glitter. The remainder
of the foam tape was then stuck in place. 


I tied a length of red organza ribbon around the base of the snowglobe, and tied in several bows to the left side. I added a beaded, wired spray around the bow. 


My photo was double mounted onto some of the Lagoon and Pink Cloud Bazzill. Both layers were distressed before glueing them together and placing them onto the layout.

The Vicki Boutin chipboard stars from the kit were added to the top left of the globe. I used more 3D foam pads to raised them to the height of the globe. 


I found a Tim Holtz Christmas Quote Chip to add to the stars, and some glitter foam numbers for the date.


That's all for the December kit, I'll be back with the January kit later in the month.
Thanks for looking.
Lynn x 

Tuesday, 14 December 2021

Christmas is in the Air....... Echo Park Christmas Magic

 Hello Again Everyone

Anita back with you today and here is my first Christmas offering using the fab Christmas Magic Collection from Echo Park.

I thought this was perfect for scrapping some photos from our recent trip to a reindeer park and Oakley's first time meeting Santa. We wondered what he would make of the big guy in red....and he loved him!


A sheet of Capers Bazzill Cardstock backed the layout and I trimmed 1cm of the top and side of a sheet of Stuffing Stockings This left a nice frame of the cardstock showing around the edge of the layout.

The stockings were really lovely, but I just felt they over powered the page a little. 

So I used some white acrylic to brush across a large area of the layout and whilst it was still drying, sprinkled a coupe of different colours of ultra fine glitter across it....afterall, if you can't have sparkles at Christmas then when can you??

I rummaged through my alphabet sticker stash and found some really old stickers that I liked for the title.....Its nice to mix the fonts up sometimes.


I cut a few elements out of the sheets of Journalling Cards  and  3 x 4 journalling cards and these were used around the page in various places. I raised some of them up on foam pads to give some definition.


The Chipboard Frames were fab and I used the 2 largest ones to frame a photo and also to make a shaker box. The back of the box was a panel cut from the sheet of 6 x 4 Journalling Cards


Some of the little panels on the sheet of 3 x 4 Journalling Cards were perfect for my page. One was used for journalling a teeny bit and was tucked partially under the shaker box, the other one made a cute little frame for a small photo I printed out and popped on it.

I purchased some Christmas Lights Trim last year with the intention of using on a page, then took a break from scrapping, but i knew it would be great for this page. So I wrapped some round the large photograph and frame and also strung them across the top of the page ( I have ALWAYS loved lumpy embellishments!

In the chipboard frame pack, there are also a few little sayings and pictures ....so I picked out the Ho Ho Ho and the little present pile to finish the page off.

So that's my first page using this lovely collection...I hope you have enjoyed seeing it and maybe it's made you feel you might like some of the papers yourself to scrap your new photos from this years Festive Season. See you again Soon.

Have a fabulous lead up to Chrsitmas xx

Warmest wishes

Anita xx


Friday, 30 June 2017

Indigo Skies ....A Collection of cards.

Hello again,
Anita here and today I would like to share a few cards that I have made using some left overs from my selection of papers from the beautiful Indigo Skies collection by Kaisercraft.

The first one was made for my lovely friend and fellow DT member, Lynn for her birthday. I made her an 8 x 8 easel card.


 The card was decorated using various papers sections, butterflies, crystals, a doily, some die cuts and some gems. I made a rectangular shaker box which I filled with sequins and popped on the front, to add some extra dimension and movement.


I also decorated the inside of the card with papers and crystals and popped a raised sentiment on it, this works as a stand point to hold the card open.
I am really not a card maker, but I was rather happy with how this one came out and I am pretty sure that Lynn liked it too.


This paper collection is just sooo pretty and it makes it much easier to design with. I made a few other smaller cards with the rest of the left overs......I think I need to go shopping now to get some more of the collection.....I am absolutely smitten with it!!


The papers I used across this set of cards are as follows:

Blue Moon ,
   Misty,
 Storm,   
 Windswept,
Washed Out
Chambray

Well that's me done for now....I will be back to see you in July!

Have a super weekend!
Warmest wishes
Anita xx