Showing posts with label Chipboard Frames. Show all posts

Friday, 22 November 2024

Simple Stories - Simple Vintage Yuletide - HoHoHo!

Hello,

It's Claire here again today, sharing a second layout with the Simple Vintage Yuletide collection. I have to say this has been an absolute joy to create with - such a stunning collection. You can find it all in the shop here, and I'd strongly recommend you check it out - it's so pretty!


Using a piece of Premium White Cardstock as my base, I applied a light coat of watered down black Distress Oxide ink with a brayer, helping to create a distressed look to anchor my design.


I drew half a tree on to scrap cardstock to use as a template, and used this as a guide to cut out a tree shape from the Comfort & Joy paper.

Layering this on foam to add separation from the mixed media background, I cut some smaller pieces of the Holiday Wishes and 4x6 Elements papers, as well as a very small strip of the 3x4 Elements paper. I distressed all the edges and layered these on top of the tree, curling some of the edges for extra texture and depth.


Next, I chose this beautiful red frame from the Chipboard Frames to house my photo. Before adhering this to the page, I layered two fussy cut tags from the Tag Elements paper underneath. 


Then came the clusters and oh my - you are spoilt for choice with this collection! So many different option and all are equally gorgeous. I used a combination of the Bits & Pieces and Floral Bits & Pieces, layering them around the design.


I opted for pieces with pops of red to help lift the colour and adhered some flat with others on foam helping to create extra dimension.


Of course, I couldn't have an empty tree, so I added a big red bow to the top and embellished each branch with gold and red Nuvo Drops for that extra bit of sparkle.


For my title, I used the fun HoHoHo phrase from Bits & Pieces and that brought the layout to completion.


I hope you've enjoyed this blog post. It was really a great layout to make with these gorgeous products. See the collection here in full. 

Happy scrapping! 
Claire x
@scrappysoulmate 

Wednesday, 21 February 2024

Simple Stories - True Colors - All About Me

Hi everyone,

Claire with you today, sharing my second layout with the True Colors collection from Simple Stories. You can find it in the shop here. 

I really love the bold colours in this collection, and today have quite a simple but striking layout to share with you.


To start, I wanted to create a subtle background to my smooth white cardstock that came in the Matchmaker Pack. I pulled out the Little Getaways Stencil from Vicki Boutin's Where to Next collection - I had treated myself to these for Christmas. Using a dry brush I added some Distress Oxide in Black Soot.  I brushed very lightly, slowly building the colour.  Most of this will be covered, but you see a small hint of the stencilling as the base layer which helps create depth on the page.

I really love the Chipboard Frames in this collection - they're so fun and have great designs that make creating easy. I opted for this square frame, and cut two squares of the Can't Get Enough patterned paper into 4" squares - the same size as the frame.


I layered these on top of each other, slightly offset and raised on foam to give extra separation. To help the patterned papers stand out, I added faux stitching with black pen around the edges.

Cutting a thin strip of pink cardstock from the Matchmaker pack, I used a punch to create a scalloped edge and ran this under the photo frame. I used this to house my title, created using the Foam Stickers.


On opposite corners of the frame, I created floral clusters, using the Floral Bits & Pieces. 

I curled the edges of the florals to create movement, and adhered some on foam and some flat for layered dimension.


To the bottom cluster, I also added a small phrase sticker from the Cardstock Sticker sheet.


To the right of the frame, I added a tag from the Tag Elements paper, attaching a eyelet and twine from my stash.

As a final fun touch, I stuck a clip from the cardstock stickers to the edge of the frame. I really like the extra pop of yellow this brings and think it finishes the page really nicely.


I can't recommend this collection highly enough. It's been so much fun to create with and I'm sure it won't be in stock for too long, so get your hands on it here.

See you next month.
Claire xx

@scrappysoulmate
Wednesday, 7 February 2024

Simple Stories - True Colors - Smile!

Hi everyone,

Happy February! This month, I'm lucky enough to be creating with the stunning True Colors collection from Simple Stories, and its a goodie!! 

With a beautiful range of bright and cheerful colours, it really lifts your spirits after a cold, wet winter.

As scrapbookers, we take a lot of photos, right? Well this collection is for you! It has lots of camera and film elements which I was immediately drawn to, and it totally inspired me to create this layout.


I started, as usual, with a piece of Premium White Cardstock. Using a selection of the patterned papers:

I cut 1" strips, and rolled the ends around a pencil so that it resembled an old style film strip that you used to use in a camera.

I staggered these down the page at different lengths, distressed the edges and adhered to the page with foam.


Next, I took that absolutely fabulous Chipboard Frame - isn't it awesome! Because the collection is so colourful, I printed my photo in black and white. I mounted it into the frame and worked out where it was going to sit on my page.


Before adhering it, I took a polka dot stencil from my stash and added some black stencilling diagonally on either side of the paper strips. The black helps to ground the colours and echos my black and white photograph.

Once the stencilling was done and the frame had been adhered to the page with foam, it was time to embellish.

I created three floral clusters using flowers from the Floral Bits & Pieces. I layered some under the frame and some on top to create dimension.


Alongside the florals, I added some more camera elements to fit the theme of my photo using the Cardstock Stickers. 


For my title, I used the Smile! Foam Stickers. The extra black element helps the page to pop. 


I nestled this amongst the floral ephemera and added an extra film roll sticker from the Cardstock Stickers. I really love these little extra details. They're so fun to create with.

As a final touch, I added a few phrase stickers - I couldn't resist these as they matched my photo perfectly and, as a scrapbooker, they're definitely phrases you'll hear in my house often!! lol!


I hope you've enjoyed seeing this layout come together. It really was an absolute joy to create. You can check out the entire collection in the shop here. Happy Shopping! 


See you soon with another layout.

Claire xx

@scrappysoulmate


Friday, 20 October 2023

Simple Stories - Simple Vintage Life in Bloom - Today

Hi everyone,

Claire back with you today, and I'm sharing my second layout made with the Simple Stories Simple Vintage Life in Bloom collection.

In contrast to my first layout, today I'm focusing on the blue and aqua tones in the collection, with pops of pink, purple and yellow to add some vibrancy.


I started with a piece of Premium White Cardstock and applied a thin coat of clear gesso to prep the page for some mixed media.

I reached for some turquoise, green and aqua watercolours, applying them to my page with a brayer. I applied each colour one by one, making sure it was dry before applying the next, avoiding any of the colours getting 'muddy'. 

Once each colour was dry, I applied some white modelling paste through a Vicki Boutin Fernwood stencil.

For a little extra detail, I took a script stamp from my stash and added a few patches of stamping in Black Momento ink


I selected this beautiful floral frame from the Chipboard Frames pack and honestly, it's so striking, it really doesn't need much else to make an impactful page.


For extra definition, I raised it on foam and inserted my photo, adhering it to the mixed media background.

I like the colours against the black and white photo so opted for a bold black title from the Foam Stickers.


At this point, I really liked the layout, and wanted to add just a few small embellishments so as not to overpower the page.

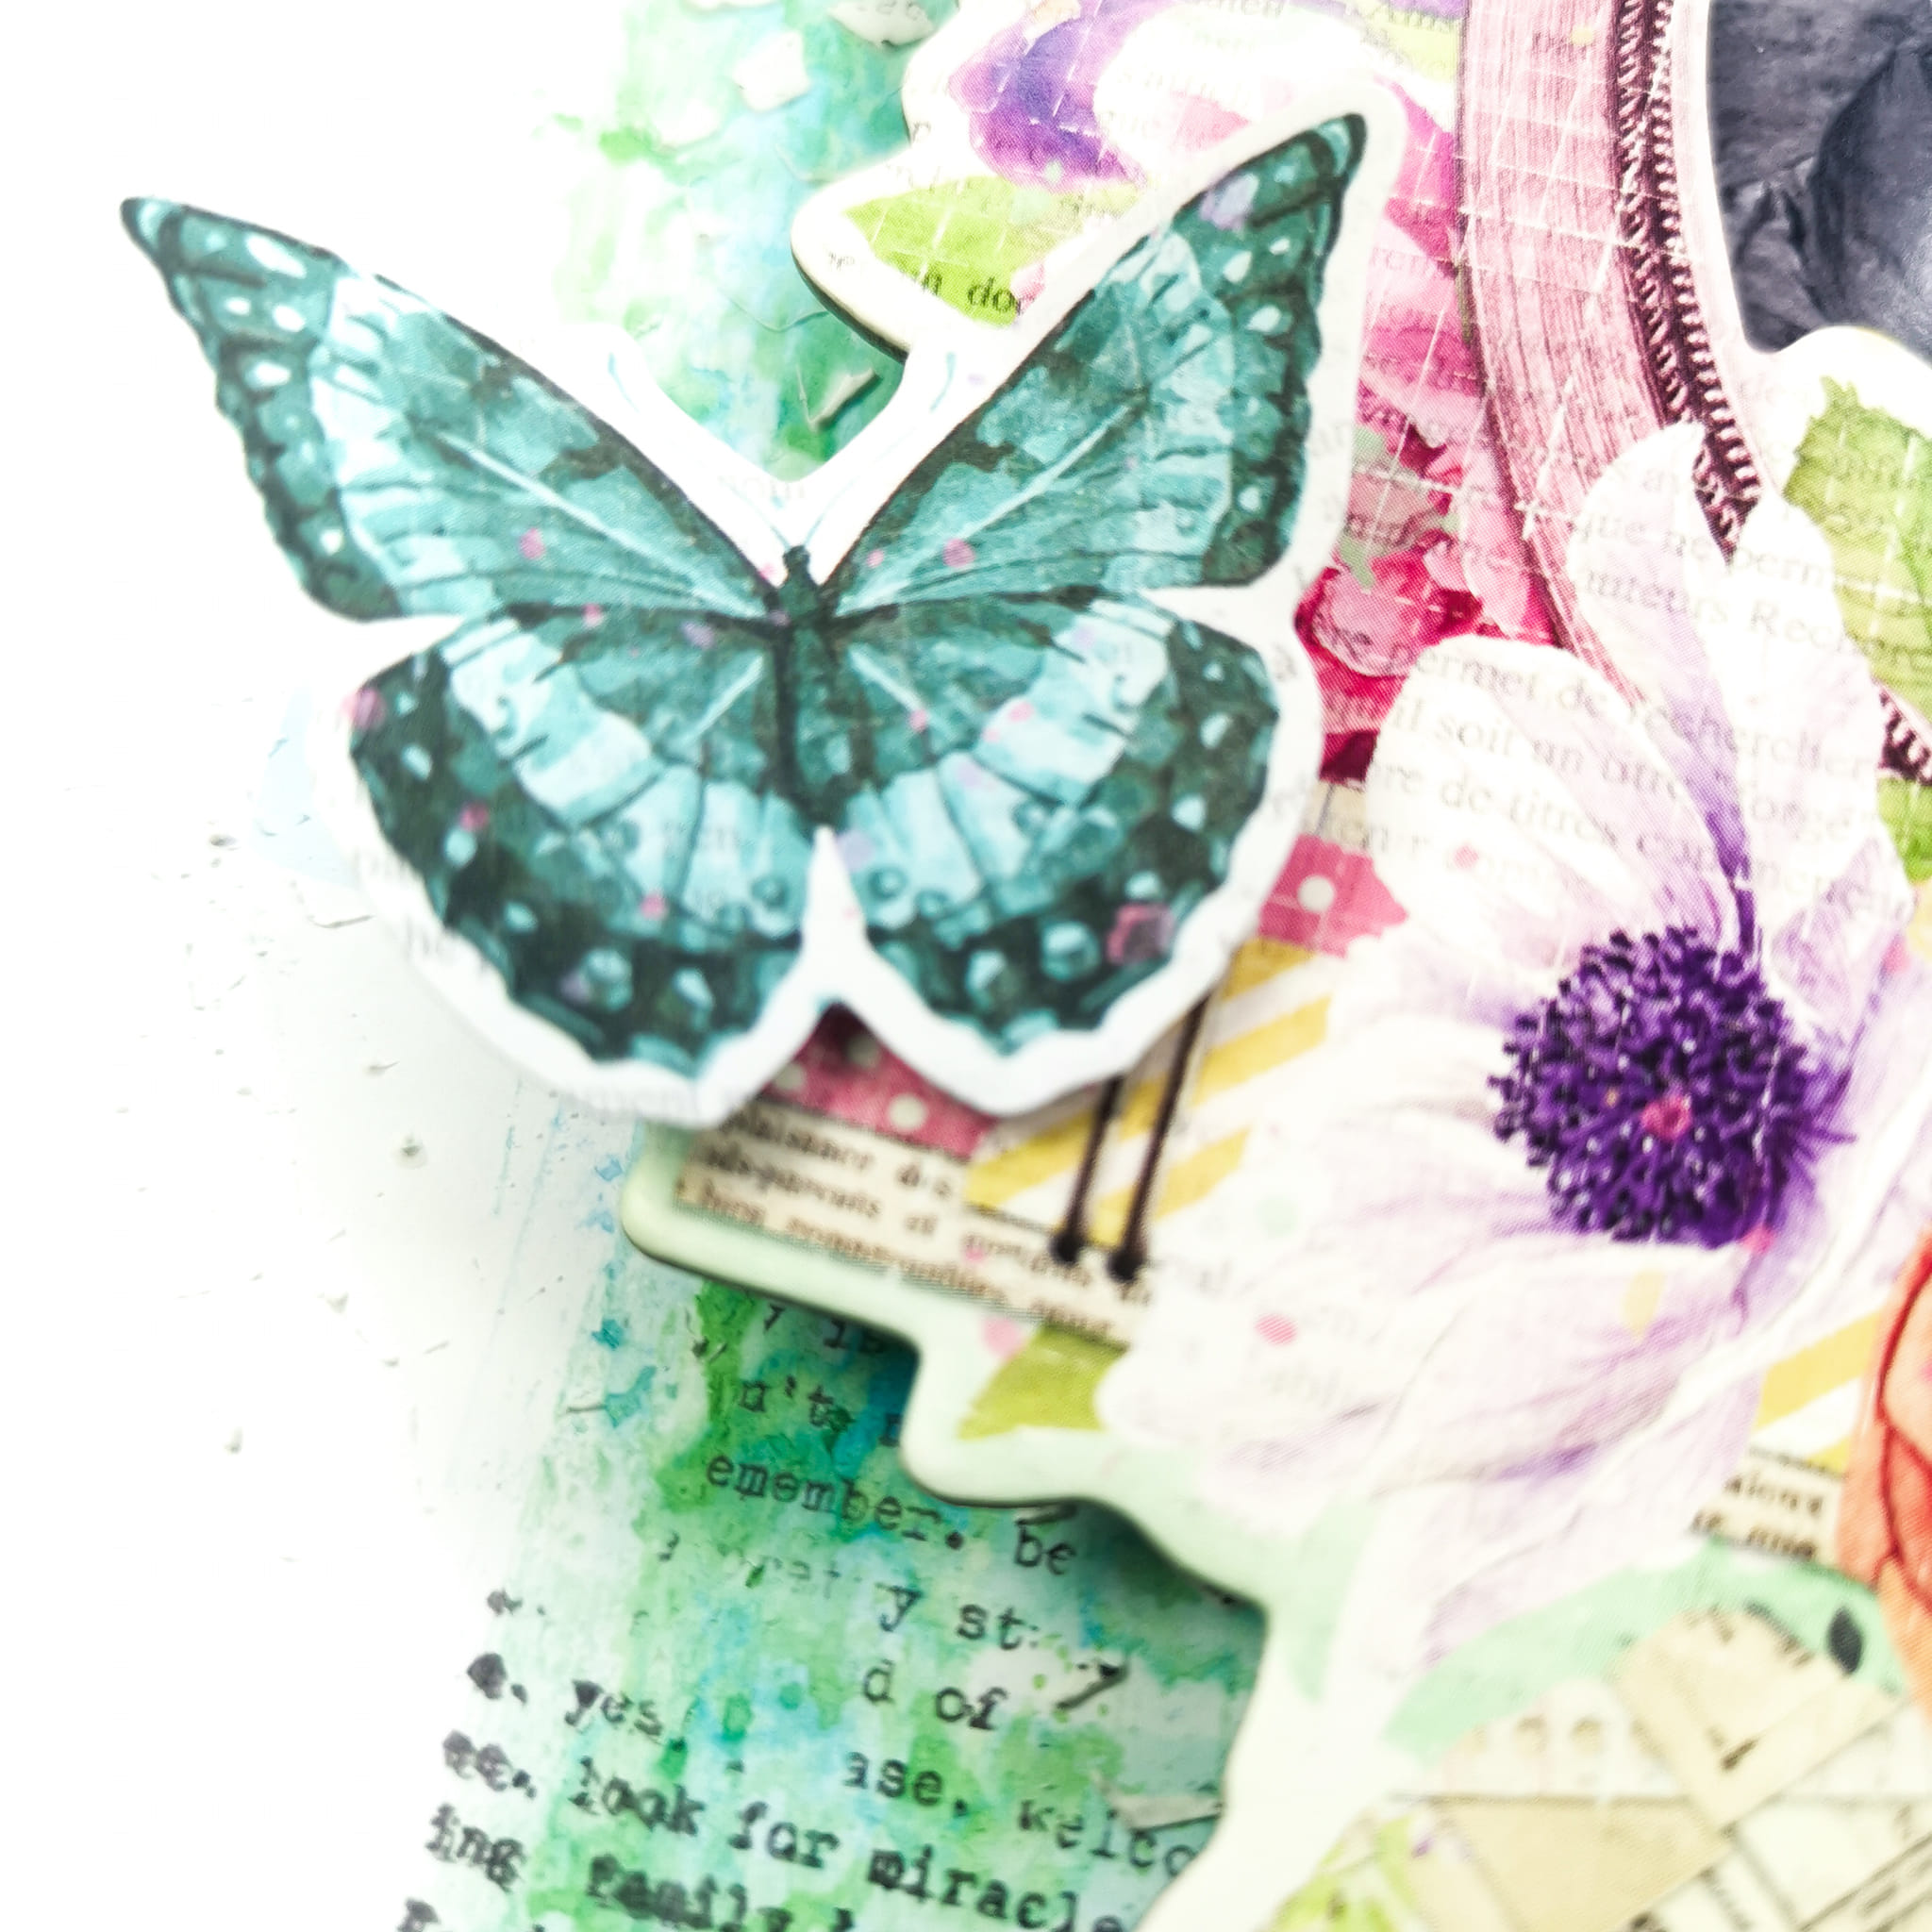
I opted for a leaf and a teal coloured flower that you can see in the image above, along with a small butterfly, all of which came from the Floral Bits & Pieces pack.


In the opposite corner of the frame, I added a 'magical purple butterfly' element from the Bits & Pieces pack and a tiny foam heart from the Foam Stickers.


A little further down on the left, I added another butterfly again raising on foam for extra movement.


I decided to add just one last small butterfly from the Sticker Book to bring a pop of purple to the right hand side of the design.


I really didn't think the page needed anything else, as the frame was so beautiful. It made a big impact with just a few small additions - making this collection go a really long way!

I've thoroughly enjoyed creating with this collection and hope you've been inspired to create with it.

See you next month!

Claire xx

@Scrappysoulmate


Friday, 24 March 2023

Simple Stories - Wildflower - Love This

Hi everyone,

Claire back with you today, sharing an extra layout using the Wildflower collection from Simple Stories. It's such a gorgeous collection, I couldn't resist just one more page. 


I was drawn to the scalloped circle frame from the Chipboard Frames Pack . Using this as the centre of my design, I opted to create layered circles, using 3 patterned papers.

I used the b sides of the Radiate Sunshine, Breath Deep and Live Large papers. I roughly positioned the largest circle on the page to understand where it would sit, and added Distress Oxide in Tumbled Glass to the white cardstock, creating a blue haze around the outside of the design.

I distressed the edges of each circle, and added a few rows of machine stitching, before layering one on top of the other with foam sheets.


I mounted the photo into the chipboard frame and adhered this flat to the page. Then came the embellishing.

If you've seen any of my other blog posts with this collection, you'll know I am besotted with the florals, and this design was perfect to host a big statement floral cluster at the bottom of the design.


I selected lots of florals and leaves from the Floral Bits & Pieces pack, with the largest pink flower coming from the Bits & Pieces pack. I curled the leaves and petals to create extra movement, and again layered these on foam, following the curved edge of the main design.


For my title, I used two stickers from the Foam Stickers sheet.


Once the main cluster and title were done, I wanted to add just a few more embellishments to balance the page. I selected a bow from the Bits & Pieces pack, and adhered this to the top of the design.


I also cut some butterflies from the Love Greatly paper and positioned these along with a pink moth from the Combo Stickers along the top left edge of the design, directly opposite the large floral cluster.


As I was choosing the embellishments, I saw this cute bird in the Bits & Pieces Ephemera pack and I really wanted him to feature on the page. So I found a small gap in the floral cluster and nestled him in amongst the flowers.


I hope you've enjoyed this extra bonus page with the Simple Stories Wildflower collection. There are a few pieces of this left in the store and I'd highly recommend you grab these whilst you can - it really is a truly beautiful collection.

I'll be back next month, but until then, happy crafting! 

Claire xx
@scrappysoulmate

Friday, 11 November 2022

Pinkfresh Studio - Simply The Best - Love This!

Hi everyone,

Claire here and today I'm excited to be back with a new layout using the Simply The Best Collection from Pinkfresh Studio.

I've heard it said that this collection has quite a masculine colour palette - It is packed full beautiful tones of blue, green and hues of neutral browns and creams that really do inspire you to scrap anything and everything - I just love it. I think it is one of my favourite collections of the year!

For my first layout, I'm focusing on THAT paper - you know the one - full of blue diamonds in an ombre blue colour. I am slightly obsessed with this paper. It's called Just Chill.


As soon as I saw this paper, it reminded me of a 3d wall pattern that draws you right in. I decided to add to the dimension I felt but cutting two of each shade of squares from the paper and folding them into quarters to create a pyramid effect and cascading them vertically down the page.

Once I had rough placement in mind, I added gesso and three shades of ink, stencilling and splattering over them in the same shade once dry:


To secure the squares to the page, I overlapped them and added Glossy Accents just to the corners of each square and left them to dry before embellishing.

From the Cardstock Ephemera Pack  I used the green date strip as an anchor down the centre of the page, from which my tags would extend from. These were fussy cut from the Happy Times paper.


Next, I added a frame from the Chipboard Frames to back my photo before raising on foam and adhering to the patterned paper squares.


The Today's Stories and Adventures subtitle is from the Ephemera Pack, and I added more embellishments from the Puffy Stickers and Cardstock Stickers packs.


The puffy stickers were raised on 3mm foam for extra dimension, whereas the cardstock stickers I added with small foam pads as they were easier to manoeuvre on to of the raised squares.


For a little bot of contrast from the squares and harsh edges, I added some clusters of enamel dots and a round chipboard flair before finishing off with some black and white splatters.


I hope you like how it turned out. I enjoyed making this so much! Can't wait to pop back with another layout later this month.

See you then!

Claire xx
@Scrappysoulmate


Sunday, 24 July 2022

Simple Stories ~ Into the Wild #2 🐅

Hi, it’s Anna back on the blog today! 
I’m still working with Simple Stories into the Wild, which you can find in the shop here
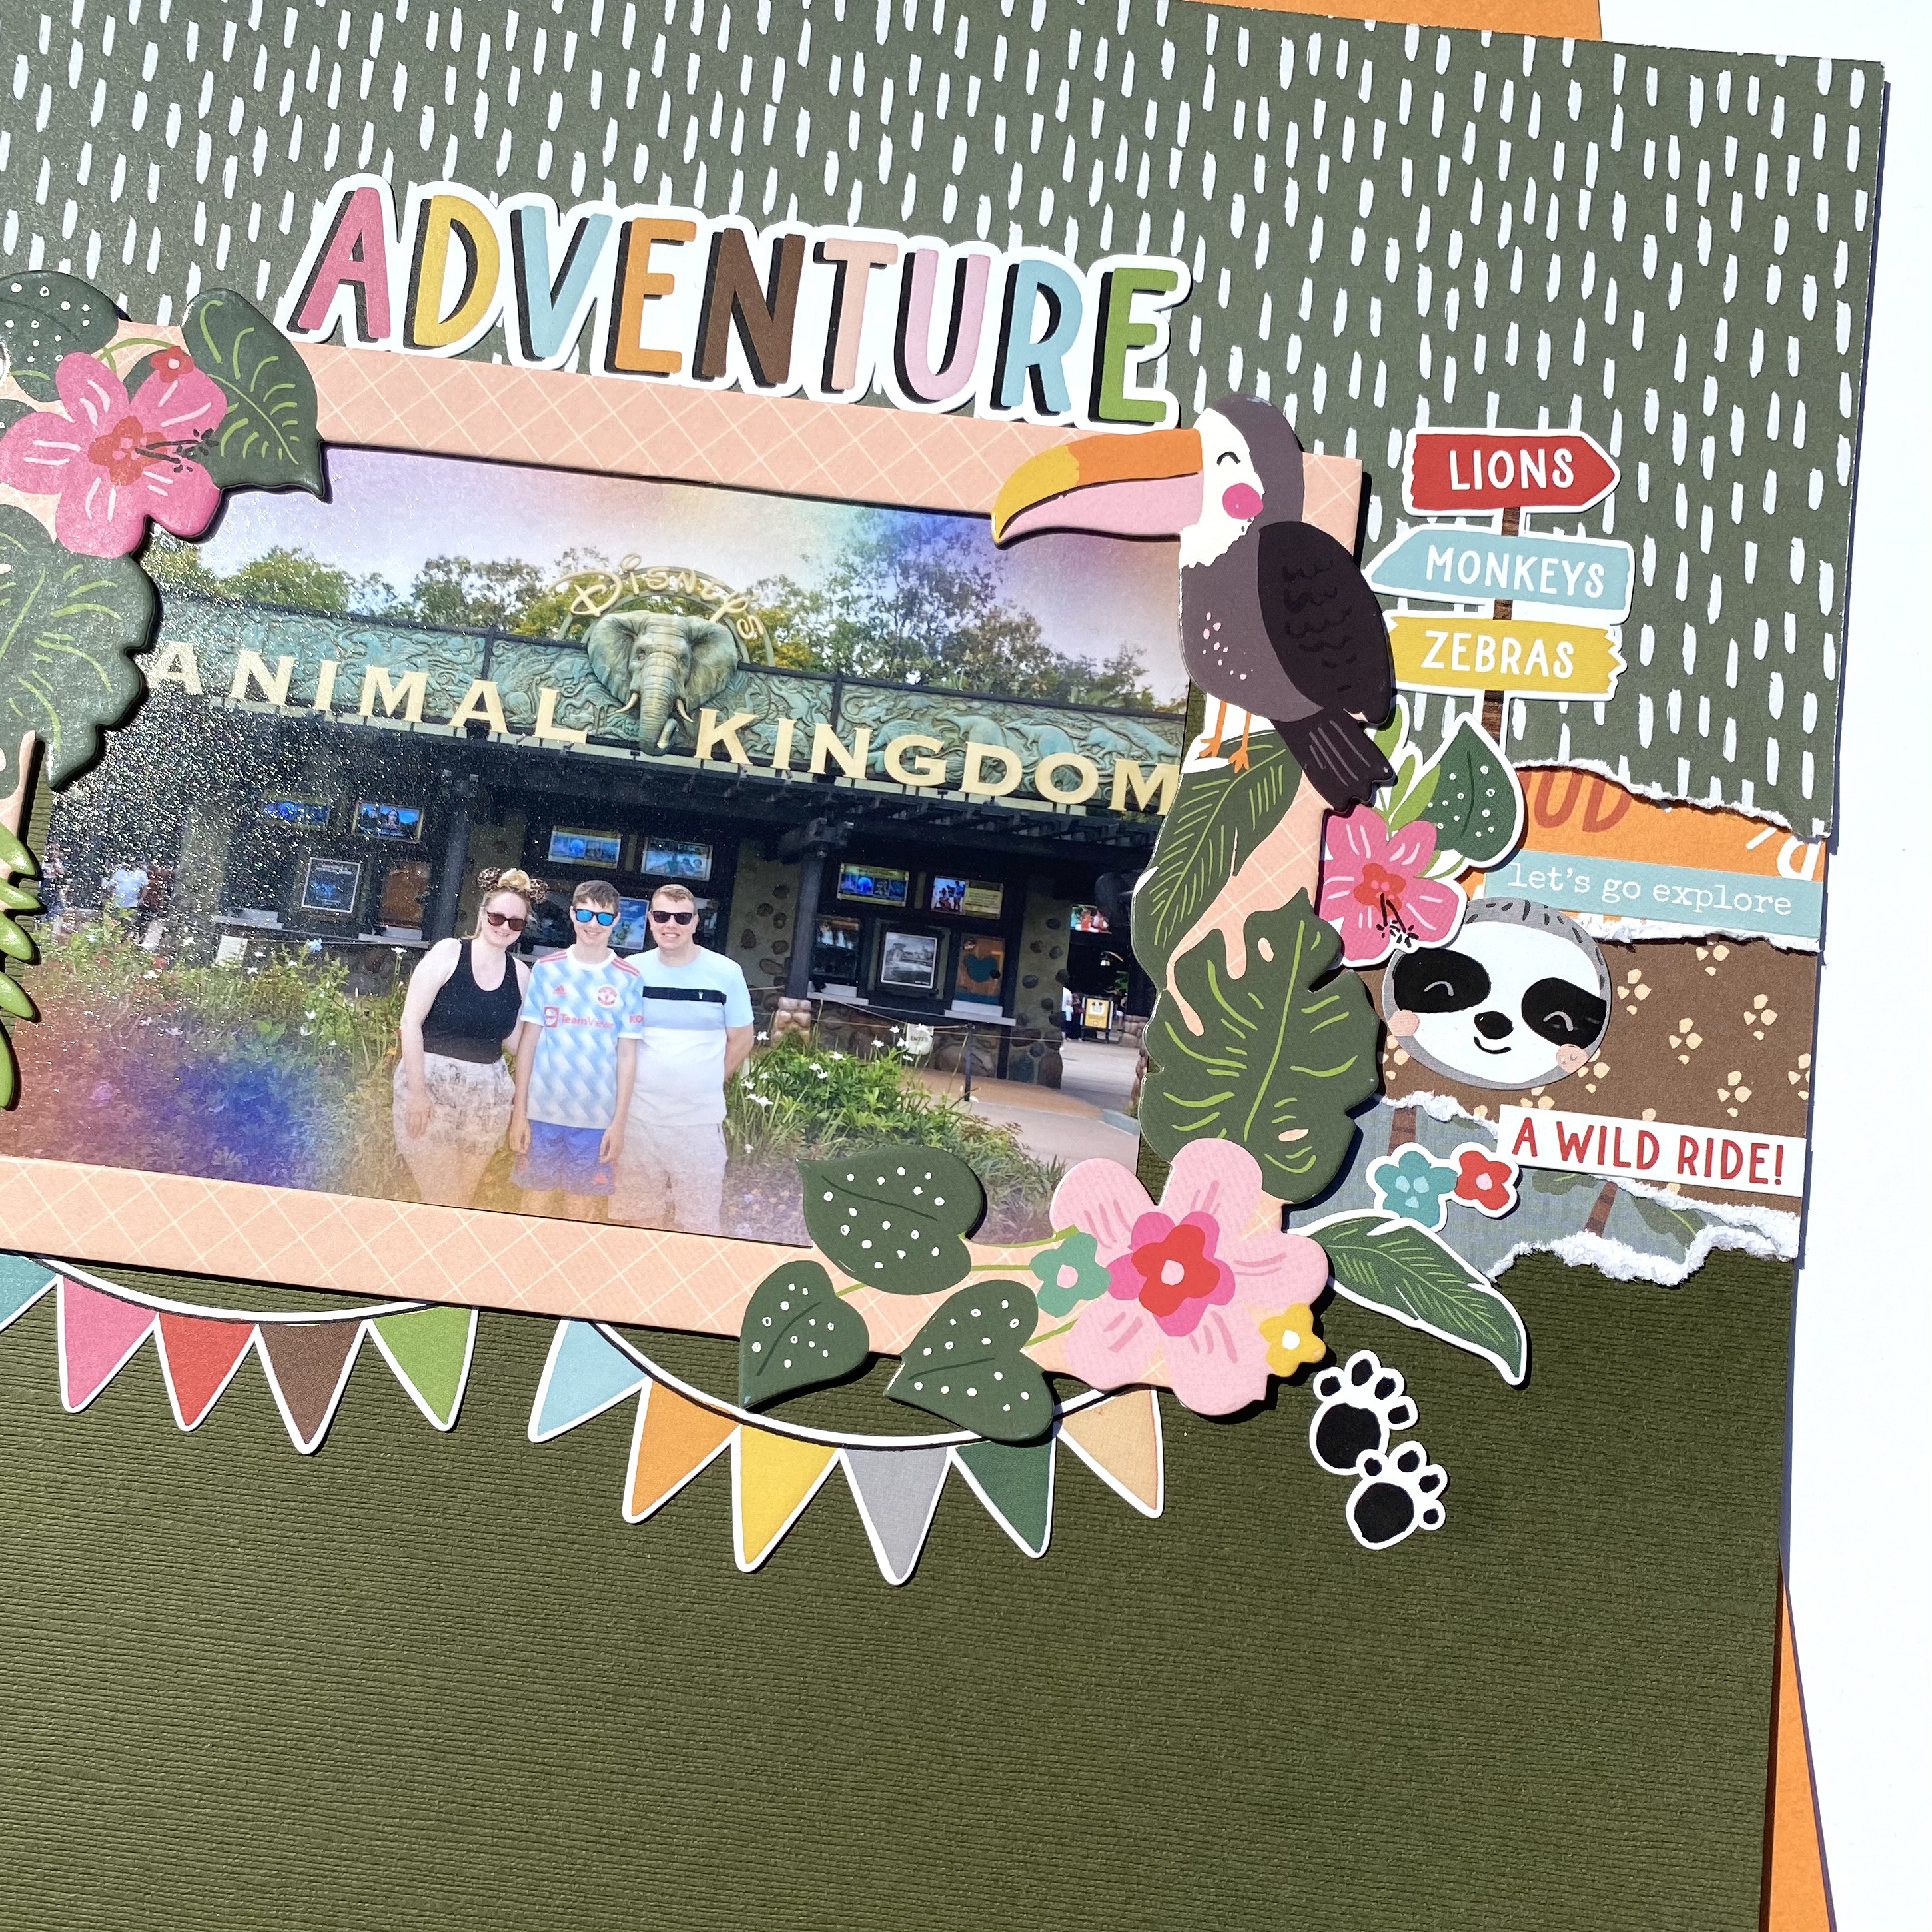
I love this collection, it’s perfect for my Animal Kingdom photographs and would also be great for zoo days and safaris! 
For my previous layout I created a multi photo layout, which you can view here
For this layout, I have focused on using one of the chipboard frames mounted over my 6x4 photograph. 


I used bazzill Capèrs as my base and began adding layers of patterned paper at the top of the cardstock, tearing the paper randomly into strips. I used various patterned papers from the collection to do this, including welcome to the jungle, going on safari and wild one.


I positioned my photo in the centre of the layout and then began to add some embellishments around it. I used various stickers from the combo stickers sheet to do this.


The chipboard frames pack is really great value, containing 6 frames, suitable for various size photographs. 


Thanks so much for looking! 
I’ll be back again soon with another layout to share. 
Anna
X