Sunday, 22 November 2015

Friends

For this layout I'm using My Minds Eye stunning My Story patterned papers and journal cards.
I began with my white sheet of card stock and decided I wanted to use circular theme around my photo. so I grabbed a dinning plate and started drawing around it to create interlocking circles and used a kasiercraft background stamp. To make the circles stand out I used bright pink thread and my sewing machine, and stitched the circles, I left the pencil marks on the page as it added more to the layout. I simply matted my photo onto some light pink card.
 
 Using patterned paper, heirloom roses I fussy cut out the flowers to create a cluster. The gold chevrons, the tag, butterfly, glasses and small words were cut from the 3x4 journaling cards, what I loved about these cards is that they also give you the punched out elements from the cards and they are also great for cutting up. Don't just think that if there 3x4 you can't use them on your 12x12 layouts.


Once I had finished creating my cluster, adhering my chevrons and sequins. I also added touches of gold ink splats and took a chipboard word that a good friend had given me and embossed it with frantage embossing powder.
Totally love these papers just need to find another suitable photo so I can have another play with them.


Friday, 20 November 2015

November crop

Lesley has talked of putting together a double-page layout for the crop kit for a while now, and here it is!  Beautiful colours from the Simple Stories So Fancy range, and a great way to put lots of photos on one layout :)  


So tomorrow we're at Otley Village Hall from 10am until 5pm, with our usual array of biscuits and cakes!  If you'd like to join us just drop us an email :)

Saturday, 14 November 2015

December Daily Album

Hello its Julie here to remind you that December is coming!  I have made a start early this year and made up my December daily album ready to be filled with lovely festive pictures.

To make my album I used the gorgeous Simple Stories Holiday Binder as a base and then went to work personalising it for my version of a December daily album for our Elf on the Shelf who visits every year.  This gorgeous album comes with 14 Simple Stories page protectors in a variety of styles to get you started for your December daily pictures.


To start I sprayed the front and back cover with gold spray and then used some Cosmic Shimmer Texture paste to create a "snowy" type border around the edges of the red binding.  I used a pallet knife to put the paste generously, spread it around the binding and let it dry.  I then used the same texture paste with the Creative Expressions Swiss Cheese border mask and Creative Expressions Small Polka mask to create a background and some texture on the covers.  I also used some gold texture paste on the back cover to compliment the gold spray on the covers.


I then went to work using Claus and Co 4x6 Horizontal Journal cards as the main piece of my front cover and added pieces from the Claus and Co Bits and Pieces and Fundamental Cardstock Stickers to add accents around the journal card.  I also used a Naughty/Nice card from and old Project Life kit which I will complete for my children once I've finished the album.  I also used stickers from Echo Park The Story of Christmas Element Stickers and the Alpha stickers to complete this album cover as the colours complimented the Claus and Co collection so well.


I hope this inspires you to start your own December daily album.  Thanks for looking xxxx


Monday, 9 November 2015

Graphics 45

Hi, Carol with you today…. with Hallowe'en and Guy Fawkes night out of the way, its now time for all us card makers for us to turn our attention to Christmas…. Vanessa has got some fantastic Christmas papers, embellishments, washi tapes and flowers in the store and a special section on the shop website… here

So, for this, my first Christmas post of 2015, there will be many more to follow! - I have used the new Graphics 45 Christmas Carol papers.. to make:-


A matching card and tag…


My card blank is a 5" square, I adhered various patterned papers, cutting out some elements, and added some doodling and gilding wax around the edges.


my tag was die cut out of white cardstock, I embossed a piece of gold cardstock and used this as a mat for an image cut from the paperback… gold gilding wax was added to the edges to finish it off.

TFL xx

Monday, 2 November 2015

Pebbles ~ Fun in the Sun...

Hello all, it's Anna here to share with you a layout that I have made using the Pebbles 'fun in the sun' collection. 
This is defiantly my kind of collection, I really like bright, fun, happy papers and they were perfect to use with some holiday pictures. Take a look at the whole range here.

My favourite item in this collection is this sticker sheet. 
I started by using this sheet as my base and then cut out some of the 'sunny days' paper. I added my photos with three of the journaling cards and lined them together making a grid. 


Around the edge of my grid, I added some of those lovely stickers, washi tape and punched out a couple of circles. I also used some of these wood veneers.


Thanks for looking! 
Anna 

Wednesday, 28 October 2015

letter tray part 2

 
Home life has totally got in the way of any scrapping, but finally I have got round to putting up part 2 of the letter tray, hope you can forgive me for my delay.
Any way back to crafting and using the stunning crate paper poolside patterned papers. The first aperture uses  the same blue background card stock with the pink matted on top. this time I used die cut circles cut from the patterned paper, acetate and vellum. the larger circle has a wooden word taken from a project life kit and embossed with a baby blue embossing powder.
 

The second aperture  I have covered a smaller Polaroid frame. with patterned paper and then cut my photo down to fit inside and layered a small acetate piece on top of the photo. Behind this I have made a sunburst with some of the scraps patterned, acetate and vellum and used my sewing machine to stitched these in place


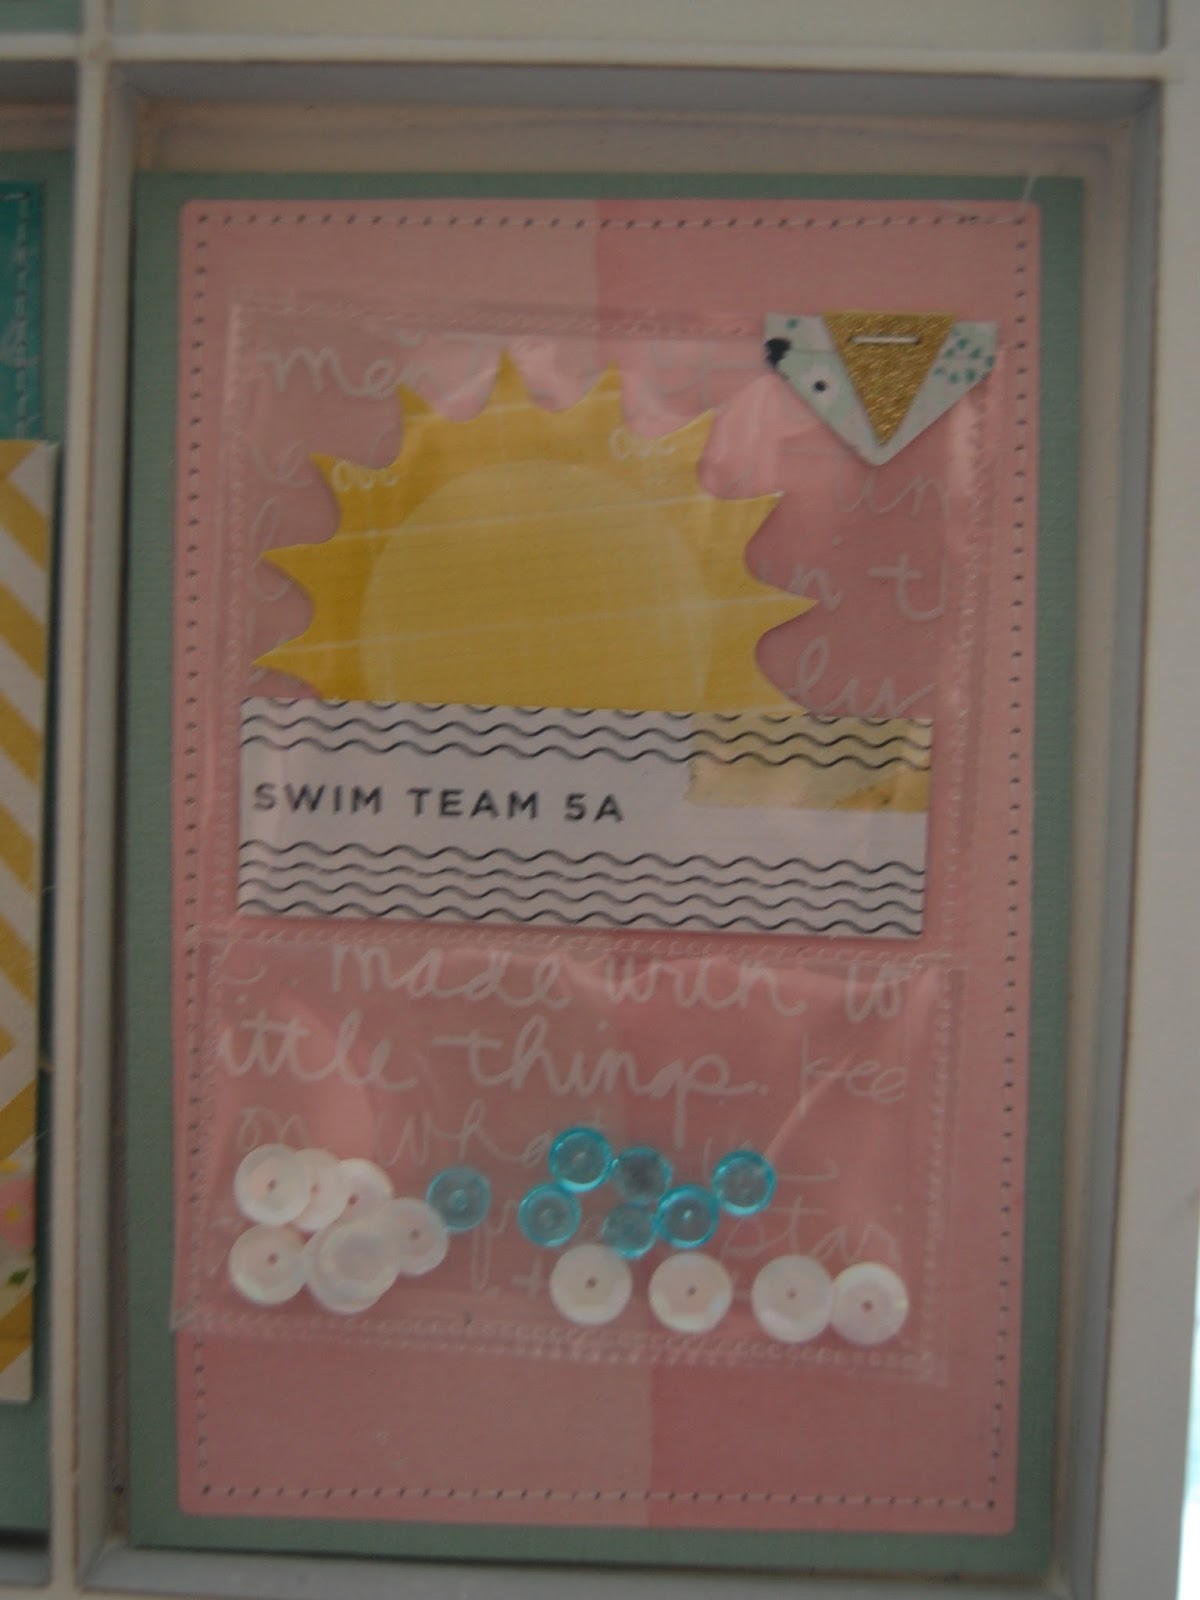
My last aperture uses a fuse tool to create a pocket to add embellishments from the embellishment pack, dew drops and sequins. I can see me using this again on many projects and layouts


This is the completed tray, using lots of techniques, die cutting, embossing, sewing machine and fuse tool


Thursday, 22 October 2015

Wickedly Wonderful - Crate Paper After Dark

Hello, its Julie here with my favourite time of year Halloween!!

I used the gorgeous new Crate Paper collection After Dark to create a spooky Halloween layout.


I used quite a few elements to create this fun busy layout.  I firstly used a coral spray stain to colour a sheet of Haunted paper to co-ordinate with some of the elements I would be using.  I used a piece of Marmalade Bazzill cardstock as a base for my layout and inked the edges using Black Soot Distress Ink and a Swiss Cheese border mask stencil.   To finish the background and to create a balance to the main layout I cut a doily using my BigShot Plus and cut it in half and placed it at opposite ends of the Haunted paper.

For the main layout I cut apart pieces of October and Spellbound papers to create a tag background for my main photograph.  I also used a Tim Holtz rosette die  to create rosettes to frame the picture using pieces of Trick or Treat and Night Owl paper.  I also fussy cut around and owl to create a centre for the rosette.


To add a little bit of 3d I used a Dusty Attic Pumpkin chipboard piece and inked it with Tim Holtz Spiced Marmalade distress ink and a layer of Glossy Accents  to create a spooky 3d pumpkin.


I used frames from the fabulous ephemera pack and accent stickers to frame all three photos on the layout and I also used pennant flag stickers from the collection and I fussy cut a little garland from Fright and Fun paper to create a link between the photographs.  The accent stickers also came with a lovely black and gold alpha that I used to create the small title Wickedly Wonderful.


Happy Halloween!