
Yes, today be prepared to get inky, painty fingers.
No posh frocks allowed today!!
If you aren't familiar with ATC's. They stand for 'Artist Trading Cards'.
It's a mini piece of art created roughly on a credit card sized piece of card. The idea is that you have your details on the reverse and then you swap them with other artists.
It can be really fun and you can have a wonderful collection from your arty/scrappy friends. It's also a great way to use up your scraps and experiment with different techniques too.
If you don't want to give them away, you don't have to. I like to make up a few in one go (as I will show you here today) and then use them as card toppers, embellishments for scrapbooking and Project Life pages and pretty gift tags too.
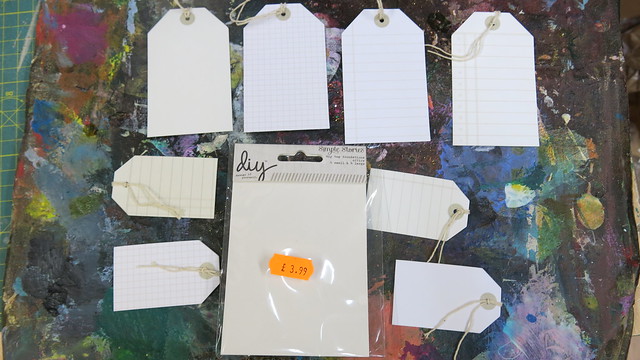
1. So to start you need your base to create on.
I have used these Simple Stories DIY tags. But you can also use plain tags, cardboard cut up and I've even seen these made on old playing cards. Anything goes.
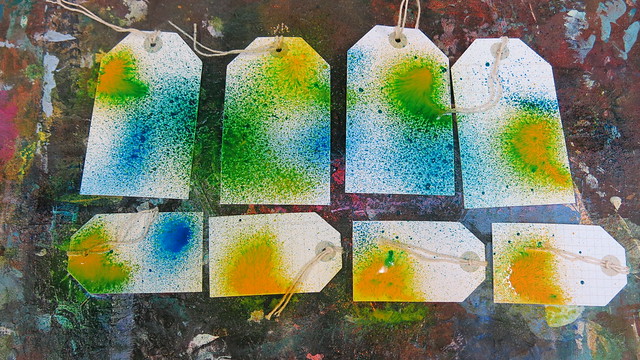
2. Place your bases on something that doesn't matter if it gets messy, as it will. I use an old piece of thick cardboard whenever I create. Now take some mists and spray.
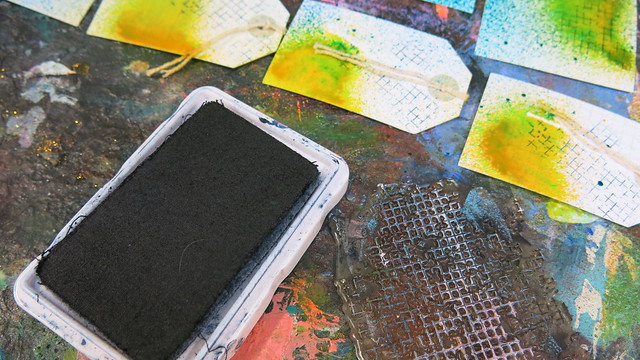

3. Once dry (I use a heat gun to speed this bit up) it's time to reach for your ink pads and background stamps.
I have quite a few favourite background stamps from KaiserCraft. I find them very inexpensive and they work great. I've always been so pleased with them and highly recommend.
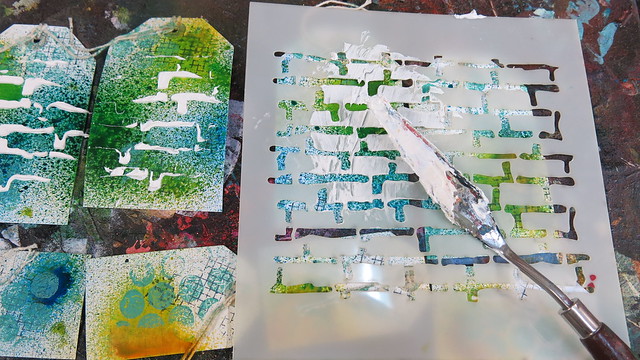
4. Next I use some moulding paste which adds a lovely texture to my tags. I use a palette knife (but an old credit card will do too) and a good quality mask/stencil. I mention good quality as this is important. Some of the thinner masks and also those with intricate details won't work quite so well with the moulding paste. It's thick stuff and needs to be able to spread easily across the mask. I used the Papermaze 'Brickwork' mask here.
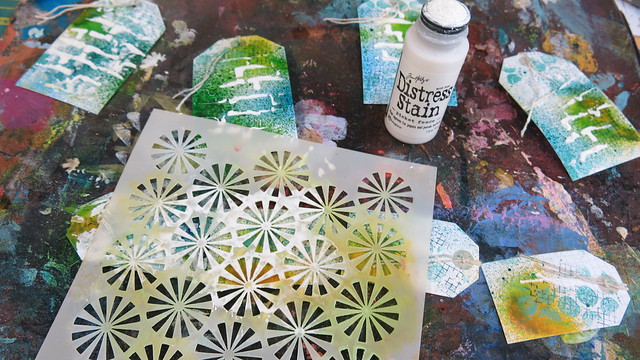
5. Once the paste is dry, I take another mask. A Crafters Workshop Mask, these are my favourites and I use a Tim Holtz Stain this time. It's all about creating layers.
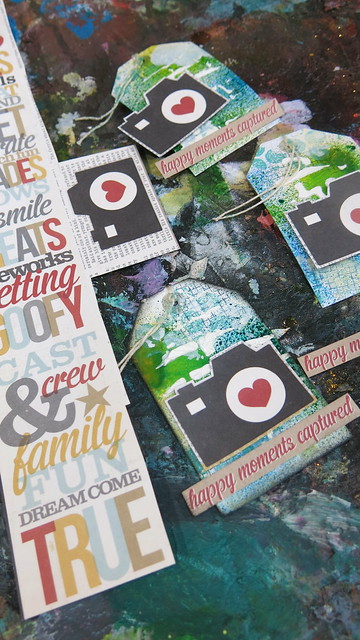
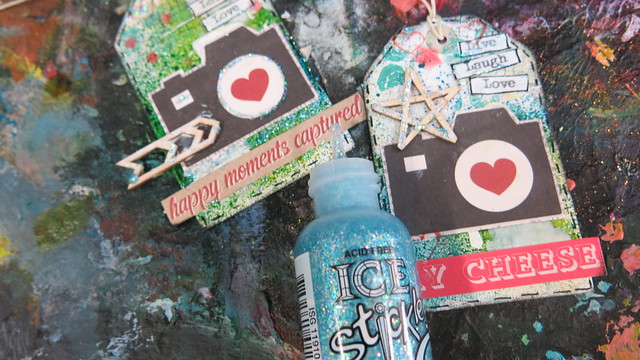
6. Now time for some pretty papers. Like I said before, this is a great way to use up your scraps. I've gone for one of my favourite 2014 collections, Simple Stories 'Say Cheese'. I saw from the CHA photos that they have a part 2 of this collection coming. I can not wait!!
I have taken my scraps and cut up bits and pieces and stuck on my tags.
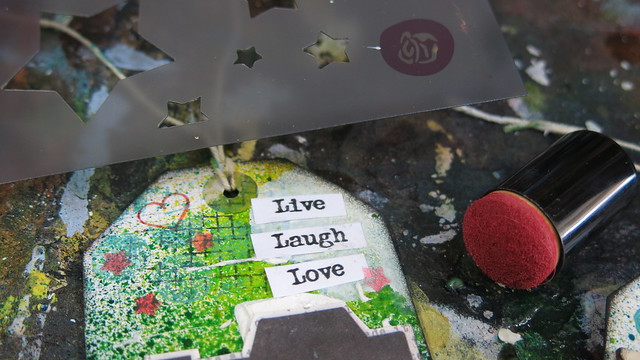
7. I want to add some more red to my tags so I take a red ink and use this Prima Star mask.
8.I have a few little saucers on my desk with bits and pieces in. I like having these when I'm scrapping. I always end up adding a few random bits when I create. Today I grab some wooden embellishments that I spot. I also print off some words on my paper on to normal white print paper and cut in to strips to stick on my tags.
9.. To finish these tags need some sparkle. I love my Stickles. I use these on so many projects.
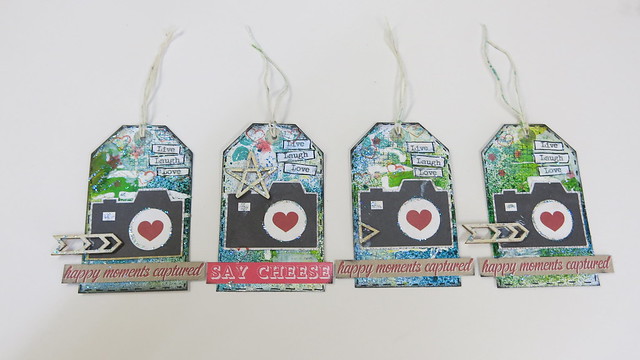

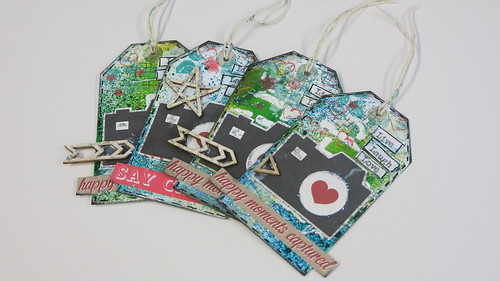
And that's it. My ATC's tags are finished.
I hope you've enjoyed this little step by step tutorial.
They are so much fun to make, there are no 'dos & don'ts'. It's all about playing, experimenting and having fun.
Lisa x
1 comment:
These are gorgeous! I loveeeeeeeeeee the colors and those cameras!!!!
Post a Comment