
Hello, it's Rebecca here with you today sharing my latest layout using P13 Paper Products 'Free Spirit' Collection, which you can find in the store here.
When I sat down to create this layout, I had no plan in mind - I had just intended to have a flick through the collection and see which papers took my fancy, and suddenly I had a completed layout on my desk!

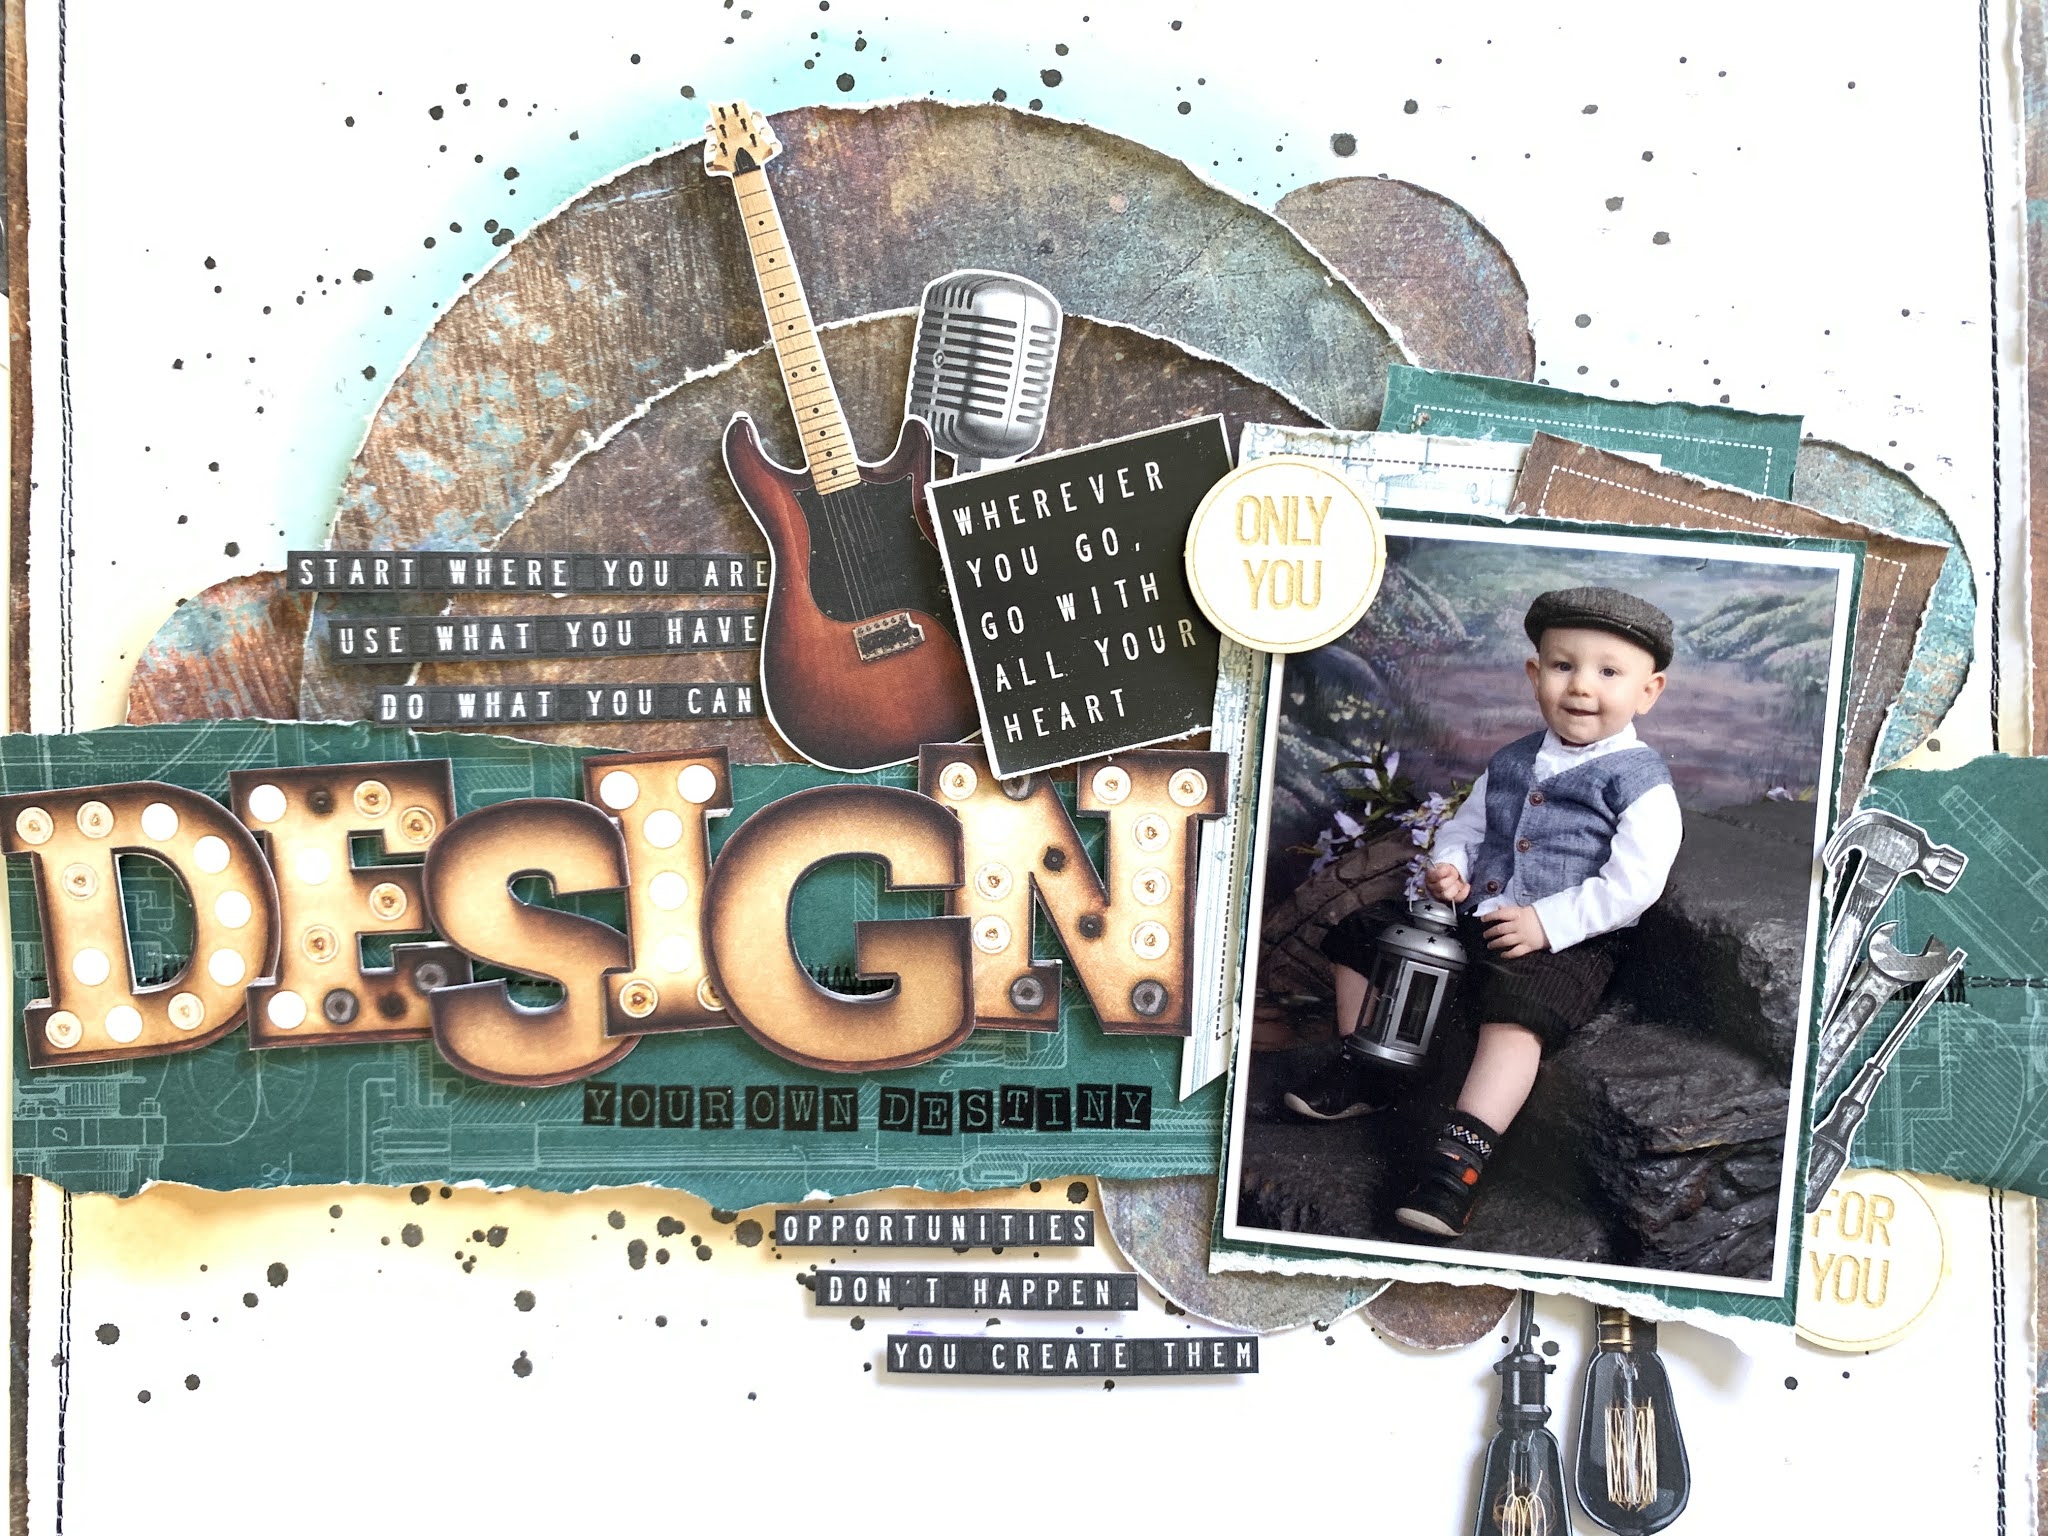
I started by cutting a large circle from Paper #3 and then cut the circle in half. I moved the two pieces around on the page a bit, trying to decide how I wanted to place them and then decided to add a torn strip of Paper #6 horizontally across the page, with the two semi-circles layered behind it.
With my sewing machine, I stitched two lines of black thread around the edge of my page, (after trimming it down by about 1cm on two sides) not worrying about it being too neat. I also stitched across the centre of the green strip - which turned out to be pretty pointless as I covered it all up!! I then framed my background cardstock using Paper #3 to co-ordinate with the semi-circles.
I added some colour underneath the torn strip of Paper #6 using a Distress Ink in 'Rusty Hinge'. I only wanted a light amount of colour so I used a blending brush to apply the ink dry, rather than using the packaging technique. I did the same thing above the semi-circles using a Distress Ink in 'Evergreen Bough'. I finished off my background by adding some black paint splatters.

Using my circle punches, I created some smaller circles from Paper #3 and arranged them on the page tucked behind the torn strip and semi-circles.
I matted my photo first with white cardstock, and again on Paper #6 to co-ordinate with the torn strip across the centre of the page. I then layered some of the Banner Die Cuts behind my photo, all offset to add a bit more colour and interest. Obviously this is me - so I distressed all the edges too!

Similar to my previous layout, I decided to use the letters from Paper #4 for my title and was able to spell the word 'Design'. I added this across the green strip, raised up on foam pads, and finished my title off with some alphabet stickers by American Crafts to make my title read 'Design Your Own Destiny'.

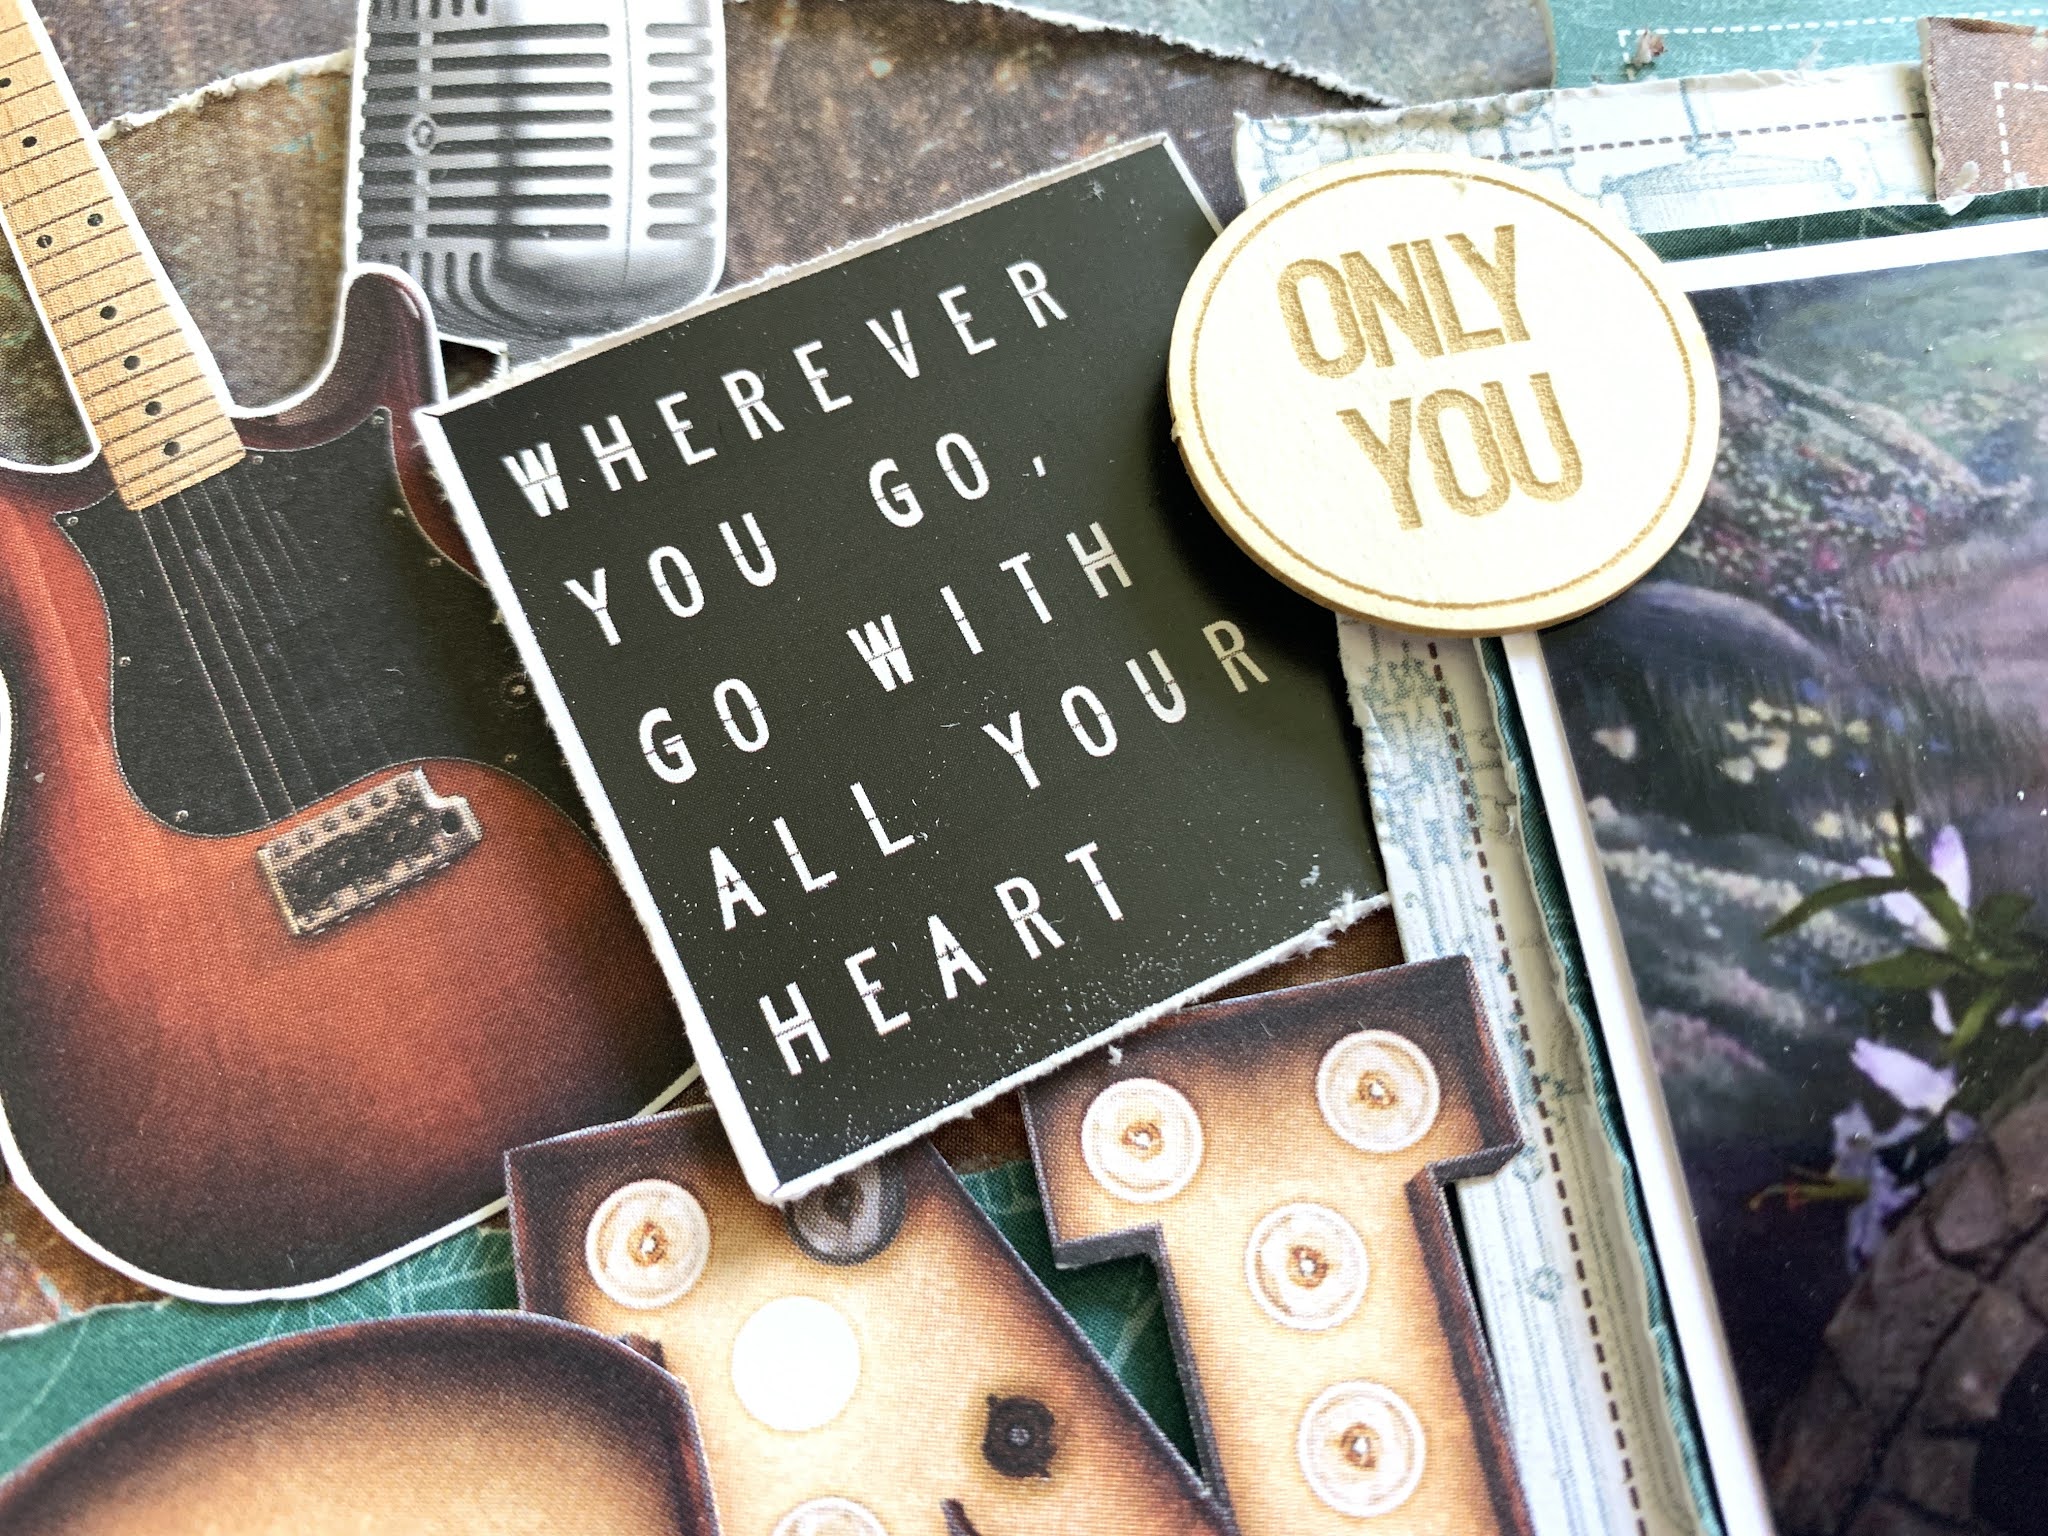
Now I could move on to embellishing. I added a sticker from Sticker Sheet #2 which says 'Wherever you go, go with all your heart' as I thought the sentiment worked really well with my title. I added this sticker to the left of my photo, along with a couple of elements I'd fussy-cut from Paper #7
I added a few tools to the right of my photo, and some light bulbs hanging from underneath my photo - also fussy-cut from Paper #7.

This collection has some really lovely chipboard pieces in it and I have Chipboard Embellishments #6 which has 12 circular pieces. I selected two of them and placed them diagonally around my photo.

I finished my layout with a couple of sentiments cut from Paper #1. I cut them into tiny strips and placed one above my title and one below.

Thanks for reading! I'f you'd like to watch how this layout came together there is a process video up on my YouTube channel here.
I'll be back next month with a brand new collection, so until then...
Take care
Rebecca x
No comments:
Post a Comment