Hi everyone,
Claire back with you today sharing another layout with The Best Day collection from Pinkfresh Studio. You can find it in the store here.
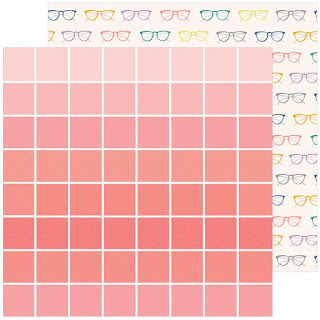
There were a few papers that immediately caught my eye in this collection, and this paper called Cozy Days was definitely one of them.
The rows of different coloured squares screamed to be cut apart, and that's exactly what I did....and then they sat, stacked up on my desk for over a week! I just couldn't work out how best to use them. I've seen a few really beautiful layouts with lots of squares, but just couldn't make them work for me.
Does that ever happen to you? In those scenarios, I find it best to walk away until inspiration strikes - and a few days later it did!
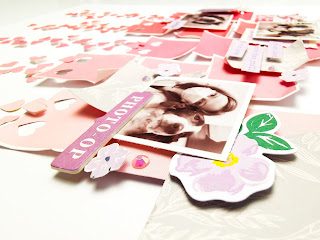
I kept the squares in their own colour groupings and bent around the edges to create a worn look. I laid three squares of each colour in a vertical design, alternatively laying one square flat, the next raised on foam pads and so on.
On each of the bottom squares, I took a tiny heart punch (I really need to use my punches more) and punched out 2 hearts.
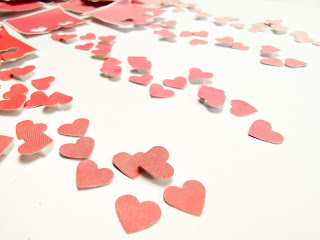
I then punched out lots more hearts from some of the remaining paper, keeping them in their own colour blocks.
I scattered the hearts down the page, again laying most flat, but raising the last few on small foam pads for extra dimension. I stuck the hearts as they fell, so some are sideways, some upside down and some the right way up. I love this effect as it helps keep the cascading hearts look natural.
Next, I wanted to add a little contrast to break up the pink tones, so I selected a piece of the
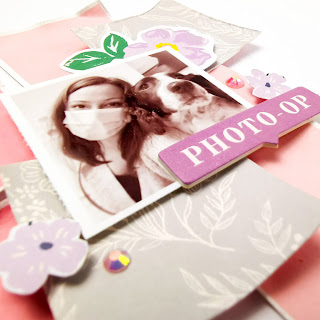
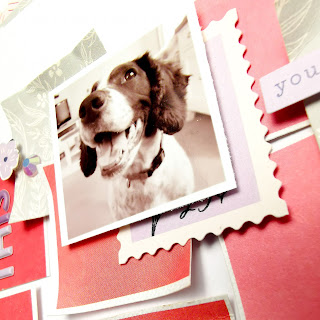
Home Sweet Home paper and cut some grey squares 1.5", to match that of the pink. I selected three photos and printed them at 1.5" also, before starting my embellishing.
The 'Photo-Op' chipboard piece was a perfect accent for my first cluster, take from the
Chipboard Frames.
I took the purple flowers from the
Floral Ephemera Pack and used the large one as a layer behind my photo. The other, is a taller flower with lots of smaller purple flowers on it. I cut that up and scattered the flowers across the page, raising them on foam pads.
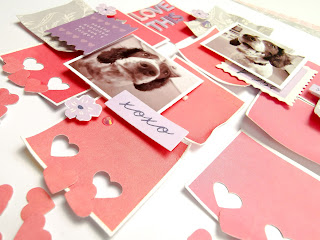
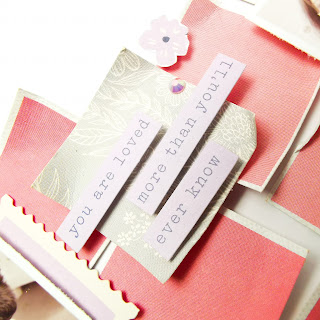
I also used some of the Floral Ephemera and
Cardstock Ephemera as layers in my other two clusters.
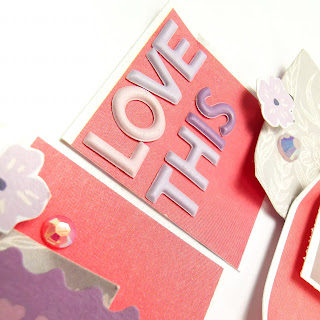
For my title, I reached for those cute
Mini Puffy Alpha Stickers - Love these! I pulled out a mix of the pink, lilac and purple tones as I'm running low now on these but I love the effect the mixed tones brought to the title.
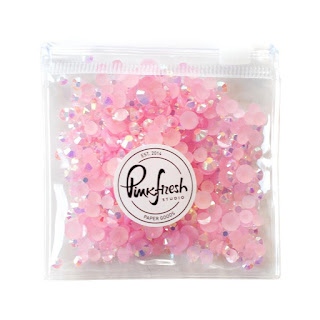
To finish the page, and add a little bit of sparkle, I sprinkled a few
Pinkfresh Jewel Essentials in Ballet Slipper. Have you seen these in the store? They come in a whole range of colours and arrive in a cute little zipped pouch - I have had mine for a few months now and still have so many left. I've added a few more colours to my scrappy stash now. They're such great value.
I hope you've enjoyed this page - I really love the simplicity of the design and especially love those falling hearts. such a lovely technique that would work with so many of my neglected punches. I'll definitely be trying this again.
Until next time.
Take care,
Claire xx


No comments:
Post a Comment