
Hello, Rebecca with you today sharing my second layout for the month created with the beautiful Simple Vintage Indigo Garden collection from Simple Stories. You can find the collection in the store here.
I’m really loving the ‘minimalistic’ look at the moment so I’ve created a layout with plenty of white space. I find that when I overload a page and add too much to it, I don’t notice the finer details so much and miss things when glancing back at the page. Having plenty of white space gives your eye somewhere to rest so that you can take in all the details of the page.

For this layout, i started with a 5x7 inch piece of the Beautiful Heart patterned paper. I tore the top and bottom of the paper to add some texture and placed it vertically in the centre of my page. I wanted a darker patterned paper underneath for contrast and noticed the reverse of this paper worked perfectly! Rather than cutting a fresh piece big enough to sit underneath, I was able to use the two sections I’d torn off. I placed one either side with the straight edge showing - using the gingham pattern to help me line the two pieces up. I then taped them in place on the back.
I added a layer of white card behind my photo to help give it some separation from the patterned papers, and then mounted the whole thing using the blue bazzill cardstock from the 12x12 Basics Pack. I placed my photo central on the page with a layer of foam behind it to create dimension and to give me space to tuck my embellishments behind.

Using the floral die cuts from the Floral Bits & Pieces pack, I created two clusters going diagonally through my photo. I turned the edges of the florals up to add a bit of interest and create more dimension.

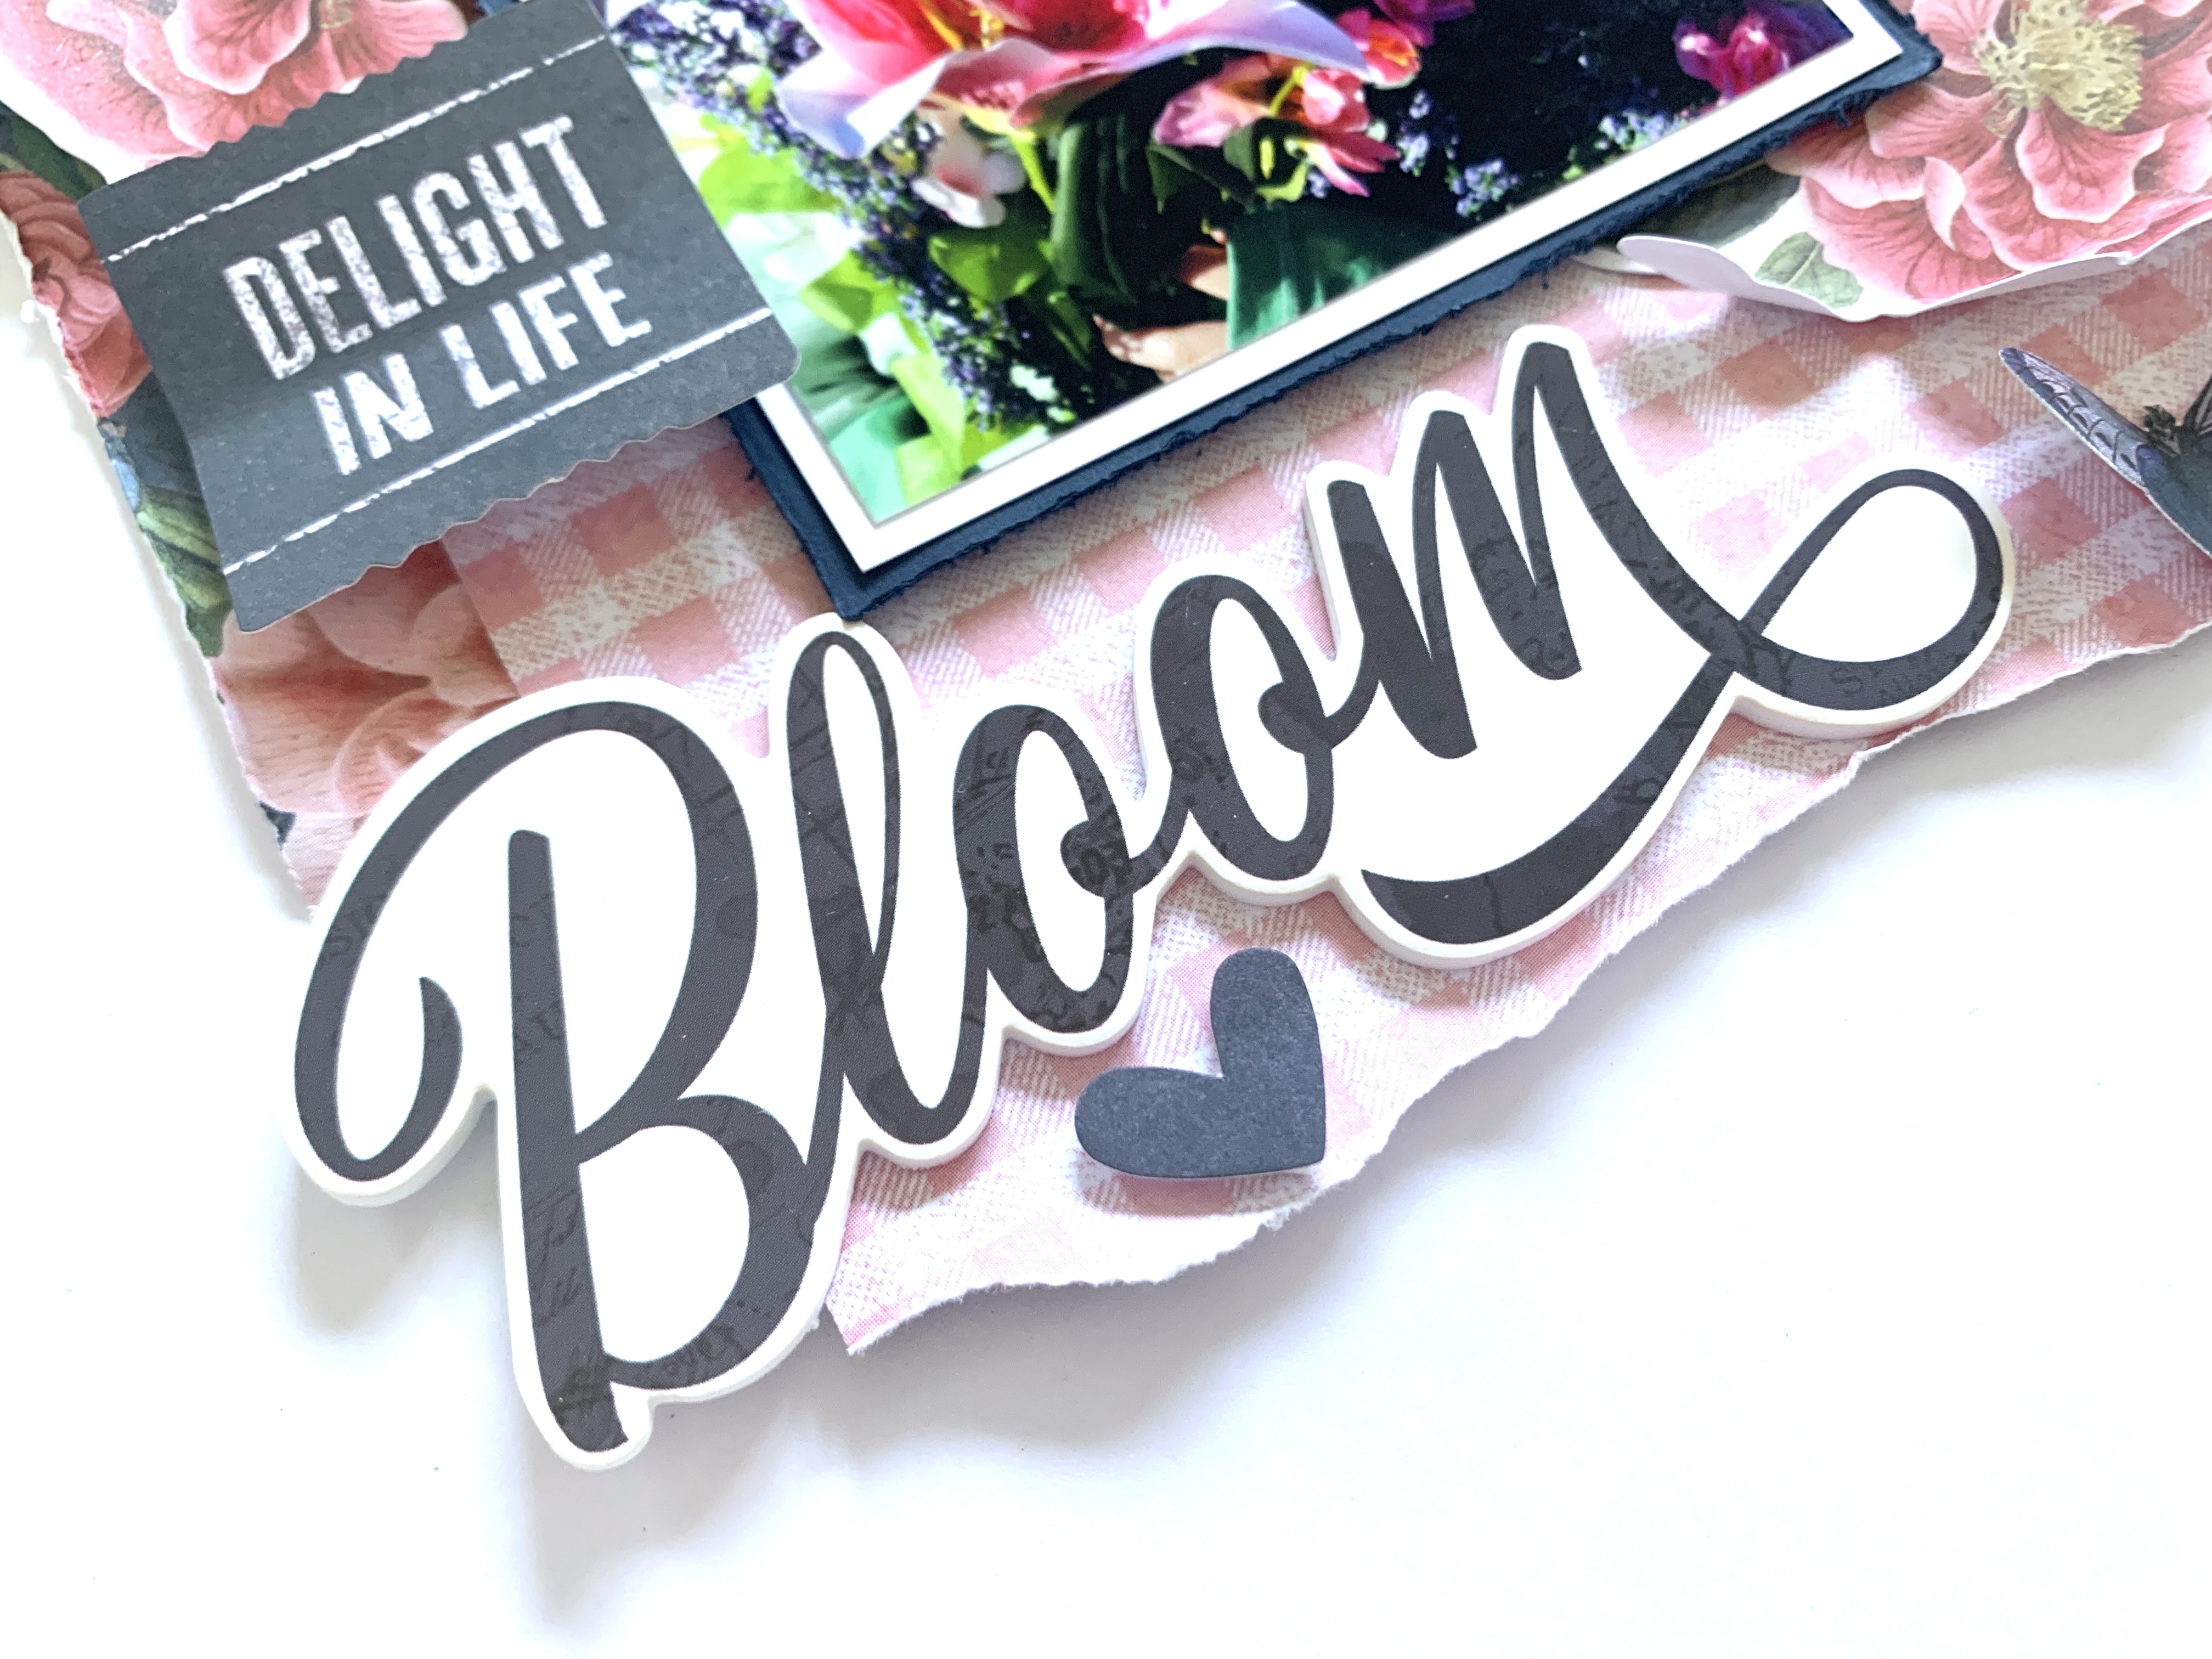
For my title, I’ve used one of the Foam Stickers , and placed it underneath my photo, off centre so that there was room for the florals. These foam stickers are one of my favourite products in simple stories collections. They are so easy to use and are always designed using really nice fonts.
I introduced some of the die cuts from the Bits & Pieces pack, placing one either side of my photo and placed some butterflies on the page too. As with all my layouts, I only ever apply glue to the bodies of butterflies, and leave the wings flapping free. I love the effect this gives - as if the butterflies have flown in and landed on my layout.

I had an open space above my photo that was bugging me. It took me a while to decide what to place there, but after a bit of faffing I decided on a chipboard piece from the Decorative Brads and a heart sticker from the Combo Stickers sheet.

I finished the layout off with some nuvo crystal drops either side of the page in rhubarb crumble and midnight blue.

Thank you for reading, I really hope this layout gives you some inspiration. If you love this collection as much as I do, head over to the store and grab it whilst you can!
If you’d like to watch this layout come together, there’s a process video up on my YouTube channel, which you can find here.
Take care,
Rebecca x
@preciouspagespapercraft
No comments:
Post a Comment