Showing posts with label Foam Sticker. Show all posts

Monday, 11 May 2026

April Papermaze Kit - Part 2

Hello, Lynn here today with the last pair of layouts made with the pretty April Papermaze Kit. I have made two very different layouts, one with photos taken only the day before making the page, and the other a heritage page, with a photo from approximately 100 years ago! 


Before explaining how the layouts were made, here is what you will find in the kit:


Uniquely Creative - Floral Archives collection - Pretty Pollinators
Uniquely Creative - Ultra Violet Delight collection - Layers in Lilac
Uniquely Creative - Bohemian Escape collection - Lazy Afternoon
49 and Market - Plume & Petal collection - Joy & Bliss
Mintay Papers - Man Cave collection - #5

The photo below shows both sides of the papers:


Embellishments: Laser Cut Wildflowers, Foam Stickers Dreamer, Little Birdie Butterfly, Little Birdie Flowers, Simple & Basic Dots, P13 Word Stickers & Ribbon


Bazzill Basics Cardstock - Whirlpool, Touch of Pink (included in Kit), Stonewash, Velvet, Date Swirl & Heidi.


Easter Bunny
- My daughter and I set up an Easter egg hunt as a bit of fun for little 2-year-old Florence to find some colourful eggs in the garden. Catherine wore the bunny ears and got carried away with some selfies!


I started with the Velvet Bazzill, and gutted it to make a frame of about 1" deep. The Bliss paper was cut into two pieces 11.5" x 3" and 11.5" x 8.25", I placed them side by side with narrower piece flipped over to the B side. The edges were all distressed, and before sticking them down I used some left over papers from the previous layouts to make a decorative strip along the join between both pieces...


... I tore the edge of the scrap of Joy paper with the music note side up. then with A border punch I used the remainder of the Layers in Lilac paper to make a lacy trim. At this point all these pieces were stick into place.


I printed five small photos, and mounted them onto some white card, I inked the edges and arranged them across the page.


Next for the embellishments and title - I chose the Spellbinders Say Cheese Classic Mouse - Die Set to cut the title letters twice, once from scraps of Velvet Bazzill and secondly from scraps of Lazy Afternoon paper. These were inked and layered, then added to the layout. 


I used a few of the phrases from the P13 sticker sheet provided in the kit, to add some relevant words to the left of the title. From the kit, I also used a few of the Dreamer Foam Stickers and the ribbon. I tied the ribbon into a bow and attached it to the bottom of the large foam sticker with a small decorative pin.  


The Little Birdie butterfly and flowers, together with the Simple & Basic Dots, were all usde to finish off the page.


Henry Charles Edwards - I love this Mintay Papers - Man Cave collection - #5 paper, from the April kit. I wanted to use it for a masculine layout using my new Vault Watch Gears Sizzix die set. I decided to scrap this photo of my husband's grandfather.


The background for this layout is the sheet of Date Swirl Bazzill, across which I layered torn strips of the Man Cave #5 paper. Leaving the cardstock showing above and below the paper.


I cut myself some frames from card and chipboard using the Stitched Rectangles Sizzix Die Set. I covered the largest of these in more scraps of #5 paper and distressed then inked the edges. I used this to frame my photo. 


With a mix of Distress inks and water, I coloured some watercolour paper, then just before it was completely dry I ran it through the Sizzix machine in a A6 Sizzix 3-D Texture Fades Folder - Numbered. Once dry, I lightly sprayed with some Distress Mica Sprays. I also rubbed in a little gilding wax to highlight the numbers. Then I cut this piece to fit into two of my frames. 


I made the pocket watch using more of the card scraps used for the frames, some black Bazzill and a scrap of the #5 paper. Embossing enamel was used to add texture and an aged metallic effect to the outer watch case. I built up the layers including the numbers and a layer of acetate for the glass. I also used a brad to hold the hands in place in the watch centre. I attached a small chain to the handle, and anchored this to the page with another brad. I placed the finished watch next to the photo, layered up with some 3D foam. 


I made a small oval frame and backed it with a scrap of Lazy Afternoon paper. Then with more numbers cut from the same die set, I added the birth and death date.


I found some elements, left over from a 49 and Market Krafty Garden Acetate Assortment. I selected a leaf branch and film strips to add to the layout. I also had some tickets and stamps left over from a previous Papermaze kit. 

The title was cut on the Cricut, from more of the card scraps I used earlier, and this was placed to the bottom right of the page.

That's all from the April kit, although I still have papers, cardstock and embellishments left to use. 
Thanks for looking.
Lynn x

Friday, 15 November 2024

November Papermaze Kit - Part 1


Hello! - Lynn here today, with my first post using the pretty November Papermaze Kit. This month includes florals, pastels and woodland themed papers.

Here are my first two pages, both featuring my new baby granddaughter.


Here are the details of what you will find in the kit:

 
Patterned Papers:
49 and Market - Birdsong collection - Sweet Notes & Songs of Hope
49 and Market - Vintage Orchard collection - Woodgrained
Simple Stories - Simple Vintage Meadow Flowers collection - Seeds of Kindness & Wild & Beautiful
Mintay - In My Craftroom collection - #05
The photo below shows both sides of the papers:


Embellishments:
Simple Stories Simply Vintage Meadow Flowers Foam Stickers and Bits & Pieces, Cocoa Vanilla Storyteller Wood Epoxy Button, Little Birdie Flower, Marianne rosebuds, Rosie's Studio Belleview Butterfly, chipboard frame and jute twine.


Bazzill Basics Cardstock:
Touch of Pink and Lily Pond (in kit) and Bark, Evening Surf, Crepe and Wild Pansy (in extra pack)


Pick of the Patch - Florence at her Baby Sensory Group for Halloween.


I started this layout with the sheet of Bark Bazzill, gutted to make a 1" frame. I cut a piece of
Seeds of Kindness paper to measure 11" x 6", distressed the edges and placed it to the right of the page.

Then I cut 4 - 11" strips of
Woodgrained paper, distressed all the edges and overlapped these to fill the left side of the page. The result leaves a border of about 0.5" of Bark Bazzill showing all around the edges.

I used a Martha Stewart punch to cut a decorative strip from another piece of Woodgrained paper, and placed this down the centre of the layout.


I mounted my photo onto a piece of Bark Bazzill and added this to the centre of the layout. Then  I rummaged in my flower stash, selected flowers and leaves, then arranged them in three clusters around the photo. The flower centres were created with a selection of brads.

The decorative strip was decorated with some metallic nail head stickers.


My title was cut from scraps of the Woodgrained paper and a set of Sizzix Thinlit dies called Delicate Alpha. The date was made with Doodlebug Designs Alphabet Soup Letter Stickers in Gold.


I finished off with a little journalling and some Simple Stories Simply Vintage Meadow Flowers Foam Stickers from the kit.


Hello Lovely - My daughter and granddaughter in Greenwich Park looking over London.


I based this layout on the sheet of Sweet Notes paper from 49 and Market, I love all the images already layered on this paper, so simply added to it with items from the kit and my stash.


I used the chipboard frame and the jute twine from the kit to mount my photo. I painted the chipboard with Brushed 
Corduroy Distress Paint, then dry brushed over with some Walnut Stain Distress Paint.


I attached large eyelets to the two holes on the chipboard frame and another one to each side of the page. With the twine I joined up the eyelets. I tied off with a bow on the left side.


I added the date to the frame using Sizzix Thinlits Tim Holtz Alphanumeric die set and scraps from the Woodgrained paper.


On my recent visit to Papermaze I purchased some 49 and Market Krafty Garden Acetate Assortment, and the Laser Cut Wildflowers, and I used some of each of these packs to embellish the layout. The title was also from the acetate assortment.


Journalling was written onto scraps of Seeds of Kindness paper, cut into strips, inked and added to the right of the page under the title.


That's all for today, I'll be back with more from this kit soon.
Thanks for looking.
Lynn x

Monday, 13 March 2023

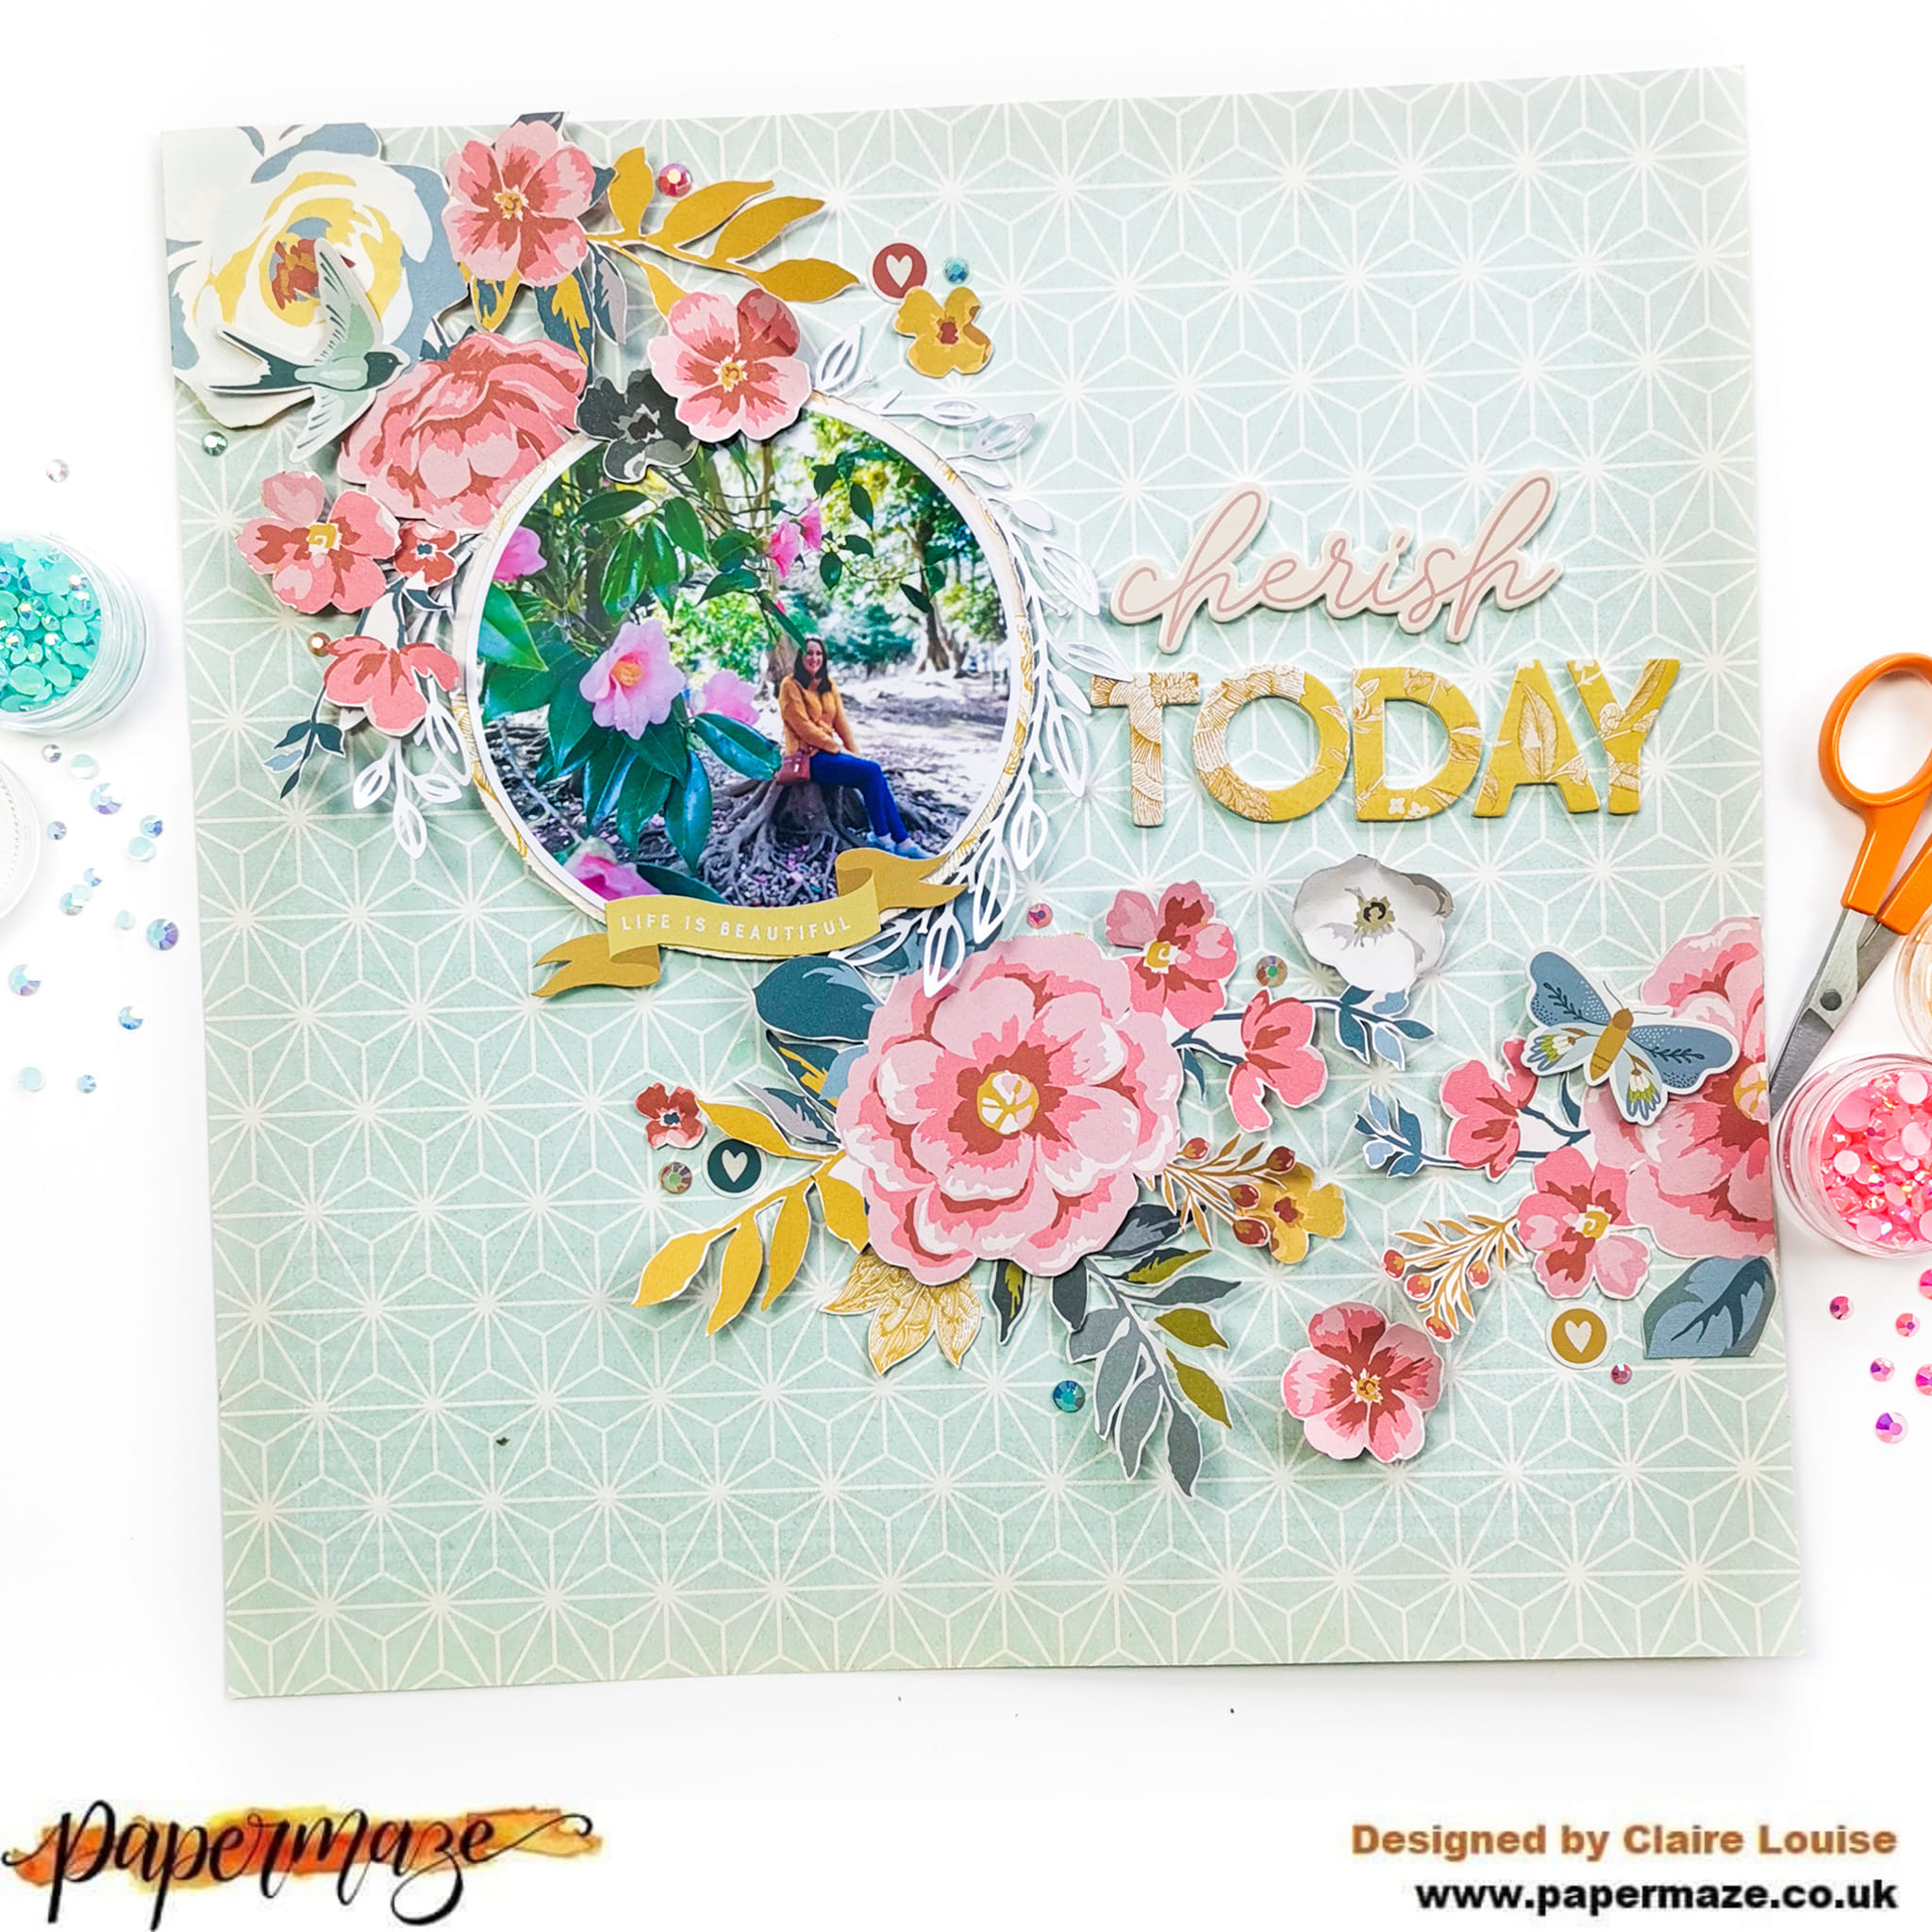
Simple Stories - Wildflower - Cherish Today

Hi everyone,

Claire here, and i'm popping in with my second layout using the Wildflower collection - this really is such a gorgeous collection. I think it's definitely going to be one of my favourites of the year and we're only in March!


This time, I'm focusing on the patterned paper, using it firstly as my background, and secondly, enjoying lots of fussy cutting to create a sweeping floral design across the page.

The base of my layout uses the b side of the Journal Elements paper. It's a really lovely soft teal colour, with a very dainty pattern that works perfectly for a background paper.

To this, I added my circular photo, which I mounted on the Breath Deep paper and framed it using a 'Leafy Wreath' cutfile from Anetts Designs.


Across the bottom, I created a small subtitle, using the pretty yellow banner from the Combo Stickers.


Next the fun part!!  The Flowers! This collection really does have the prettiest floral papers I have seen in a long time. The choices - and possibilities - are endless!

I used the Complete Bliss paper, fussy cutting both small and large clusters, as well as individual flowers and leaves to stretch across the page - but honestly, any of the floral papers in this collection would work just as well. They're all stunning!


I started in the top left corner, raising some on foam, and leaving some flat, curling the leaves to create movement and dimension.


Once all the florals were in place, I began to add some smaller embellishments. I took a bird and a butterfly from the Combo Stickers, raising these on foam to sit in amongst the floral clusters.


I added a few small sticker hearts also sprinkled some Pinkfresh Studio Jewel Essentials in Peach Fuzz, Sky Blue and Ballet Slipper - they're the perfect hint of sparkle and match the colours in this collection so well.

To the right of my photo was an open space, ideal for creating a large title. So I took the opportunity to use two of the Foam Stickers.


I adore these. They're my favourite element of Simple Stories collections so I was delighted to get two on a page. They sit just to the right of my photo and pull in all the colours of the design. Just the job to finish the page off.

I hope you have enjoyed this layout - I certainly enjoyed making it.

See you next time.


Claire xx

@scrappysoulmate

Friday, 20 January 2023

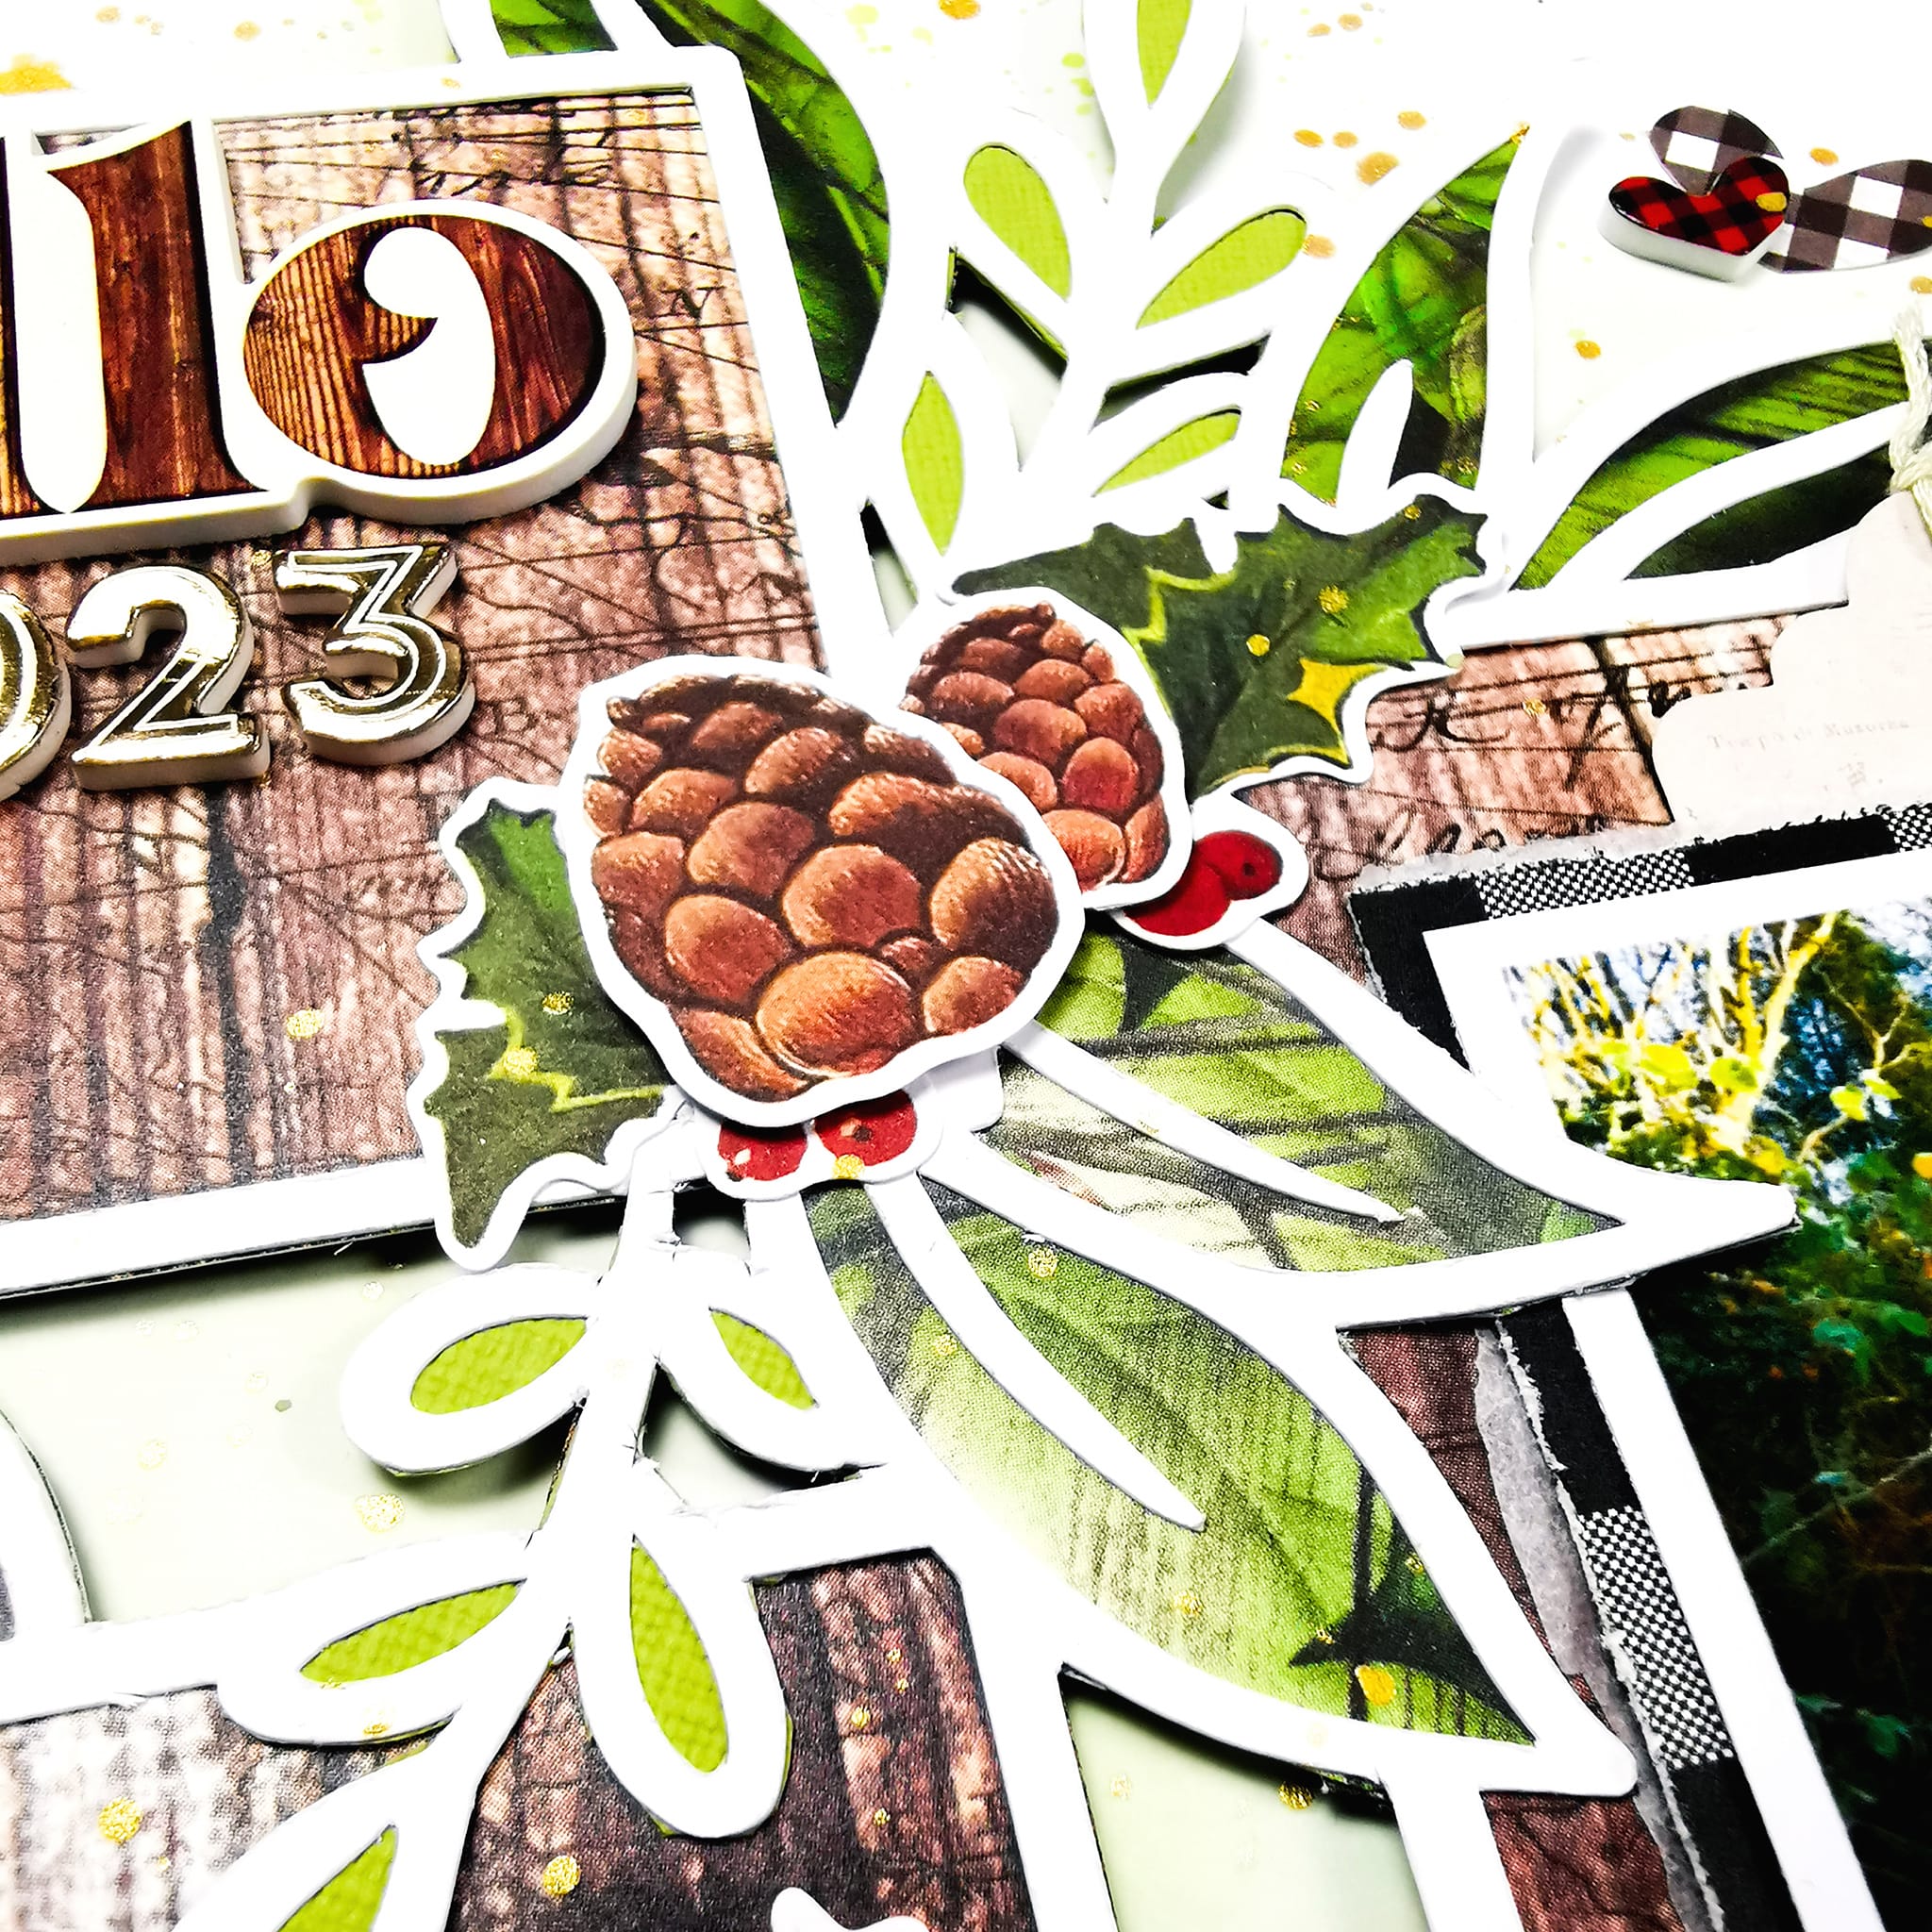
Simple Stories - Simple Vintage Christmas Lodge - Hello 2023

Hi there,

Claire here and today I'm sharing my final layout with the Simple Stories Simple Vintage Christmas Lodge collection.

You may remember, this month I'm challenging myself to use up all the scraps and see how versatile a Christmas collection can be.

For this layout, I'm focusing on the green and woodgrain elements of the collection to create a wintery layout with no sense of Christmas in sight! (apart from a very small amount of Holly, but I hope you'll let me off!)

Here's how it turned out.


I prepped my 12x12 Premium White Cardstock with clear gesso, leaving it to the side to dry.

In the meantime, I cut the Leafy Frame Trio cutfile by Pinkfresh Studio, sized to about 9" wide. You can download the file for free in their Facebook group.

I backed the square frames with the Jolly St Nick paper, making sure to include some of the white holly and distressed pattern for extra interest.

Next, on to the leaves which I backed with a combination of the Christmas Wishes Paper and some Parakeet Bazzill Cardstock.


Once all the leaves were backed and the gesso dry, I added quite a lot of water to the background before spraying Distress Oxide Spray in Bundled Sage and Antique Linen. This helped to dilute the ink, resulting in a light colour wash rather than bold mixed media.

Whilst waiting for the ink to dry, I set about printing my photo. I resized it to 2.5" (including the white border), mounting it on a piece of the b side of the Boughs of Holly paper with a layer of white tissue paper behind. 


For extra interest, I also added a tag from the Bits & Pieces pack.


Next, I created some clusters on top of the file, mainly using the Bits & Pieces Ephemera and Woodland Bits & Pieces.


Alongside the cardstock ephemera pieces, I added extra dimension by using some of the foam pieces from the Foam Stickers which have really helped lift the layout.


For my title, I again reached for the Foam Stickers. Remembering this was not going to be a Christmas layout, I needed to find something more generic. Luckily, there is a sticker saying Hello which provided me with lots of options to create my title.  As this was one of the first layouts I made this year, I reached for some older gold Thickers from my stash and added 2023.


I scattered some heart ephemera pieces, raising some on foam and some flat for extra dimension, and added a few splatters of gold ink to finish the page.


I'm really pleased with how this turned out. I don't feel like it says Christmas at all and has a much more wintery feel. I hope it will inspire you to get more from any Christmas collections you have and push the boundaries to see what else you can create. 

Have fun!!


Claire xx

@scrappysoulmate