Showing posts with label rosettes. Show all posts

Wednesday, 10 August 2022

Photoplay - Bow Wow - Lucky Dog!

Hi everyone,

Claire here with you today, and this month I have the pleasure of creating layouts with the Photoplay Bow Wow collection. 

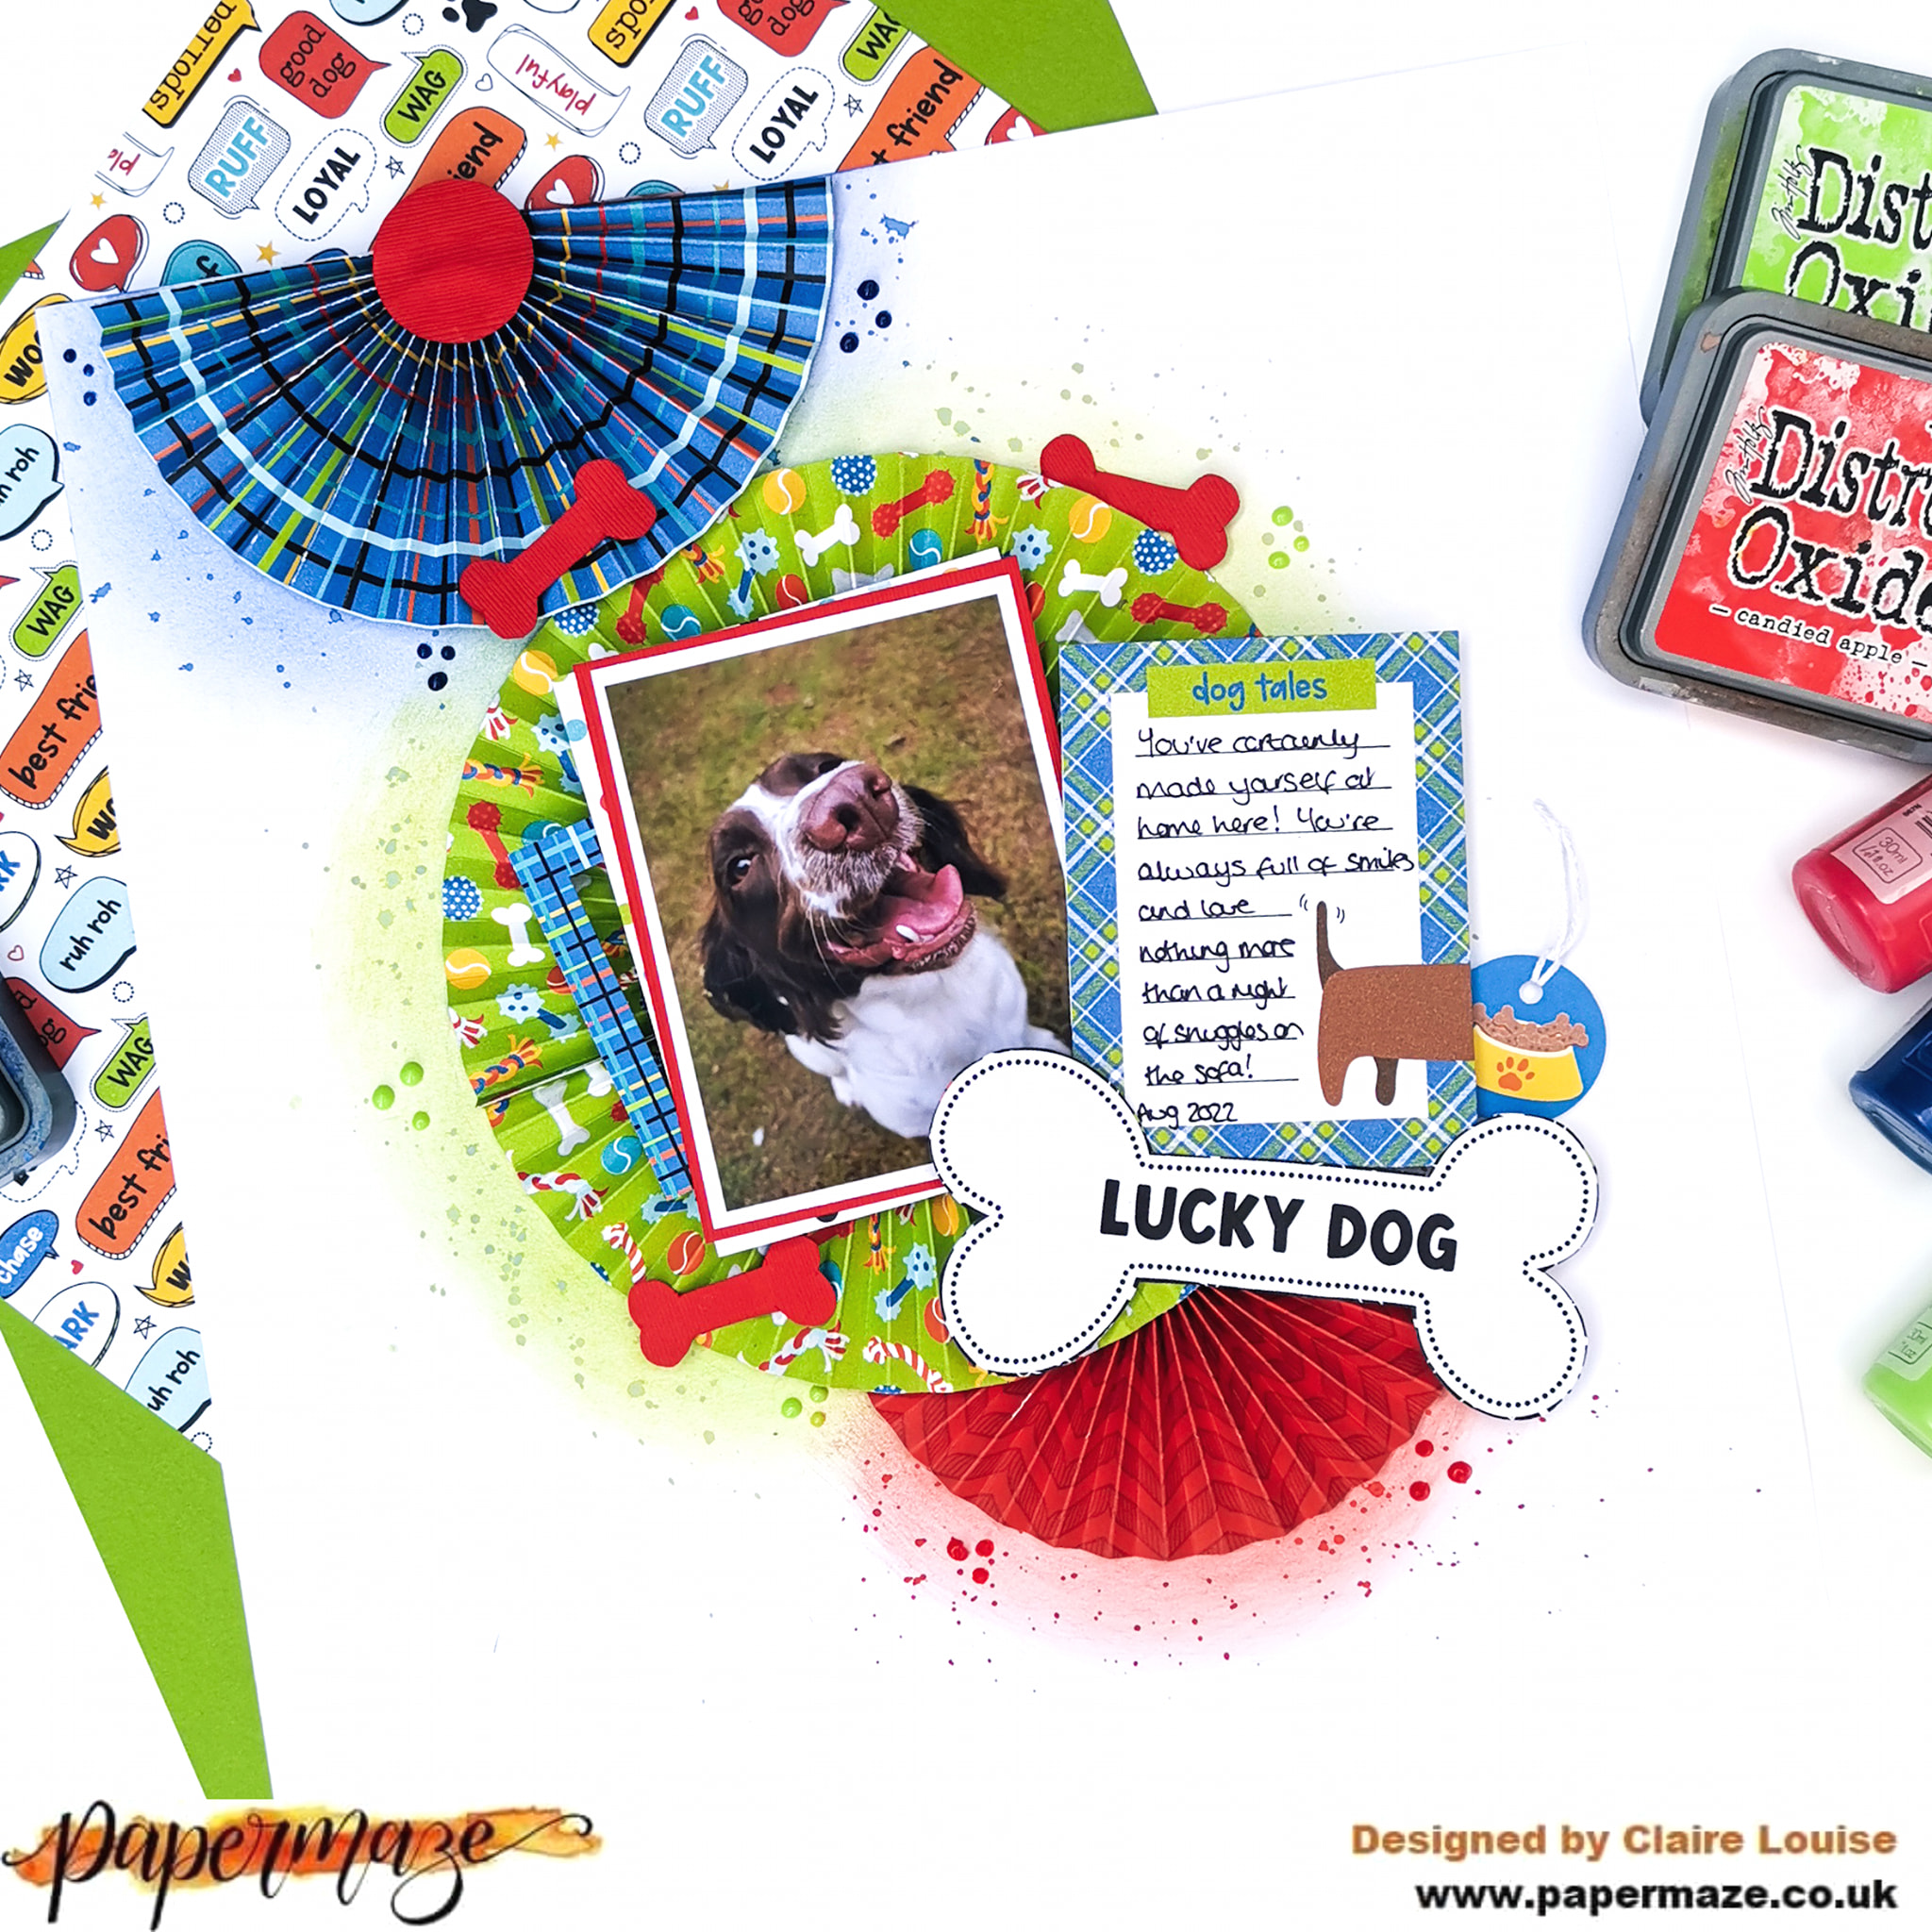
We have recently opened our hearts and our home to a new furbaby. This collection was perfect to document her first few months here.


I started with a piece of plain white Bazzill cardstock from the Matchmaker Pack and wanted to make a real feature of the colours and patterns in the papers - they convey all the fun a mischief a new addition to the family brings.

I created 3 paper rosettes, using the b sides of the I Love My Dog,  Chow Time, and Dog Treat papers, layering them to create a cascading, vertical design.

Once I had my positioning in place, I lightly drew around where the rosettes would sit, and brushed Distress Oxides around each in a circular motion.  The coordinating colours I used were Blueprint Sketch, Twisted Citron and Candied Apple. Once that was done, I wet the ink and added splatters.


I double matted my photo using the red textured Bazzill from the Matchmaker Pack and a piece of the dotty Dog-o-mania paper, layering it on top of a frame from the Ephemera pack. I also pulled out this super cute dog tag to sit alongside the journaling.


I fussy cut one of the cut apart cards from the Lucky Dog paper to add my journaling, and also fussy cut the large 'lucky dog' bone to use as my title - it gave a real sense of playfulness that matched my photo.


Using the b side of the Speak! paper as a template, I traced one of the bones and used it to cut out some bones in the red Bazzill cardstock, which I scattered around the page as embellishments.


As a final touch, I added some Nuvo clusters around the rosettes and that was my page complete.

I'm having a blast with this collection and it's been selling out quite quickly, so don't miss out - you can grab it all here.

See you soon.

Claire xx

@Scrappysoulmate

Saturday, 6 November 2021

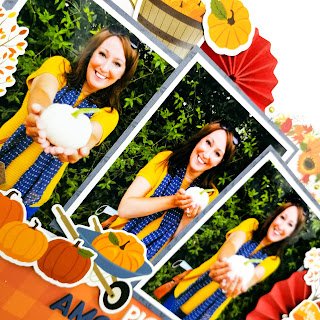
Echo Park - Fall - Pics Amongst The Pumpkins

Hi everyone, and a very happy November!

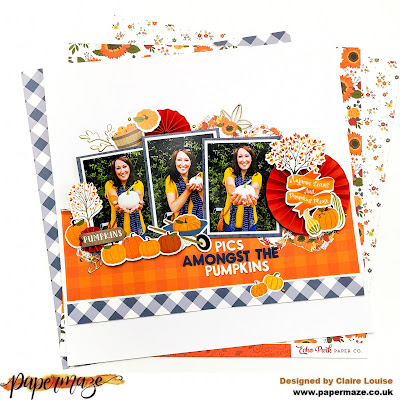
I love Autumn - the crisp air, clear blue skies and all the colours that the season brings.  One of my favourite activities is to go Pumpkin picking and when I saw the Echo Park Fall collection in the shop, I knew it would be perfect for documenting my last trip.


The collection contains some beautiful colours - full of warm red, yellow, orange and brown with some beautiful blue papers that offer a perfect contrasting colour.

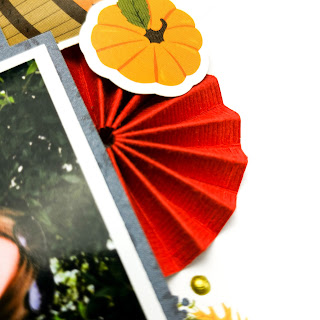
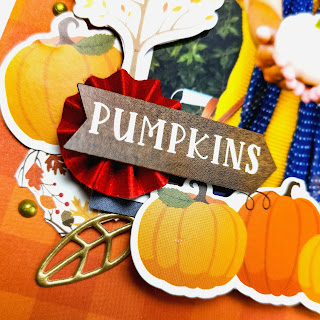
I started my layout with a sheet of White Premium Cardstock. I love this smooth card - it's my 'go to' for every layout and a real staple of my craft stash. Next, I grabbed a sheet of red Bazzill from the Matchmaker Pack and made 3 rosettes in various sizes, by using different width strips of card and folding in hills and valleys to make a concertina.


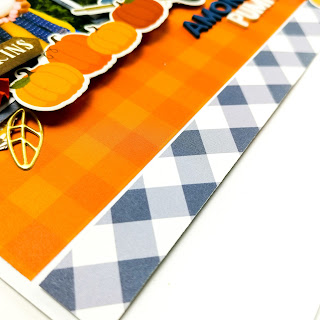
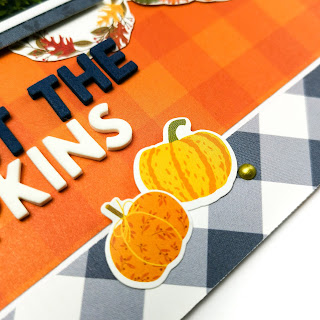
To create a base for my design, I used two strips of paper. I used the 'b' sides of the Whisking Leaves paper (about 4" wide) and a much thinner strip of the 3x4 Journaling Cards paper (about 1" wide). I positioned these in the bottom half of my page, layering one against the other for contrast.

I stuck the orange paper flat and the blue strip on foam for dimension and interest.


Once they were in place, I grabbed my photos and mounted these with the blue 'b' side of the 4x4 Journaling Cards paper. For extra texture, I raised each photo on foam pads, overlapping them slightly to create depth.


The, the embellishing began!  I mostly used the Element Stickers for this - they are awesome! So many great elements on this sheet and so much fun to play with - a real must if you buy any of this collection.  I backed most of them on cheap copy paper so I could move them around the page while I decided on their final position.


I layered them with my rosettes, some gold leaves I have left from Jen Hadfield's The Avenue collection and some fussy cut wreaths from the 'b' side of the Journaling Cards paper.


To finish the page, I added a title using some mini alphas from my stash and added a few Nuvo Drops in Bright Gold.

I am really loving this collection and the contrast of the blue against the warmer orange tones. It's not a colour combination I would usually opt for but it is creating some really striking pages - perfect for all your Fall scrapping as the name suggests :)

I'll be back again later this month sharing another page with this collection. Until then, you can find it in the shop here.


See you soon.

Claire x


Saturday, 24 July 2021

Bee Yourself - Photoplay - Sweet as Honey Collection

Hi everyone, it's Rebecca here with you again sharing my second layout using Photoplay's 'Sweet as Honey' collection. 


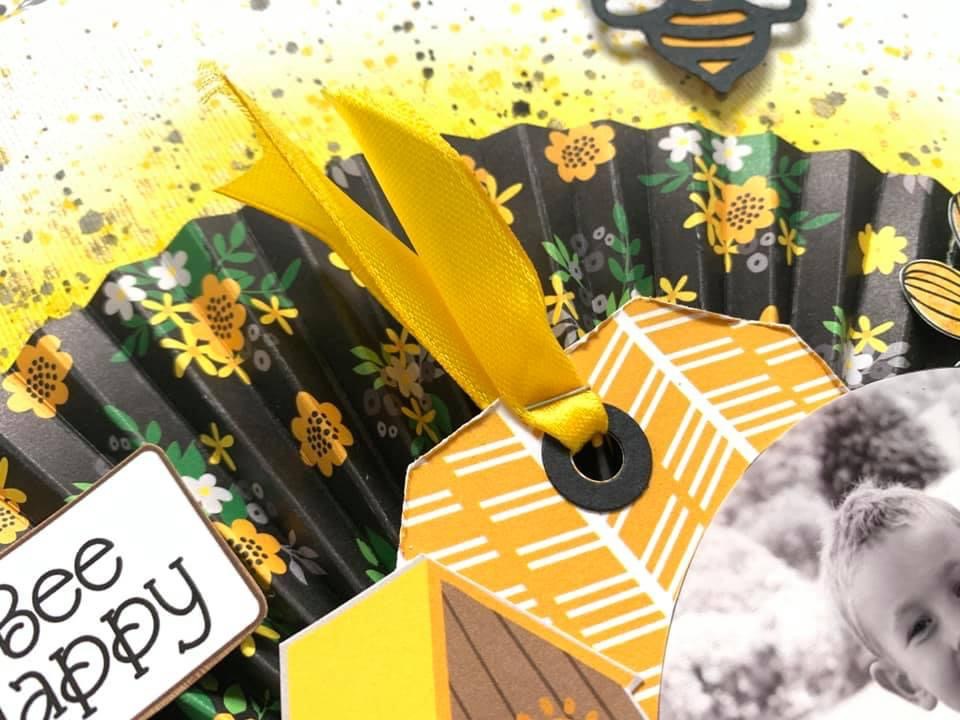
I was really inspired by one of Claire's recent layouts (you can find it here) and her use of rosettes on the page, so I decided I wanted to make a giant rosette for my layout.

I selected the 'Sweet Pollen' patterned paper as it is my favourite paper from the collection. The yellow and white florals just 'pop' against the black background and just makes my heart sing. I'd used some of it on my previous layout, so I didn't have a full 12x12 sheet left.... so I was dubious about whether I'd have enough paper to make a full circle or not... but decided to give it a go anyway!

I cut what I had left of the 'Sweet Pollen' paper into two strips - approx 4.5x12 inches. I used my paper trimmer with a scoring blade and scored along the 12 inch side of the strips, at every 1/4 of an inch. I then folded the strips back and forward to create 'mountains and valleys' and stuck them together to create one long strip. 


It was at this point that I knew it wasn't going to be long enough to make a complete rosette so I had to get a bit creative in my page design (by 'creative' I mean 'sneaky'!). My strip was long enough to make about 80% of a full rosette, so I punched a circle from some scrap cardstock, and stuck the rosette (with what looked like a pizza slice missing!) onto the circle to help it hold the shape. 

I then had to figure out a way to cover the missing section of the rosette! I printed my photo in black and white and cut it into a circle and used this to cover a lot of the gap. I wanted to add some flowers, and remembered that I had a sheet of yellow and black flowers left over from my Vicki Boutin Color Study kit, so I took some time to fussy-cut some of them as they matched the Photoplay collection perfectly - and they also covered a lot of the gap!!


Because this collection is full of really cute bees, I wanted to add a couple of bees to the page, so I've used a cutfile by Peartree Cutfiles and backed two bees using the B side of the 'Buzzing By' patterned paper. I've placed the bees onto my white background, to the edge of the rosette, to help extend the design out a bit.


I've selected an acrylic perspextive title from Bramble Fox which says 'Bee Awesome' and comes with a really cute little bee. This perspextive set is perfect for this collection - you get a black set and a mustard yellow set so the colours match the collection too! A match made in heaven.


I selected the XXX patterned paper and cut a tag from it, which I placed above my photo with some yellow satin ribbon threaded through the top.


The layout was coming together nicely, but I wanted to add a cluster to the left of my photo. I fussy-cut some really beautiful bird houses and a Bee from the 'You're a Keeper' patterned paper, and added these to the left of my photo.


I was in the mood for some mixed media, so I decided to add some colour to the white background, behind my rosette. I used a Distress Ink in Mustard Seed and brushed some colour on using a blending brush, and then added splatters in yellow, metallic gold and black.


Once my background was dry, I began getting everything stuck down. I've used quick drying tacky glue and foam pads to bring a bit of dimension to the page. I placed my title and flowers strategically to fill the gap in the rosette and now you can't tell there was ever a section of the rosette missing.

I finished my layout by adding a banner from the Cardstock Ephemera pack which reads 'You are my sugar pie honey bunch' and a fussy-cut bee from one of the circular ephemera pieces.


I'm really pleased with how this layout turned out. In fact, I love both of the layouts I've created with 'Sweet as Honey'. The colours in the collection really appeal to me (even if the gnomes don't!!) and I've really enjoyed working with it. 

If you'd like to see how this layout came together, there's a process video up on my YouTube channel which you can find here.


Thanks for reading, I'll see you next month!

Take care

Rebecca x


Friday, 9 July 2021

Pinkfresh Studio Happy Blooms - Find your Inner Peace

Hi everyone!

Claire here with you and I'm sharing my first project made with the Pinkfresh Studio Happy Blooms collection.

Pinkfresh is one of my favourite brands and this collection does not disappoint! It's full of spring vibes, lots of florals, butterflies and pretty patterns. You can find the full collection here.

For my first layout, I wanted to document a recent trip to the UKs oldest blueberry farm and their flower fields which I saw an article on in a magazine.  I didn't realise it was only 25 minutes down the road so off we set!


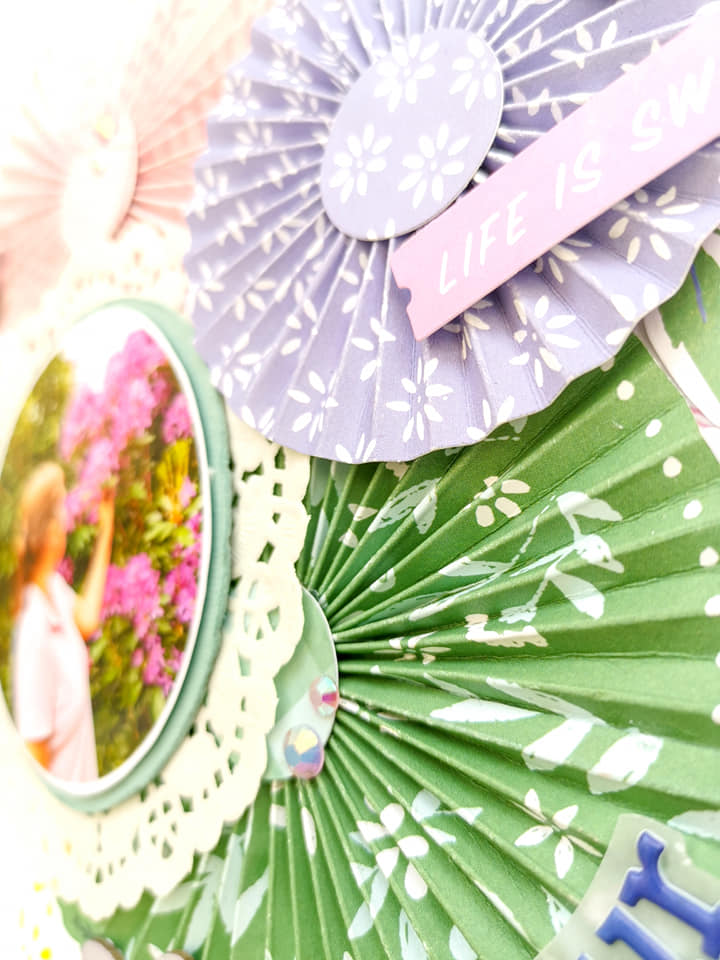
I started with white textured Bazzill cardstock from the Matchmaker Pack. I printed the photo in a circle so wanted to mirror the shape across the page.  I found a template for some paper rosettes on my cricut, which cuts the strips and adds score lines which you then fold manually, and glue together to crease the rosette shape. You don't need a machine however, and can find lots of tutorials on YouTube.

I used the pink Cottage paper, green Handkerchief paper and the beautiful blue Garden paper to create the rosettes, before adding a small circle of paper to the centre with a hot glue gun to secure in place.


I layered these in a vertical pattern down the centre of the page and cut a few flat circles to place as a mat underneath, creating a base to add floral clusters.


I used the A and B side of the Embroidered paper and the Heirloom paper for this.

I had left a space for my circular photo, which I mounted on a piece of teal green cardstock from the Matchmaker Pack. I distressed the edges and lay it onto a doily from my stash.


Next, I selected some florals from the Floral cardstock Ephemera and arranged these around the rosettes and paper circles to create a bit of interest and help frame the design. To this, I added some butterflies, fussy cut from the Homegrown paper.


I created my title using multiple fonts from the coordinating alpha sets - the larger green Puffy Alpha Stickers and the mini puffy alphas. To help the smaller alphas stand out against the green rosette, I mounted these to a small piece of vellum first and then laid in position.


I added a small sub title to the rosette, using a phrase from the Cardstock Ephemera pack and a chipboard butterfly from the Tando Creative Chipboard Butterflies, which I pained with Shimmerz paint.


As a final touch, I used some of the new Pinkfresh Studio Essentials Crystals Mix in Ballet Slipper, scattering them around the page for a bit of sparkle - Keep an eye out for these - they'll be hitting the shop soon, and in my opinion, these are of of those "need" items!! They are awesome!


And that was it for my first page! I really love how this one turned out and am looking forward to sharing more of this gorgeous collection with you soon.

Take care,
Claire


Friday, 11 September 2020

Full of Sass ..... Kate and Ash # 4

Hello again,


Anita here with you today to end the week off. This is my 4th layout using Kate and Ash papers from Simple Stories and I thought I would veer away from the bright, funky colours and patterns in the collection this time and go for a monochrome page ( with a tiny little sprinkle of colour).


So I used just one sheet of Vanilla cardstock , one sheet of Girl Power patterned paper, a left over scrap strip from another sheet ( 3 x 4 elements )   and one single cut out panel from a sheet of  4 x 6 elements

......oh yes and half a sheet of black cardstock to mat the photo and also to cut a strip for making one of the rosettes.


I am not very good at keeping plain cardstock plain..... white space scares me if I am honest....so I have to splatter, distress or grubbify as much of it as I can normally.

After cutting the cardstock down to 11" x 11" I  used an old text stamp a couple of times, splattered some black acrylic paint all across the page and stamped all around the edge creating a stitched effect frame using 49andMarket Gabi's Line Stitches set


I matted the photo using black cardstock and cut a panel from 6 x 4 Elements  which I then matted using scraps of  3 x 4 Elements 

and inked the edges. 

Using some black Nuvo Drops and some Oyster Liquid Pearls I made spotted circles randomly about the page using cups and lids etc as templates. I accidently knocked the lid and smudged several dots on the left of the page hence adding a random rosette to cover the huge smudge!! most annoying, but savable thankfully!


I really love rosettes for embellishing a page, I know they are quite lumpy but I don't mind a bump or 2 here and there. I always just used to make them from scratch by hand, but these days there are a few different die strips you can get for making them....soooo much easier!!

So I made 4 die cut rosettes for the layout using strips of each of the papers and some black cardstock and my Tim Holtz rosette strip die. After adding a sprinking of sequins on the page I also added some coloured gems to the centres of the rosettes too.


Whilst I was rummaging through my old stash for stamps and dies, I also came across some REALLY old rub on books of alphabets by a company called Making Memories. To be honest I thought they might of dried out and broken apart, however they actually still applied really well and were great for the finishing touches to the page. Quite satisfying to use stash that was 17 years old!! Maybe they will become fashionable again....after all..... fashion does go round in a circle doesn't it apparently!


I hope you have enjoyed seeing my last layout from this versatile collection...I have enjoyed making it and its been really good fun breaking out very old stash to use with very new products.


If you pop over to the SHOP there are lots of new goodies coming in all the time and great selection of older products too with some real hidden gems scattered here and there in the stock. Its always nice to grab a cuppa and have a good look round to see whats about! Have a great weekend!

Warmest wishes

Anita xxx