
Hello, Lynn here today with the Christmasy December Kit.
Although the papers are all from winter or Christmas collections, at
least one side of most of them can be used to create non-Christmas
layouts.
Here are the first two layouts I have made with a Christmas flavour.

This is what you will find in the kit.
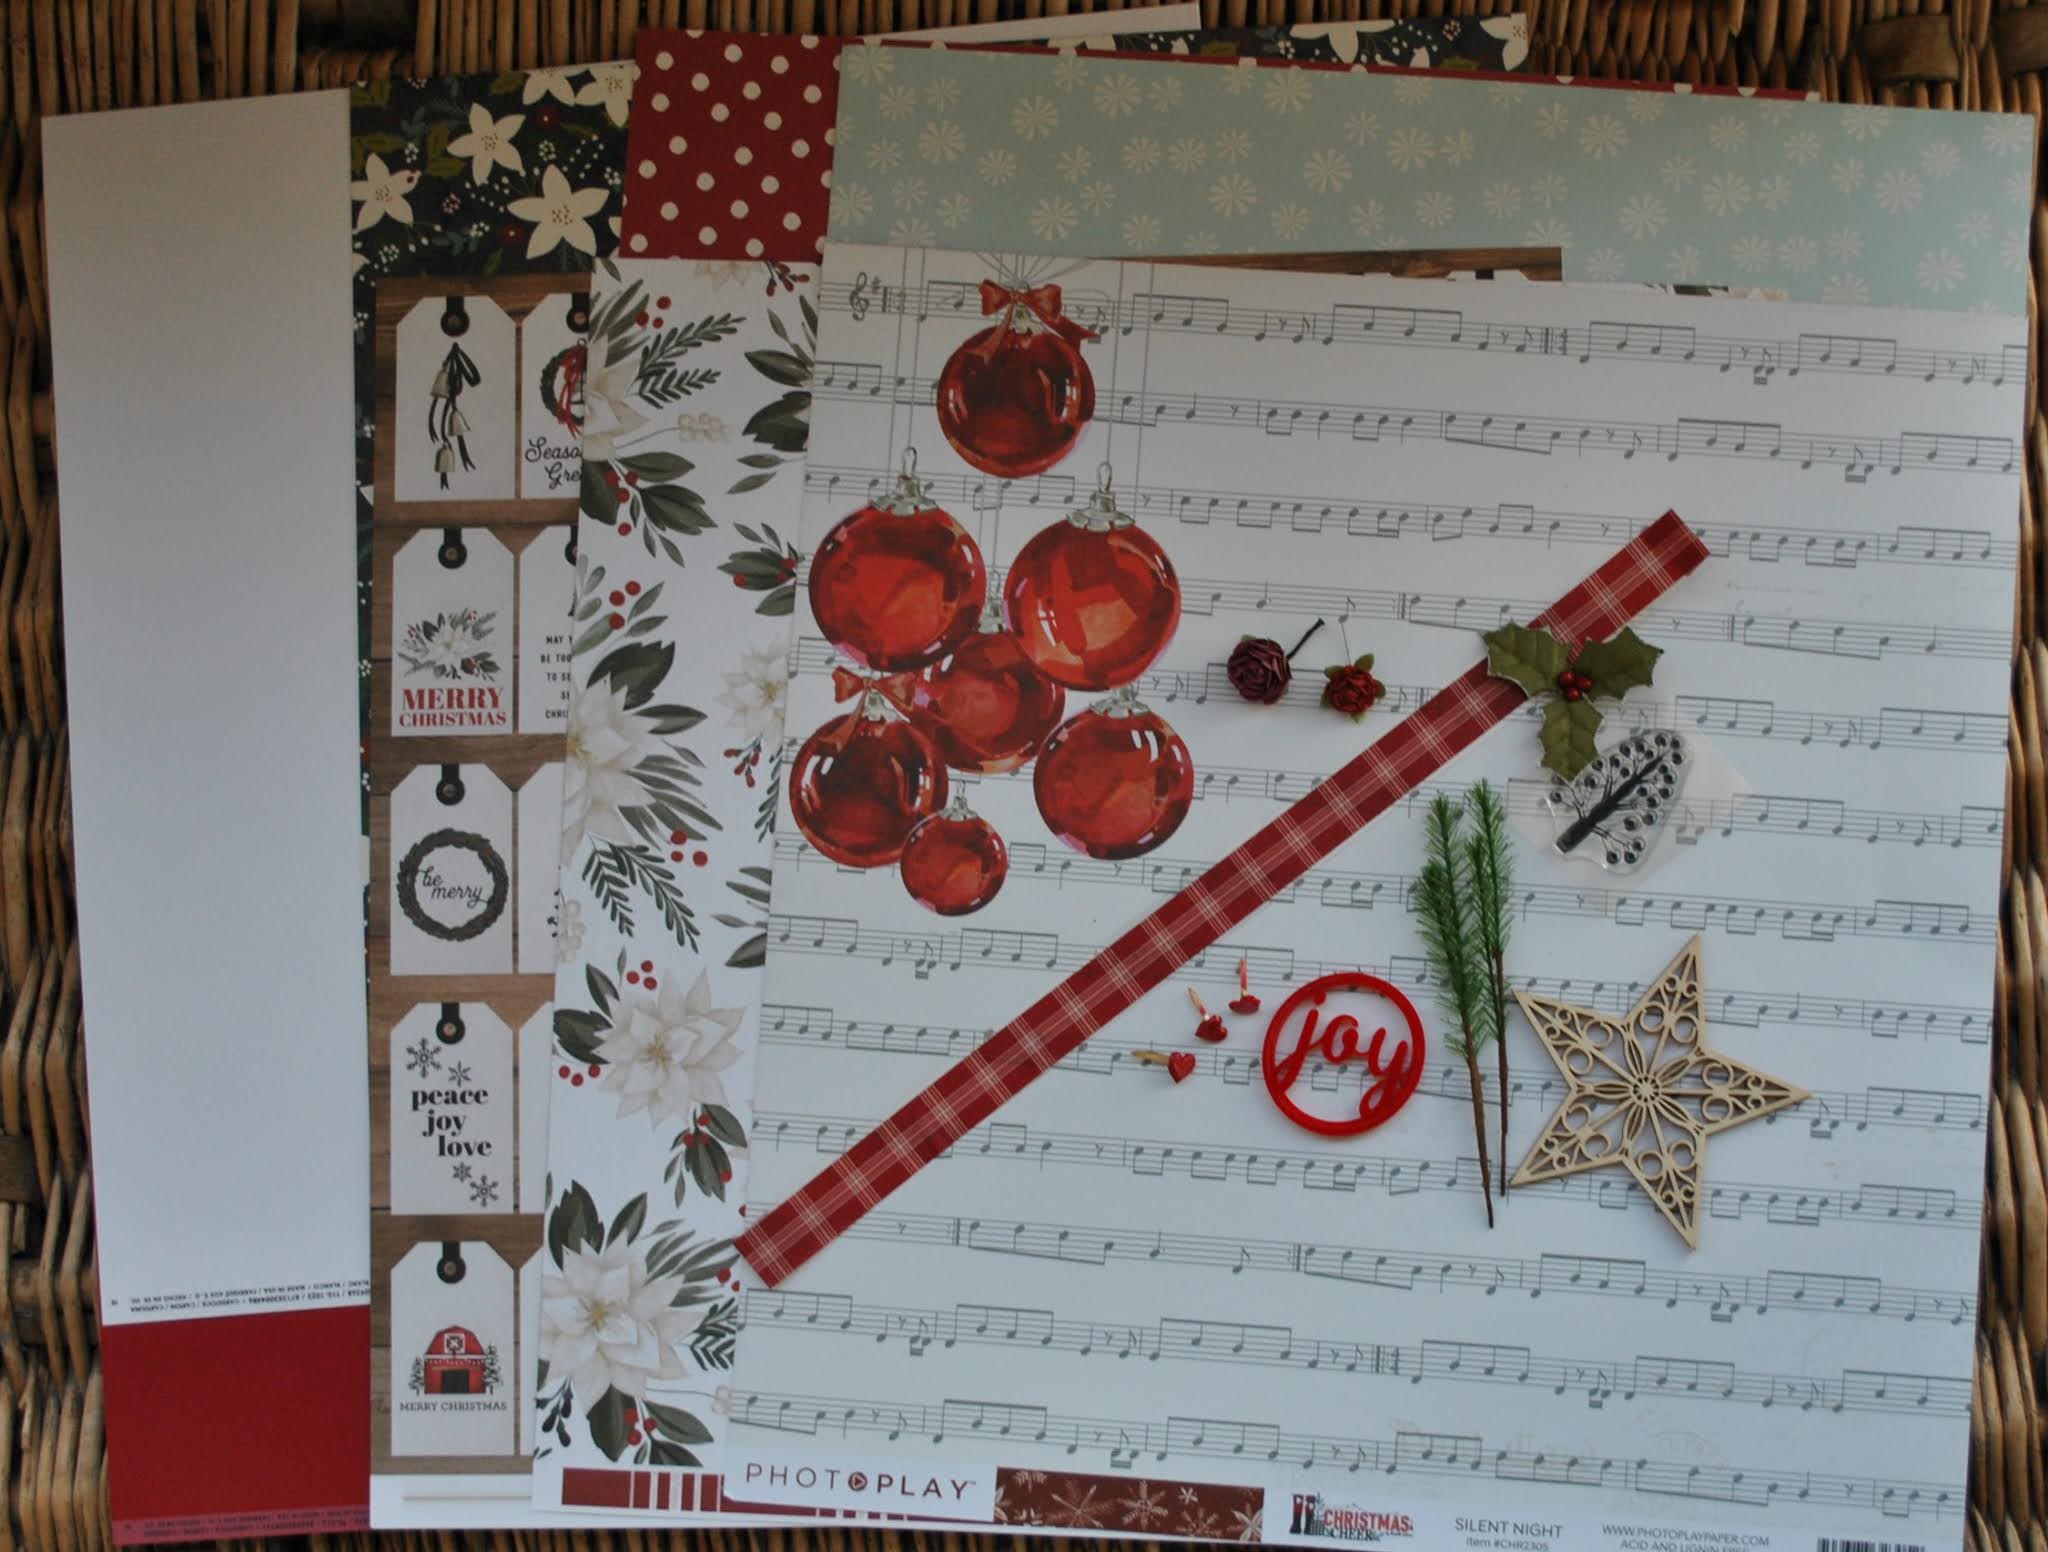
Patterned Papers:
Carta Bella - Farmhouse Christmas collection - Gift Tags & Poinsettia Floral
Simple Stories - Winter Cottage collection - Season of Wonder & Let it Snow
Simple Stories - Jingle All The Way collection - December Details
Photo Play - Christmas Cheer collection - Silent Night
Bazzill - White OP & Ruby Slipper
Reverse sides of papers

Embellishments
12" Washi tape, wooden star, 3 heart heart brads, Prima holly, tree stamp, 2 paper roses, exclusive acrylic shape & Crate paper pine branches.

Extra Bazzill Cardstock Pack - Aspen, Fig Swirl, Jetstream & Walnut

Merry & Bright
- I found this colour slide picture of my sister by the Christmas tree
with new Pinky and Perky toys - Christmas 1964. Brought back memories of
our childhood home and Christmases.
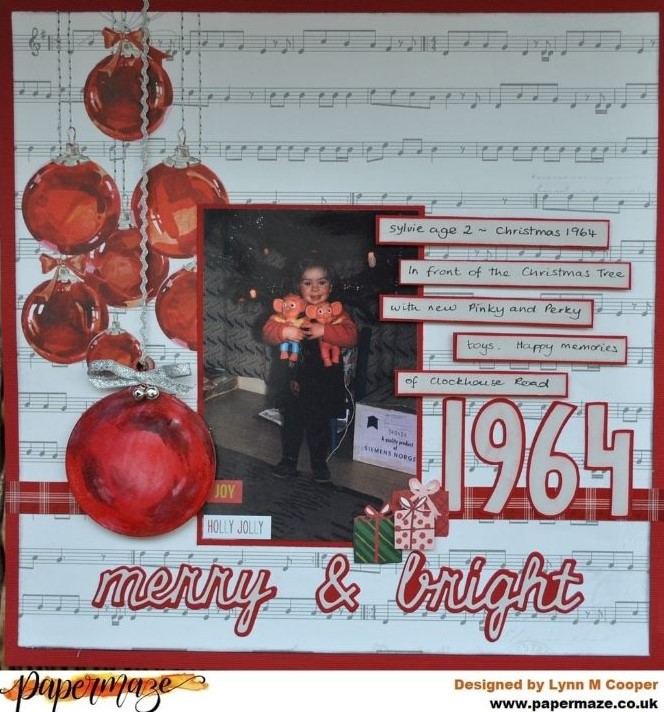
I chose the Ruby Slipper Bazzill as a border for the layout and gutted it making a frame of 2.5cm. Then I trimmed the 'Silent Night Paper to measure 28cm x 28cm (I cut the two edges away from the baubles). I hand stitched over the bauble strings with some silver embroidery thread. Then I inked the edges of the paper before mounting it over the red frame.
The washi tape was applied across the page, about 7cm up from the bottom. I mounted my photo onto some of the Ruby Slipper Bazzill.
I found an MDF bauble and with some acrylic paints, I made it look like the baubles on the paper. Then added a coat of Glossy Accents. Once dry I attached a length of silver ric-rac, a silver ribbon bow and two tiny silver bells. This was stuck into position with 3D foam tape, the ric-rac is taken to the top and it held in place on the back with some tape.

I wanted to use the Fig Swirl Bazzill for my title and journalling, but I needed most of this for the next layout so I cut a piece 23cm x 23cm and set this aside for later. I also used scraps of Ruby Slipper for title and journalling. I cut the Words 'Merry & Bright' using Sizzix Thinlits - Shadow Script Christmas die set. The date was cut using my Cricut and the journalling strips were hand written.
Before cutting three tiny parcels from the 'Season of Wonder' paper, I gutted it to make a frame 4cm deep, and set this aside for the next layout too. Then I fussy cut the parcels and added them to the bottom right of the photo.
Nutcracker Lego - Last year we purchased and made this Christmas Lego to add to our collection.

For this page I have already trimmed the Fig Swirl Bazzill and the wide, red and white spotty border form the 'Season
of Wonder' paper. Next I trimmed the Aspen Bazzill to 24cm x 24cm, and
gutted this to make a 2cm frame. Then all three were mounted onto one
another.
My photo was mounted onto some Walnut Bazzill, but again
most of this was required for another layout, so first I gutted the
whole sheet to give me a 2cm frame, then with a piece trimmed to 26cm x
26cm I gutted it to make another 2cm frame. I set both these frames
aside for later.
I cut two fir trees using the Sizzix Thinlits Woodlands die set, and set these to the left of the photo.
By
placing all the embellishments onto the papers and re-arranging them
until I was happy, I added a few light pencil marks where they would be
glued in place later. Then I removed them and using the tree stamp from
the kit (upside down) I stamped fronds in green so they would hang down
from under the embellishments.

To embellish I used a some bits from the kit - the wooden star, and the two paper flowers. I added a few more red and white flowers, some fabric holly leaves and a twig wreath from my own stash. I fussy cut two poinsettia blooms from the 'December Details' paper and added a few dots of Nuvo Crystal Drops (Dandelion Yellow) to the flower centres.
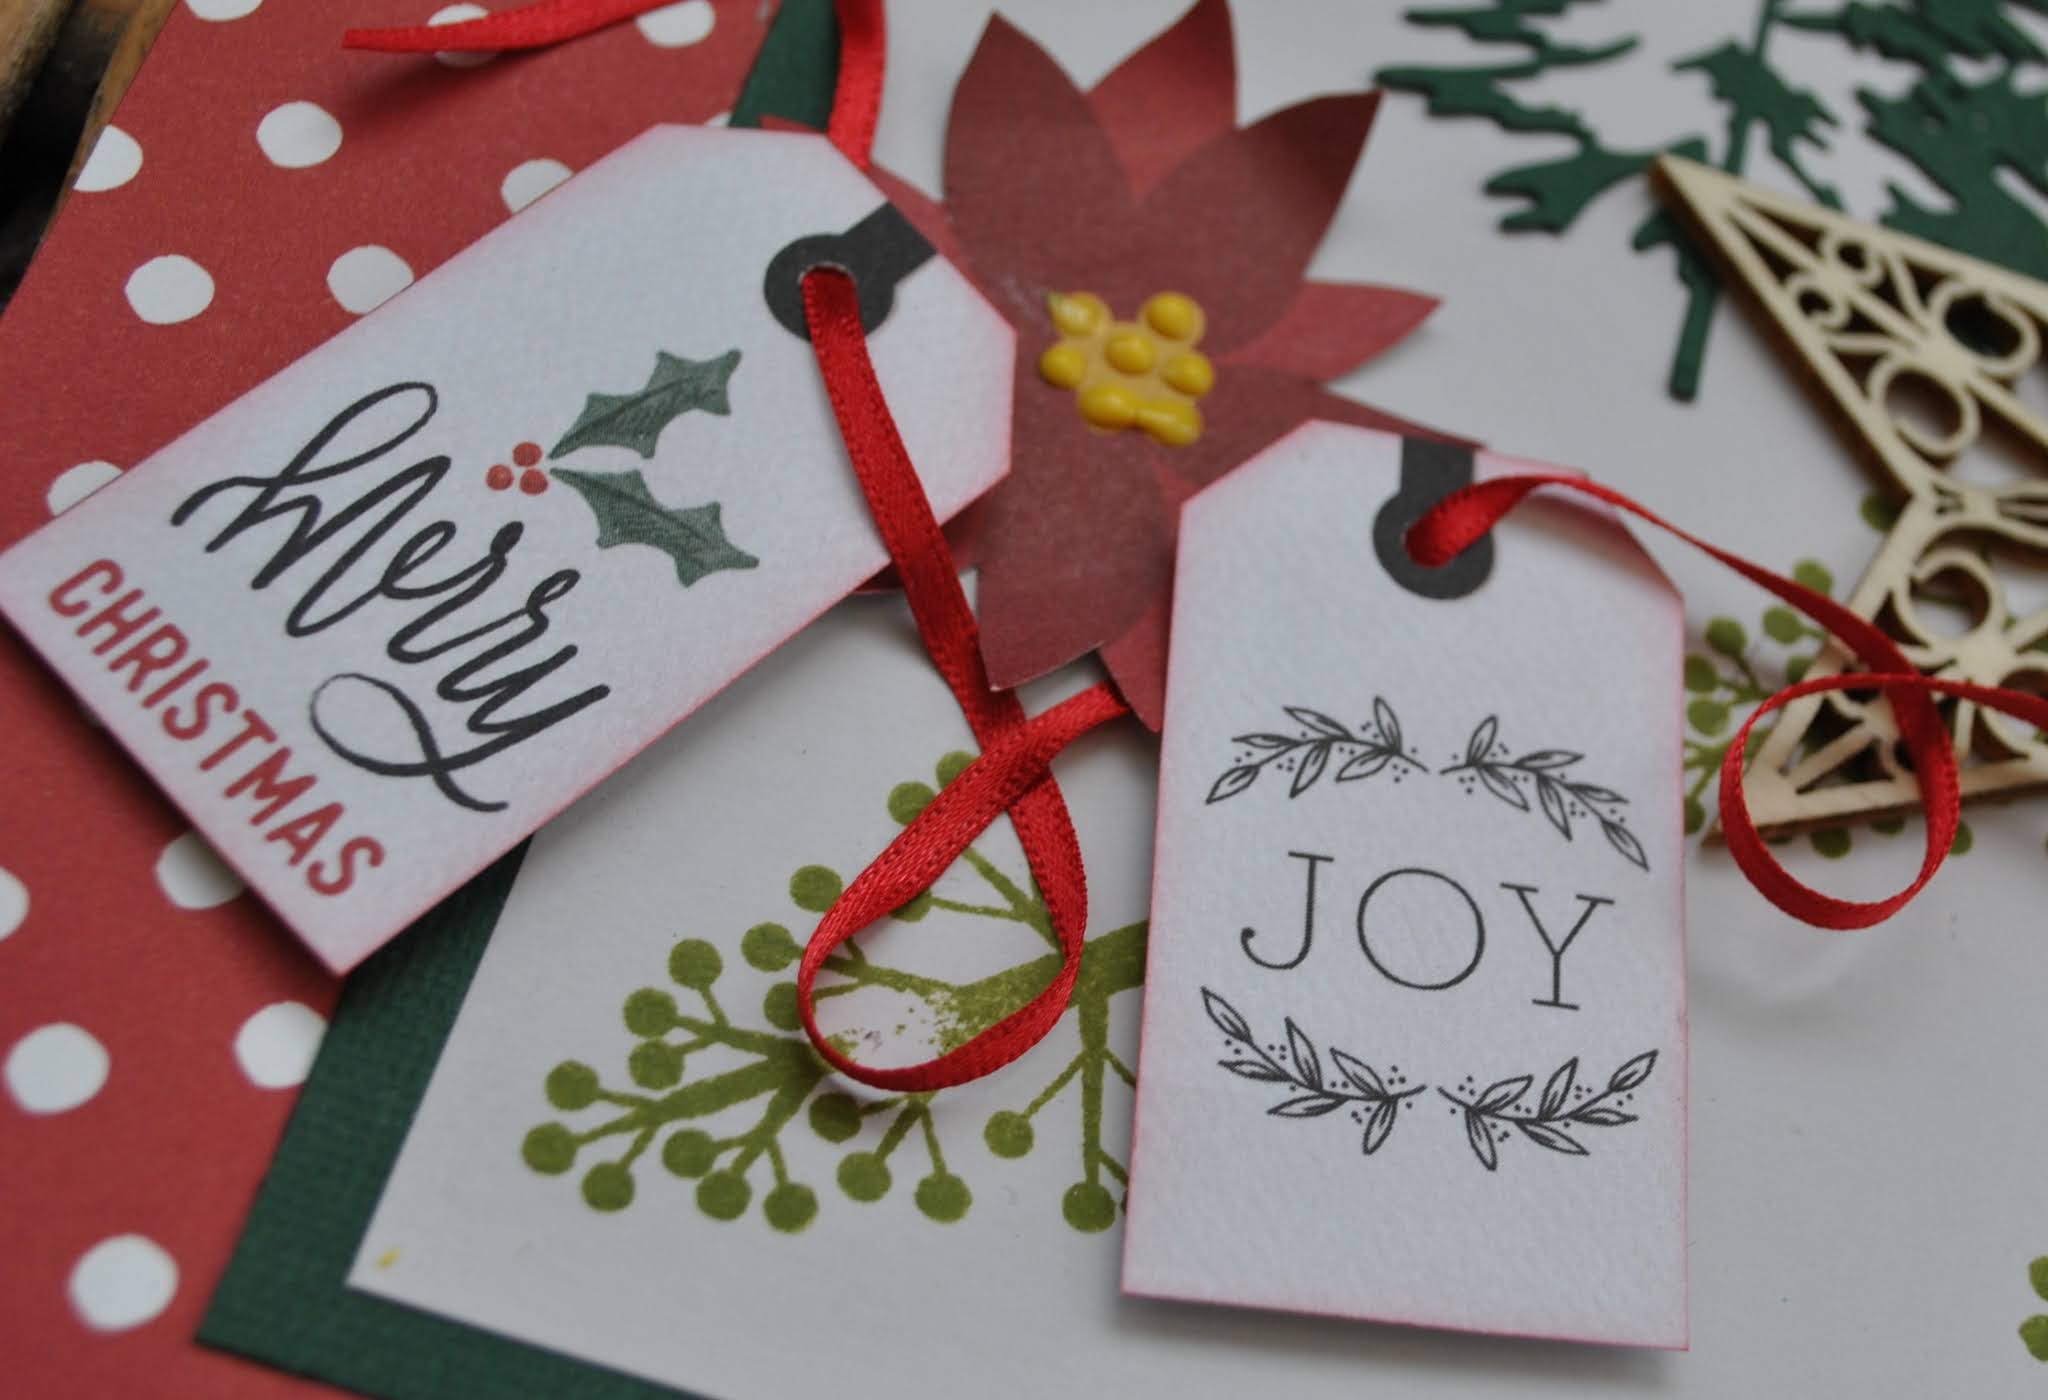
I
wanted to use some of the tags from the 'Gift Tags' paper, but again
needed the wooden plank side for another layout, so I cut a 25cm x 25cm
piece and set this aside. From what was left I cut four tags and punched
holes in the top of each one. These were threaded onto narrow red
ribbon and placed along the layout weaving them in among the other
embellishments.
Finally I used some of my Basic Grey letter stickers to create the title and the year.
That's all for part one. I will be back with two more layouts in a few weeks.
Have a good Christmas
Thanks for looking
Lynn x
No comments:
Post a Comment