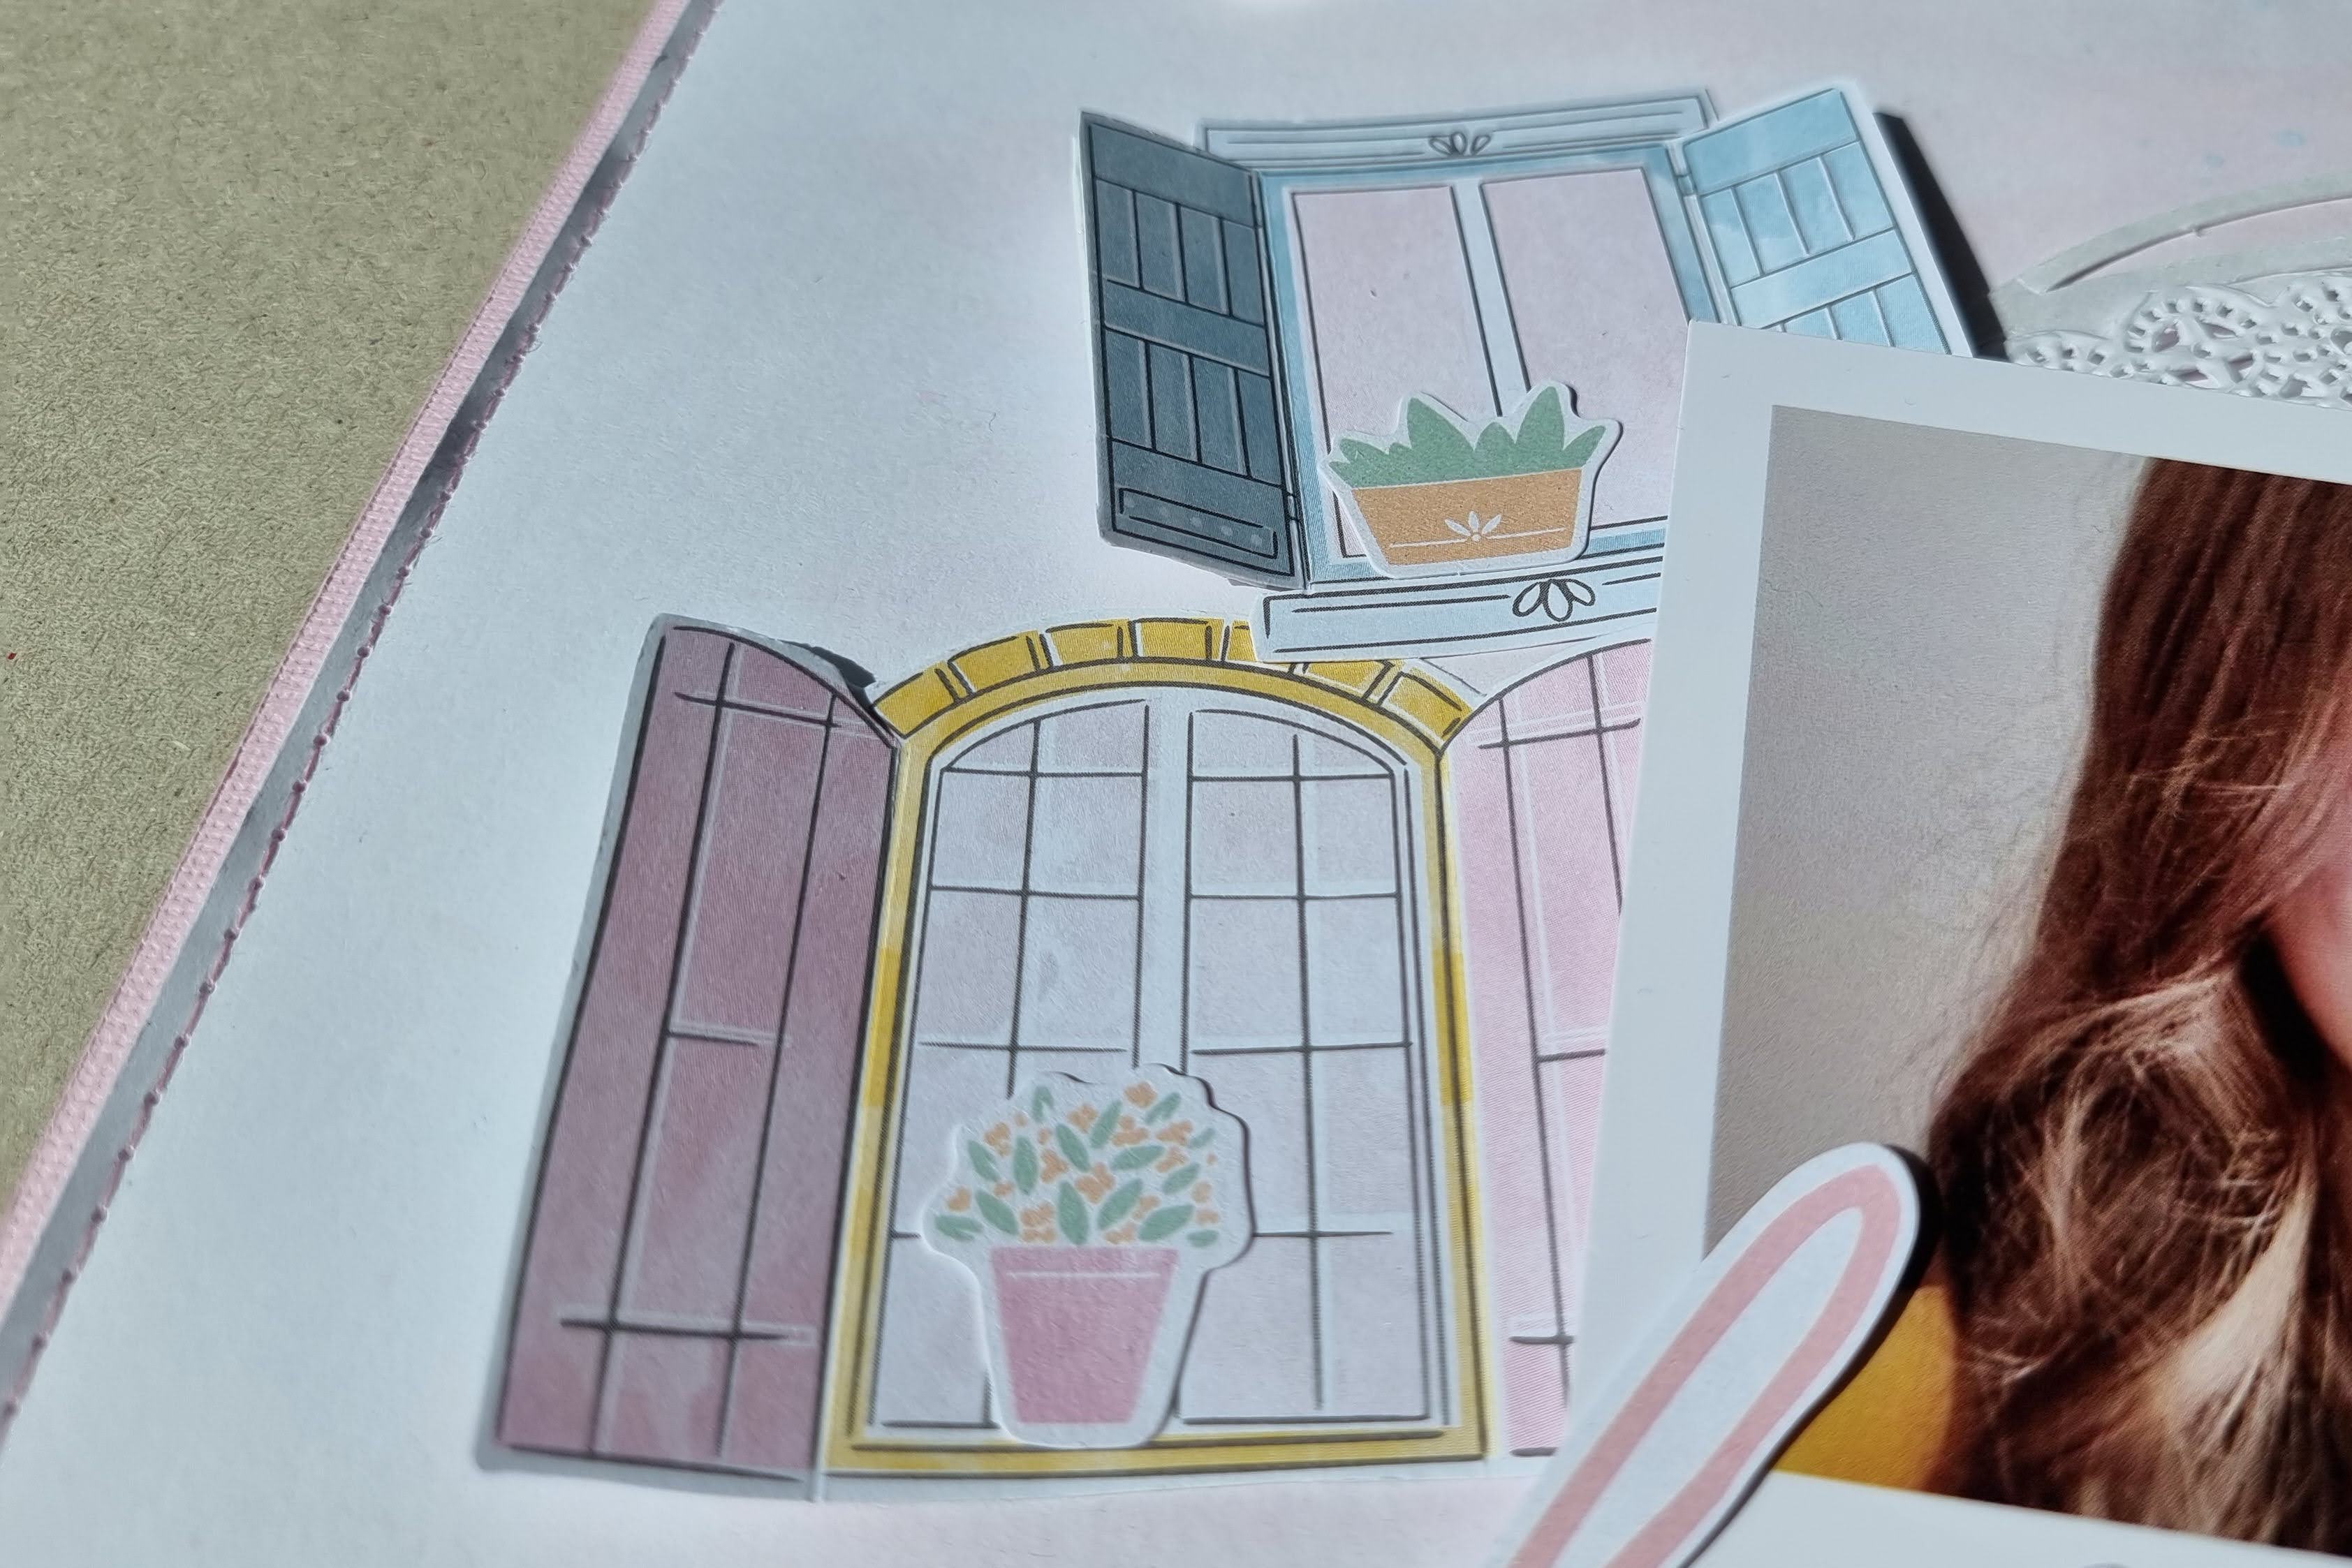
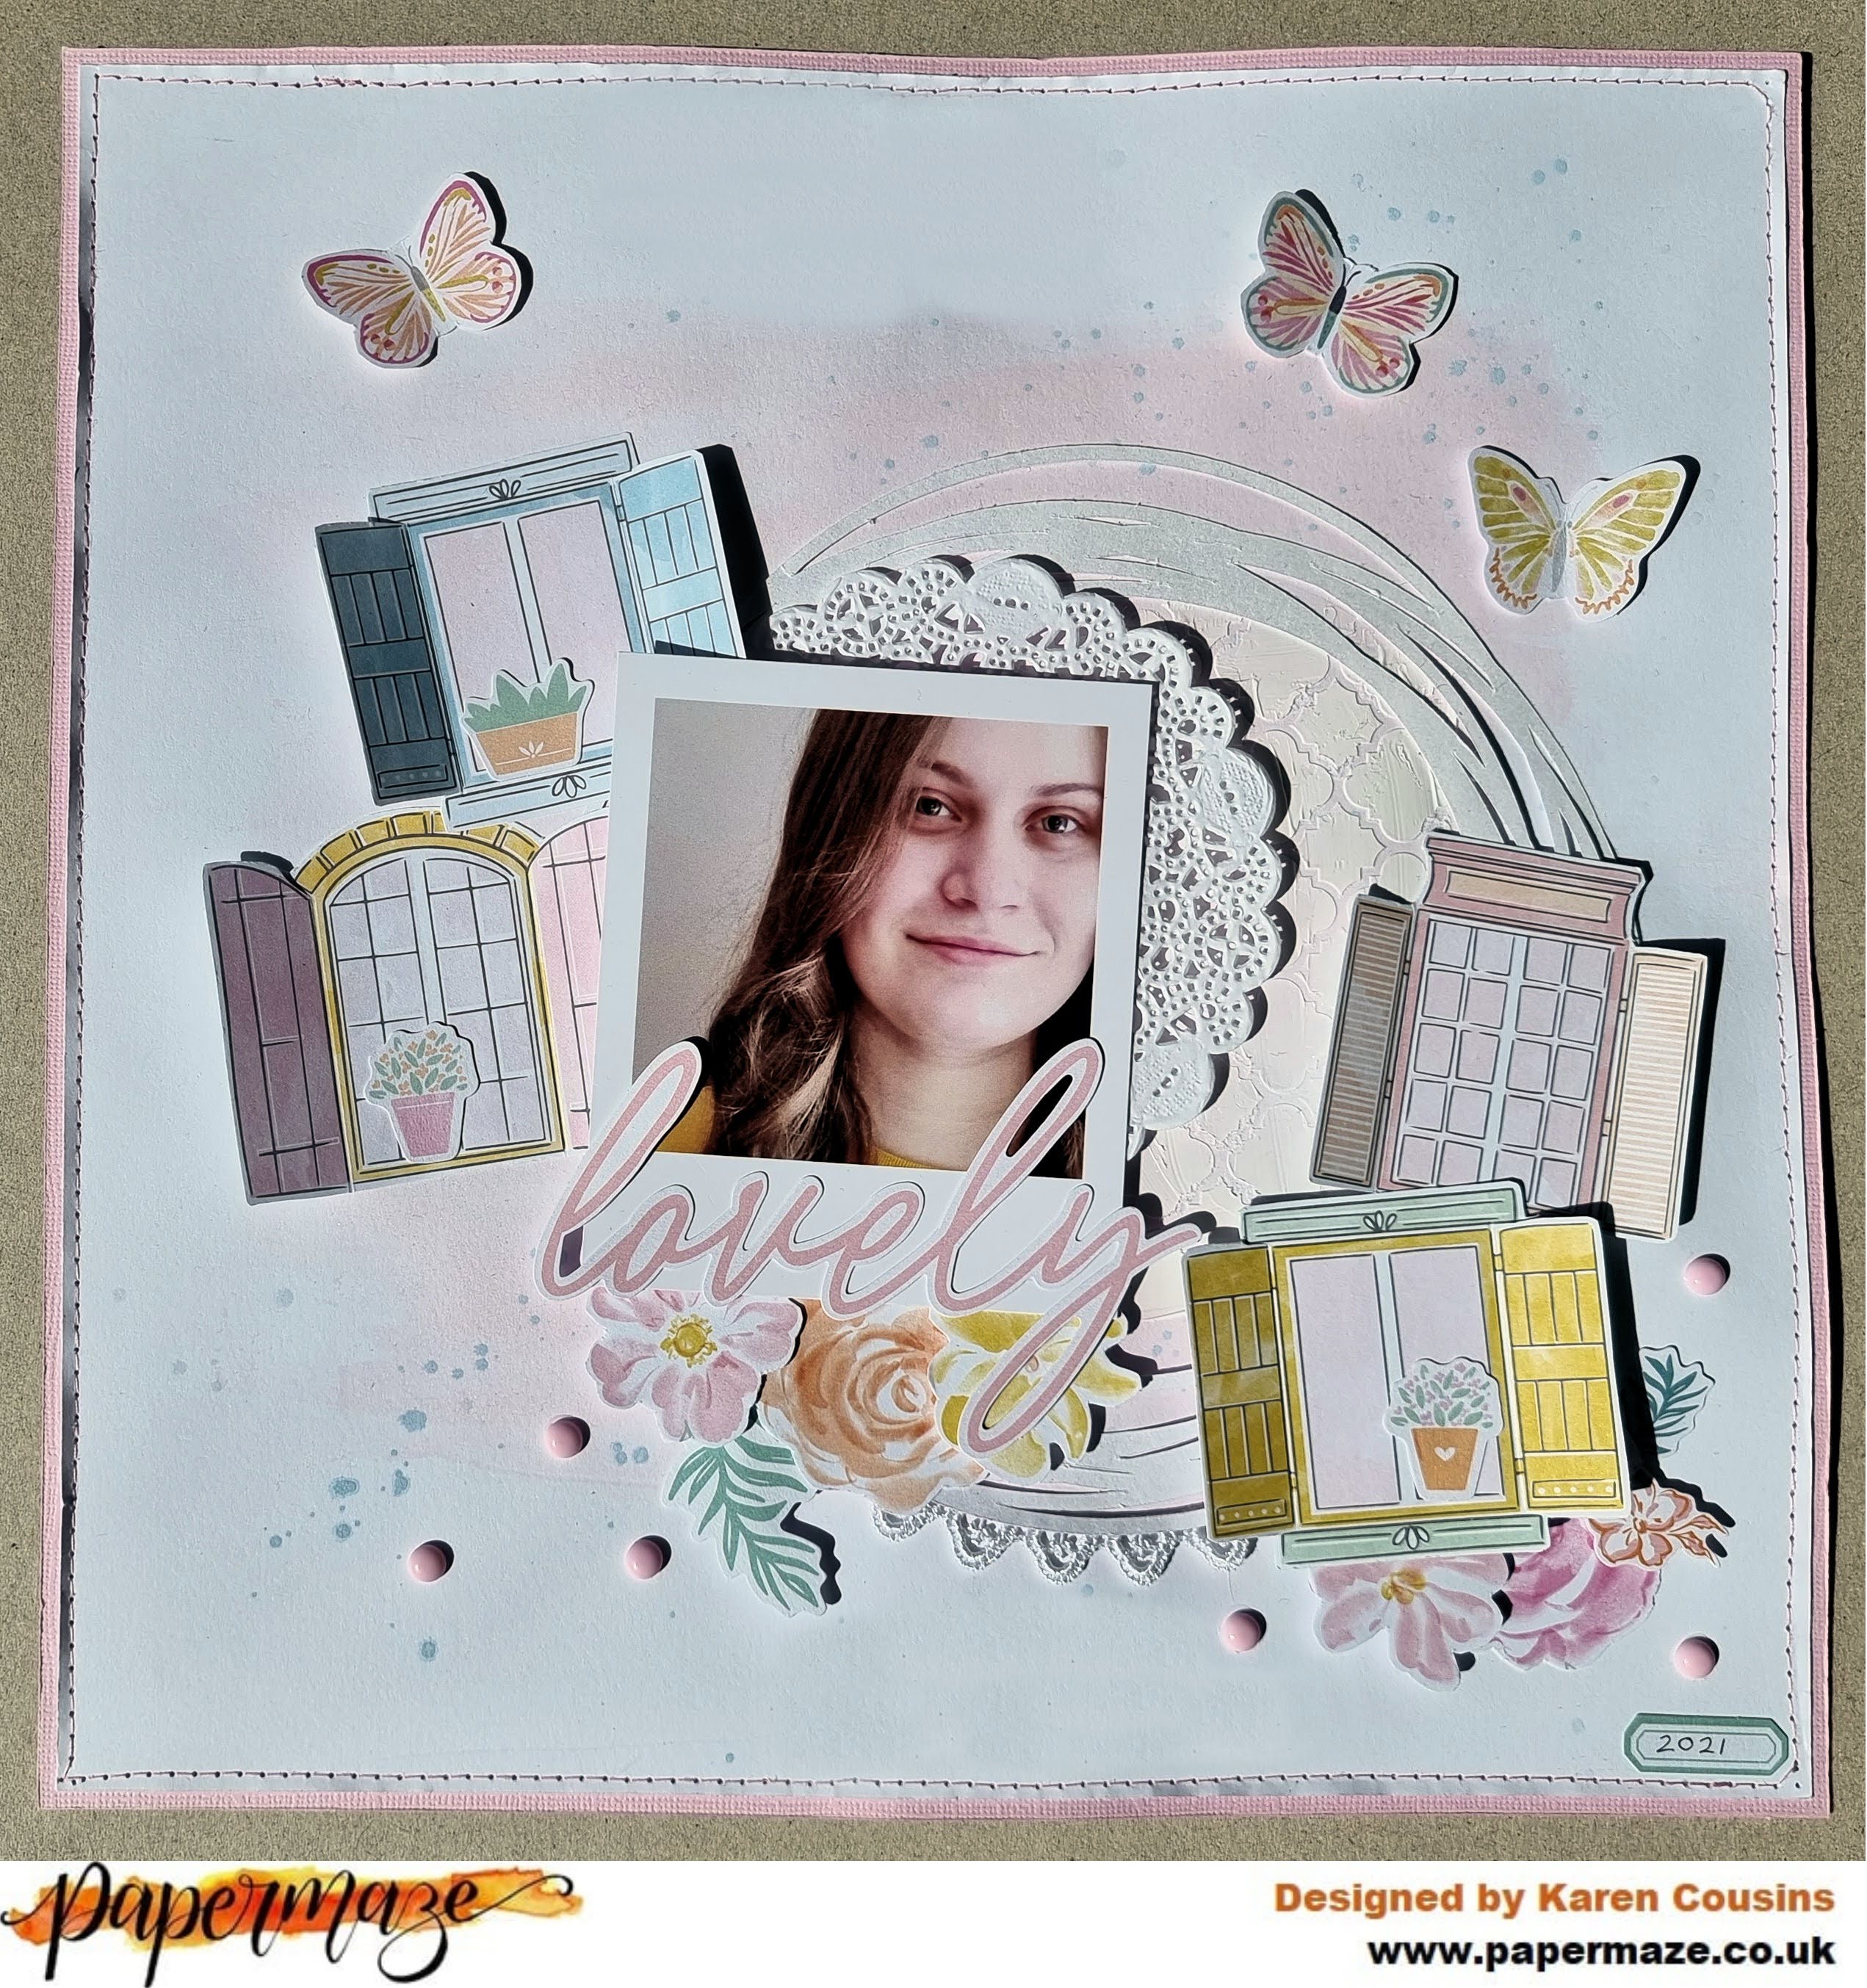
Hello. Karen here today sharing a new layout using the Happy Heart collection from Pinkfresh Studio. This collection is one of two new collection from Pinkfresh Studio and it screams 'Spring'. The colours are from a typical Pinkfresh Studio pastel palette and the collection is full of images of flowers and butterflies and phrases with good vibes.
Wednesday, 13 April 2022
Pinkfresh Studio Happy Heart - Lovely
Monday, 11 April 2022
Hello Sunshine - Vicki Boutin - Sweet Rush Collection
Hello, Rebecca with you today sharing my first layout created with the new 'Sweet Rush' collection, designed by Vicki Boutin for American Crafts. You can find the collection in the store here. At the moment, we have all the papers and some of the embellishments available, but we are still waiting eagerly for the ephemera to arrive. It won't be long now!
My eye was immediately drawn to the Rainbow Swirl patterned paper. Obviously. I'm a sucker for a rainbow paper and this one was no exception! I cut the rainbow in half so that I had the warmer colours on one section, and the cooler colours on another. I then cut along the adjoining lines (not all the way though!) so that I could distress all the edges in between the colours to introduce a bit of texture.
Next, I placed the blue-green section of the rainbow towards the top of my page, and then turned the warmer coloured section up the other way, so that I could place my circular photo in the centre, and it would look like the rainbow rays were coming out of my photo.
As I mentioned, we are still waiting for a lot of the ephemera and stickers etc to arrive - so I had to get my fussy-cut on and create myself some embellishments for my layout! I cut the clouds from the Silver Lining paper, the flowers from the Daisy Chain paper, and possibly my favourite - the butterflies - from the Soar paper. There is so much fussy-cutting potential in this collection which means you can really stretch it!
I placed the clouds across the rainbow, towards the top of my page, and a couple peeking out from behind my photo. I distressed the edges of them to give them a 'fluffy' appearance.
I added some of the fussy-cut flowers either side of my photo, following the diagonal design of the rainbow. I raised the petals up with foam pads to give them a more dimensional appearance.
I then added the butterflies in a tone-on-tone fashion, varying the sizes for interest. As with all my layouts, when I use butterflies I only ever adhere their bodies to my page. I love to leave the wings flapping free so that I can bend them up and make it look like the butterflies have just flown onto my layout.
For my title, I selected the phrase 'Hello Sunshine' from the Loving This Phrase Stickers. I love the way the black 'pops' against all the bright colours of my rainbow. I also added 4 of the heart-shaped Layered Stickers, again trying to stick to tone-on-tone. I bend the edges of the hearts up for dimension.
I finished off my layout with some black 'Holy Moly' acrylic perspextives from Bramble Fox, and some black ink splatters to add a bit of drama and impact.
I hope you've enjoyed this layout. I'm really impressed with how many embellishments I was able to create by fussy-cutting some of the patterned papers! If you'd like to watch this layout come together, there is a process video up on my YouTube layout, which you can find here.
I'll be back later in the month with another 'Sweet Rush' layout - and by then the ephemera will have arrived so I'll have a lot more to play with!
Take care,
Rebecca x
@preciouspagespapercraft
Friday, 8 April 2022
Echo Park ~ My Favourite Easter #1
Hi all,
It’s Anna back with you today! I’m working with a new collection this month, Echo Park My Favourite Easter. This collection is perfect for documenting your Spring and Easter memories.
To create this layout I started with a sheet of white bazzill cardstock. I then picked out the ‘picking plaid’ patterned paper from the collection and created a rough edge along the top and bottom by tearing the paper.
Wednesday, 6 April 2022
Doodlebug - Great Outdoors - Explore
Hi everyone!
Claire (@scrappysoulmate) here and today I am sharing another layout using the fabulous Doodlebug Great Outdoors collection.
As you may have guessed, I am really enjoying this collection, and have made so many layouts with it, today I'm sharing my third.
I decided to document one of our many expeditions to the woods, and of course, the discovery of many muddle puddles!
Using Premium White Cardstock as my base, I created some messy mixed media using the packaging technique and adding splatters in a variety of Distress Oxides; Bundled Sage, Old Paper, Iced Spruce, Wild Honey and Peacock Feathers - these colours complement this collection so well.
I find this Premium cardstock such good value - It handles mixed media well, so I didn't add any gesso - the mixed media was applied directly and I had no warping.
I cut a large circle of paper from the Wild Things paper, using the starry blue b side to anchor my design, whilst letting some of the mixed media splatters peek out from the sides of the circle. For texture, I distressed the edges and added machine stitching, placing my photographs centrally. I chose two of the same picture; one colour and one black and white for contrast - I really like the look this creates.
Within this collection is a paper called Tag Along - full of fabulous tags that are screaming to be cut apart. I really wanted to make a feature of these, so cut 6 tags from the sheet and positioned these around the circle. I added embroidery floss from my stash, threading it through each set of tags in one piece, with the ends loose to create a bit of a windswept look to mirror my photographs. I looped some of the thread, adhering this is place with a very small dot of Glossy Accents to keep its shape.
Then came the embellishing! I couldn't resist some trees, a cloud and the fence from the Odds & Ends Friendly Forest Pack.
I also used some of the leaves to create a blustery feel, scattering these diagonally across my design.
The Adventure arrow (above) and compass (see below photo) are stickers from the This & That Stickers.
Underneath the fence posts, I created a small cluster using banners and some of the ephemera pieces from the Odds & Ends Chit Chat pack, fussy cutting some of the semi circular acorn and leaf clusters to pick out individual elements.
To finish the layout, I chose some older blue Thickers from my stash that matched some of the blue tones in the layout and pulled the layout together,
And that was the page complete!
I hope you've enjoyed this page as much as I did creating it. I really am having a blast with this one. There are so many fabulous elements you can really get creative! There is still some of this collection in stock so head on over and check it out here.
See you soon
Claire x
Monday, 4 April 2022
Photoplay Notting Hill - A Few Cards
Hello, Karen here. Today I have a set of cards to share that I made using the scraps of paper and cut-apart sheets left over from my previous projects using the Notting Hill collection from Photoplay.
The eight cards are all made using 6x6 card blanks and are all a variation of the same design.
Friday, 1 April 2022
Papermaze March Kit - Part 2
Lynn here today, with the second set of layouts made with the March Papermaze kit.
This time I used the pretty spring colours to create a pair of layouts
for my daughter's wedding album, the peachy pink colours in the papers
and embellishments were perfect.
Before looking at how the layouts were made here are the details of the kit, for full details please see my previous post or the shop website.
The Marshall Family - The groom's family including the new Mrs Marshall!
To
create this layout I used a spare sheet of 12" x 12" paper as a base. I
tore two strips for the top and bottom of the layout from the Carta Bella - Sunflower Market - Busy Buzzing paper, with the pink trellis side uppermost. In between these strips I placed some of the Simple Stories - Happy Hearts - Happy Heart Day paper. I used the type side up and enough of the paper to fill the gap, saving the rest for later.
I arranged my photo to the right side of the layout, with one of the heart doilies tucked under the top left of the photo.
I used the outer frame of the Carta Bella Chipboard Frame from the kit to create a shaker box. I used acetate on the front, and Rain Bazzill at the back and filled it with a selection of sequins, gems and pearls. I placed this at the base of the photo. I cut the word 'family' on my cricut twice, once with the cloudy side of Vicki Boutin - Fernwood - Focused paper and again with Coral Cream Bazzill. This title was placed over the shaker box.
I placed a piece from the centre of the chipboard frame at the top of the photo, and a camera cut from the 'focused' paper to the bottom right of the photo.
All the way down the left side of the photo I arranged a selection of tickets cut from the remains of the 'Happy Heart Day' paper. I added my journalling to these. I used the puffy phrase stickers here too.
I added the family name to the title with Pinkfresh Studio Mini Puffy Alpha Stickers from my stash.
The Cooper Family - The bride's family including the groom.
The base for this layout is the Pigment Bazzill. I used the pink swirl side of the Echo Park - Wedding - Pretty In Pink paper, cutting it into strips. The seven strips are 4cm wise and 28cm long, I distressed the edges and inked them with Worn Lipstick Distress Ink.The strips were placed onto the Bazzill, staggering the positions slightly, and attaching them with two pink brads at the top and bottom of each strip.
With a Tim Holtz Layering Stencil THS 16 Harlequin, and texture paste coloured with some Distress Oxide Inks - Worn Lipstick and Picked Raspberry, I added some texture to the right side of the layout.
The photo was mounted onto scraps of 'Fresh Floral' paper (green side), and placed this to the left of the layout. I tucked some more of the cut out tickets from the 'Happy Heart Day' paper. I created the title exactly as before and placed below the photo.
The Prima flowers were placed either side of the title.
The five wooden heart buttons were painted with gesso and then Worn Lipstick Distress Paint. I threaded some twine from my stash through the holes in the buttons to string them together. I curled the twine and glued it in place as I arranged it along the bottom of the photo.
I used the Dusty Attic chipboard heart banner, by cutting the flags free of each other and treating them with gesso and paint as I did with the buttons. These were also joined with twine and placed to the top right of the photo.
Finally I scattered a few nuvo drops, gems, pearls and sequins over the page.
That's all for the March kit, I'll be back with the April kit soon.
Thanks for looking.
Lynn x