Saturday, 12 October 2024

Simple Stories ~ Say Cheese Classic Mouse #1 💛❤️

Hi everyone, it’s Anna here and this month I’m working with Say Cheese Classic Mouse by Simple Stories, you can find the collection in the shop here

Now I do love a multi photo layout, but my first layout with this collection takes that statement to a whole new level…


I was inspired to create this layout by Paige Evans who created a multi photo Mickey Head layout which she shared on her social media a few weeks back. Check out her socials to see her layout. 


I used the b side of Just Imagine as my base. It’s muted tones made for a great base to start. 


I then printed lots of my favourite photos from a Disney trip. 
I will probably use this as a title or final page in this holidays’ album. 


I cut out a Mickey shaped head on my silhouette cameo, just onto plain white cardstock and then arranged all of the little photos onto the head. 
(Paige Evans does a Mickey head cutfile and a stitching version too)

I drew around the Mickey head in the position that I wanted to place it on the page, and then used Distress Ink, in the shade of Scattered Straw to go over the pencil lines and create a boarder around the cutfile. 


I then adhered the Mickey head, lining it up with my pencil line. 
I picked out some Journal Bits and Pieces, I used one as a journal card and one as a mount for my title. 


 I finished my layout off by adding a few cardstock stickers


Thanks so much for looking! See you later in the month for another layout using this collection. 

Anna

@acraftylifewithanna

Wednesday, 9 October 2024

Halloween - Simple Stories - Simple Vintage Scary Stories

Hi everyone, it's Rebecca with you today and I'm super excited because it's October, and October means only one thing for me... Halloween! I couldn't let the month go by without sharing some Halloween layouts, so here I am with my first one, created with the Simple Vintage Scary Stories collection from Simple Stories. You can find the full collection in the shop here


I started with a sheet of the 'Spooks Galore' patterned paper. I love the black-on-orange design on this paper but it was a bit too bold to use as a background paper. To help balance it out and give me some white space to create with, I trimmed down a sheet of white cardstock, tore the top and bottom edges and then distressed it all quite heavily before placing it on top of the patterned paper.

I gutted the centre of this sheet and then used the reverse side to introduce a darker tone to the layout. On top of this, I positioned my photo, matted on white cardstock and then a patterned paper from the 6 x 8 Paper Pad. Behind my photo, I layered two tags from the Tag Elements patterned paper.


For my title, I selected one of the Cardstock Stickers as it echoed the colours in the patterned paper bordering my layout nicely. I first applied the sticker to plain white cardstock, and then trimmed around the edge to leave a small white border to help the title stand out more on the page.


Around my photo, I embellished using elements from the Bits & Pieces, the large skeleton die cut from the Page Pieces and some spiders from the Sentiment Bits & Pieces,


To finish off the page, I added a few sequins and a hand-doodled black border to both sides of the white cardstock. 

I adore the traditional halloween colours of this collection. They are my favourite to scrap with so I can't wait to dive back in to create more layouts. I also can't wait to see what everyone else creates with this spooky collection!

Take care

Rebecca x 

@preciouspagespapercraft


Monday, 7 October 2024

Bella Blvd - One Fall Day

Hi everyone and welcome back to the Papermaze blog.

It's Claire here today and for this layout I'm channelling all the fall feels with the Bella Blvd One Fall Day collection

I started with a piece of blue bazzill cardstock from the Matchmaker Pack, opting to use this as my base.

Next, I picked three patterned papers to create vertical strips down each side of my page. I used:

I distressed the edges and laid 2 strips flat to the page, and raised the Leaf Pile paper on foam. 

Next, I mounted my photos using the Fall Break paper and the orange and green cardstock from the Matchmaker Pack, adhering to the page on foam. 

Then the embellishments! Taking elements from the Ephemera Icons, Ciao Chip Chipboard Stickers and Doohockey Cardstock Stickers I built clusters around my photos, mixing materials and colours to draw the eye across the page. 


To complete the layout, I used the Ciao Chip Chipboard Stickers to create my One Fall Day title. 

This page was super fun to make and I hope it's inspired you to get your autumn stories documented. 

Check out the full collection in the shop here

Claire x

@scrappysoulmate 


Friday, 4 October 2024

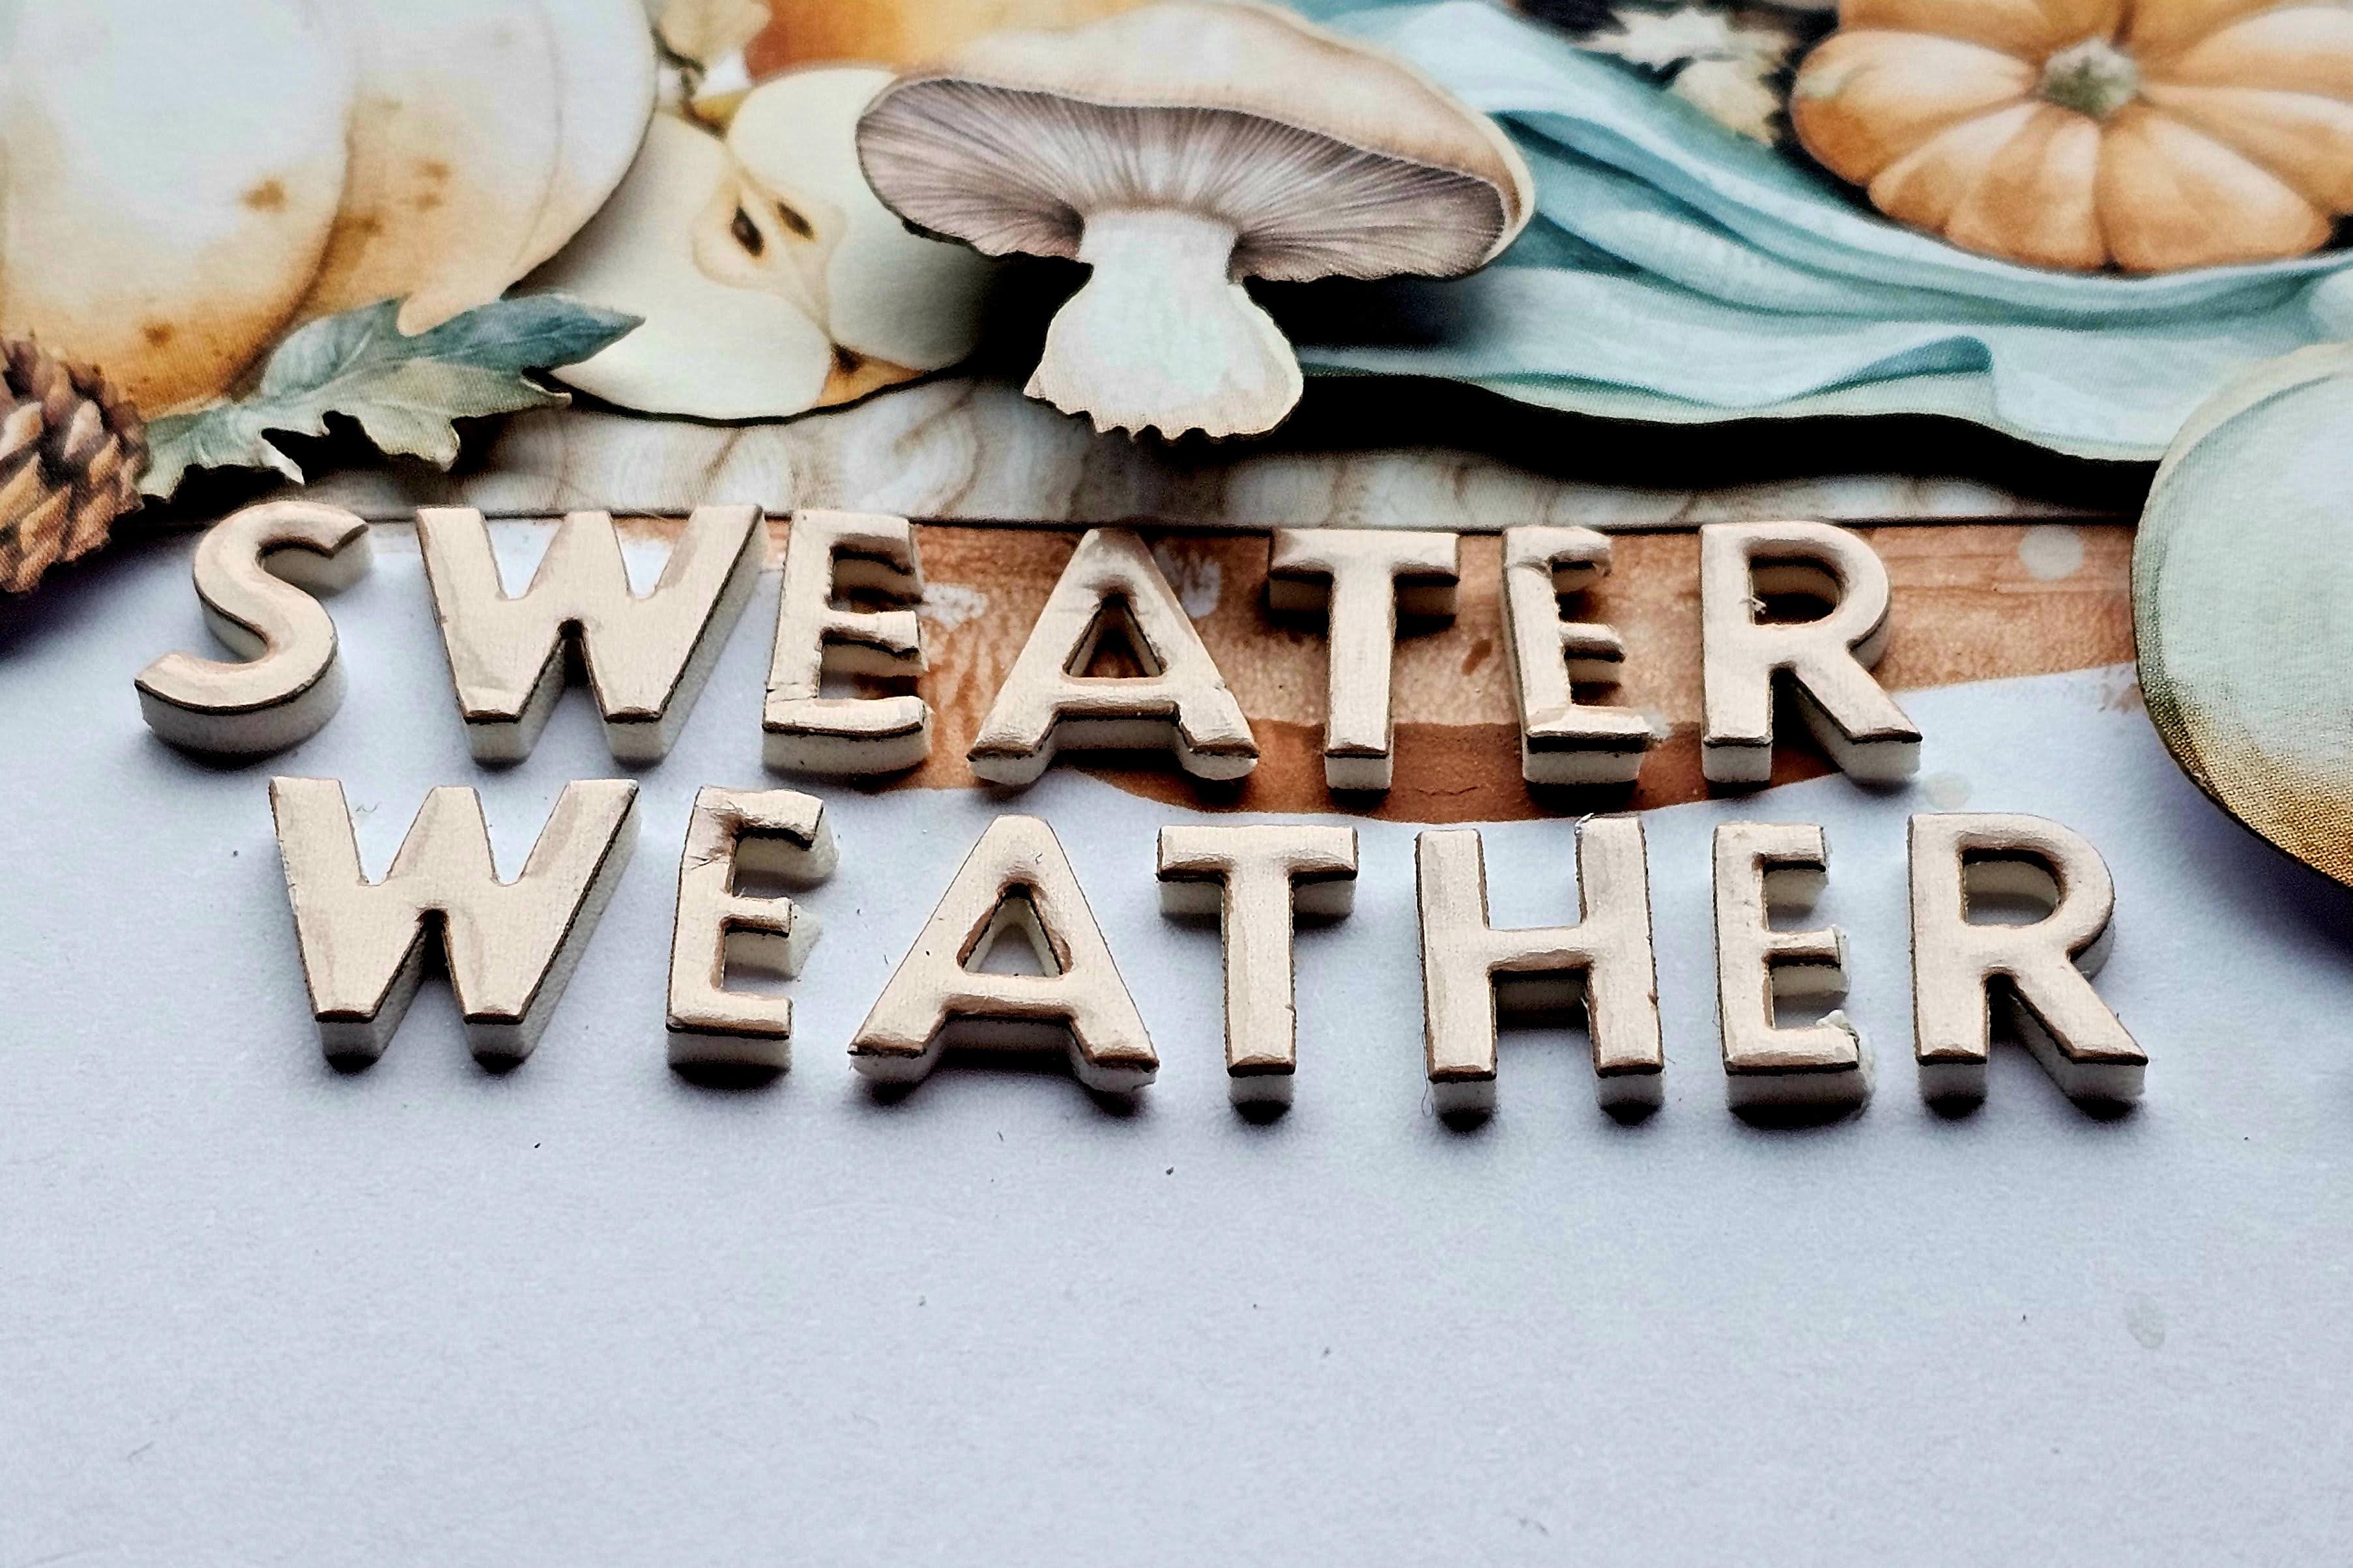
Mintay Papers - Autumn Splendor - Sweater Weather

Hello, Karen here, with my first layout using the new autumn collection from Mintay Papers - Autumn Splendor. This collection has a beautiful soft colour palette with lots of autumn related images of pumpkins, leaves, cute animals and more. 

I started my layout with a sheet of smooth white cardstock and using a small brayer I added some brown acrylic paint to the centre. 

I applied the paint quite thickly so that it created texture and the paint strokes were clear to see. Once the brown paint had dried, I then splattered some watered down white paint on top.

Using paper #9 I cut several half inch strips and placed these in an L shape to create a shelf for my 3"x4" photo to sit on, which was placed where the paper strips intersect.


Around the photo I layered various pieces from the die cut pack. There are 60 die cuts in the pack so there were lots to choose from.

Some of the die cuts were layered with 3D foam underneath to give some dimension to an otherwise fairly flat layout. I absolutely love the die cut pack and had to be careful not to get carried away and add too many pieces to the layout!

A title was added using some Mini Alphabet Thickers from my stash.

I trimmed the layout down to 10" square and matted it onto a sheet of Bazzill Fawn cardstock and using white thread machine stitched round the edges. The layout was completed with a scattering of sequins from the Picket Fence Woodlands mix .

I'm really enjoying creating with this collection and hope I've given you some inspiration for scrapbooking your autumn photos. 

Take care and I'll be back again soon with another layout.

Karen x x


Wednesday, 2 October 2024

September Papermaze Kit - Part 2


Lynn here today, I'm back with my second post using the lovely kit from Papermaze for September.  There is a clever combination of geometric patterns and floral papers.

 Here is what you will find in the kit:


Patterned Papers:
Paige Evans - Adventurous collection - #10 & #24
Vicki Boutin - Bold + Bright collection - Great Day
Echo Park - Happy as Can Bee collection - Busy Busy Bees
Echo Park - Sunny Days Ahead collection - 3x4 Journalling Cards
P13 - Travel Journal collection - #03

The photo below shows both sides of all six papers in the kit:


Embellishments - Prima In Full Bloom Flower, Pinkfresh Making the Best of it alpha sheet, 3 frames 49 and Market Colour Swatch Ochre, 2 Rosie's Studio Born to Bloom acetate words,
2 P13 Travel Journal Tags, 12" Lace, A pinch of Pinkfresh Matte Gold Pearls.


Bazzill Basics Cardstock - Beeswax and Whirlpool (in main kit).
Smoky, Apricot, Fig Swirl and Twig (in extra pack).


Knit One, Purl Two, Teach Three - My three children on holiday in Norfolk, Aunty Barbara was showing them how to knit.


I used a sheet of CS White Bazzill for this layout. Using a Vicki Boutin Stencil from the Fernwood collection (Greenery set), and Distress Inks (Picked Raspberry, Broken China and Spiced Marmalade), I worked a knitted effect background randomly over the page.


I used the same inks, each mixed with a little water, and flicked over the stencilling. I cut the  Great Day paper in half, one half was cut into fine strips of 1cm and 1.5cm wide. These were then cut into different lengths. The other half sheet of the paper was used to cut flowers and leaves from. To create these, I used the Tim Holtz Sizzix Thinlits set - Funky Foliage.


I arranged two photos and the strips of paper onto the Bazzill. The white strips were placed at the base, where I planned to add my journalling. Next I placed the flowers and leaves into three clusters. around the photos.


My title was created with three different packs of Doodlebug Designs Alphabet Soup puffy letter stickers (Bubblegum, Swimming Pool and Coral. I scattered
Matte Gold Pearls from the kit over the layout.


I added the journalling to the strips of paper. Nuvo Glitter drops were painted onto the flower centers. Finally, I covered the photos with a protective piece of plastic sheeting, then added a few flicks of black Distress Paint over the clusters.


Inverewe Gardens - While in Scotland earlier this year we stayed near Loch Ewe. These photos were taken in the walled garden of Inverewe Gardens.


For this layout I chose the Paige Evans Adventurous #10 paper, including both sides. I found a chipboard scalloped circle frame from an old set by Technique Tuesday. I drew around the inner circle of this onto the back of the paper. Then I cut the circle out about 1cm away from the pencil line on the outer side of the pencil line.


I painted the chipboard with Evergreen Bough Distress Paint, then dabbed more pains over this with a sponge. I used Cracked Pistachio, Peacock Feathers, Broken China and Picket Fence.


I then rebuilt the page, with the A side of the paper as the background and the B side inside the circle, I did this by gluing them both to the back of the chipboard circle.


Using Beeswax and Whirlpool Bazzill and some white card scraps, I cut flowers and leaves using Tim Holtz Sizzix Thinlits die set - Funky Floral. I added these to the chipboard circle after inking the tips of the petals with Spun Sugar Distress Ink.


Using more of the Beeswax Bazzill I die cut the title and date using Tim Holtz Sizzix Thinlit Alphanumeric Theory Die Set.


I scattered some aqua pearls onto the page, then I added my journalling to the page.


That's all for the September kit, I'll be back with the new kit for October soon.
Thanks for looking.
Lynn x

Friday, 27 September 2024

Carta Bella ~ Sunflower Summer 🌻

Hi everyone it’s Anna back with you today.
I’m soaking up the last of the summer and sharing one last layout using Sunflower Summer by Carta Bella and I’m documenting another sunflower field visit. 
You can find this collection in the shop here


I started my layout with a white bazzill base. I then adhered the remaining half of ‘busy bees’ horizontally across the centre of my page. 


I wanted to include multiple photos, so I printed eight square pictures and mounted them all together on the b side of  ‘sunflower patch’. 


I then fussy cut sunflowers from the b side of Sunflower Seed Packs and tucked them in a row along the top of my photos. 


I used my silhouette cameo to cut a title using coordinating bazzill cardstock from the matchmaker pack.

To add a space for my journalling I used one of the 6x4 journalling cards


I added a boarder strip as well as some of the element stickers around my journaling card. I also added some bunting to the top of my layout using the bunting stickers and some twine


Thanks so much for looking! 
See you next month with another brand new collection - I’ll be working with Say Cheese Classic Mouse

Anna 
@acraftylifewithanna

Thursday, 26 September 2024

Thankful - 49 and Market - Vintage Orchard Collection

Hi everyone, it's Rebecca with you today sharing my second layout of the month. I'm still loving working with the Vintage Orchard collection from 49 and Market - more so now the weather has turned that little bit more autumnal! Anybody else scrap with the seasons? It may be a bit weird but I'm not one for scrapping summer in autumn, and spring in winter etc... I find my inspiration and creativity flow better working with the current season. You can find the full collection in the shop here.


For today's layout I really wanted to use the black woodgrain patterned paper from the collection, but felt like it was a bit too much as a background and felt like I needed some empty space on the page to balance it out. To achieve a more balanced feel, I cut the woodgrain paper into smaller strips, distressed the edges and arranged them in the centre of a sheet of Premium White Cardstock. To add a bit more detail to these strips, I applied torn sections from the Washi Tape Sheets and I love the look that this has achieved.


Not wanting to cover up all the washi, I decided to just scrap with one photo today. I've used one of the Stacked Frames to house my photo, with a journalling card from the Ephemera Bits to bring in more of the copper shade that features in my photo. I positioned my photo over on the right hand side of the page, and using some of the die-cuts from the Laser Cut Elements and Laser Cut Wildflowers, I built up a small cluster in the corner.


For the title, I've used a die-cut from the Ephemera Bits. I've gone for a bright green title to bring a pop of colour to the page. 


To help balance the layout, I've created a smaller cluster using die cuts to the top left corner of the layout. On top of both clusters, I've added a chipboard phrase from the Chipboard Set.


To add some details to my background, I've applied some Rub-On transfers from both the Botanicals Rub-Ons and the Essentials Rub Ons. I absolutely adore 49 and Market rub ons - the packs are so generous and they are so easy to apply. I love how they give my background a mixed-media effect with very little effort from me!

To finish the layout, I slotted in a couple of notebook edge die cuts from the Laser Cut Elements and some of the Wishing Bubbles and Baubles stickers. 


Thanks so much for reading. I hope you like the layout and it offers you some inspiration. This stunning collection is available in the shop now so grab it before it sells out!

Take care

Rebecca x 

@preciouspagespapercraft